Workflow Plus - Reports on Cards and Requests
Install and Configure the SQL Server Reporting Services (SSRS)
Section titled “Install and Configure the SQL Server Reporting Services (SSRS)”To use reports on cards and requests, you first need to install SQL Server Reporting Services.
Below are the step-by-step instructions to install SSRS:
When installing Microsoft SQL Server 2022 Reporting Services (SSRS), the edition you choose determines licensing and usage rights rather than the core reporting features.
| Edition | Purpose | Time Limit | Typical Use |
|---|---|---|---|
| Evaluation | Trial version for testing SSRS | Expires after 180 days | Evaluating the product before purchase or deployment. |
| Developer | Full-featured edition for development and testing | Does not expire | Development, debugging, training, and non-production environments. |
| Express | Free edition for lightweight scenarios | Does not expire | Small-scale deployments with SQL Server Express; has feature and scalability limitations. |
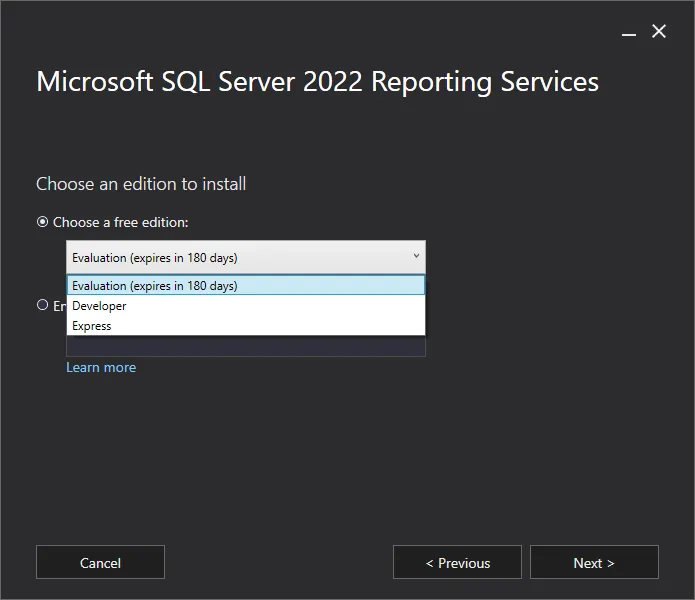
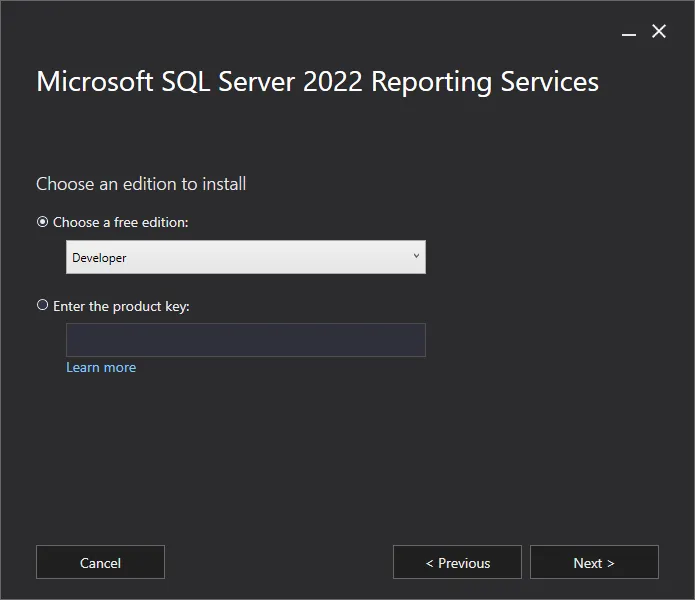
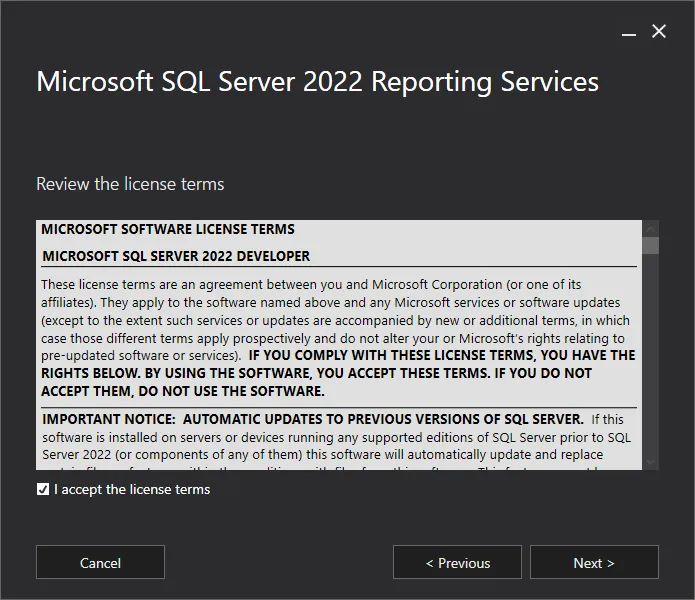
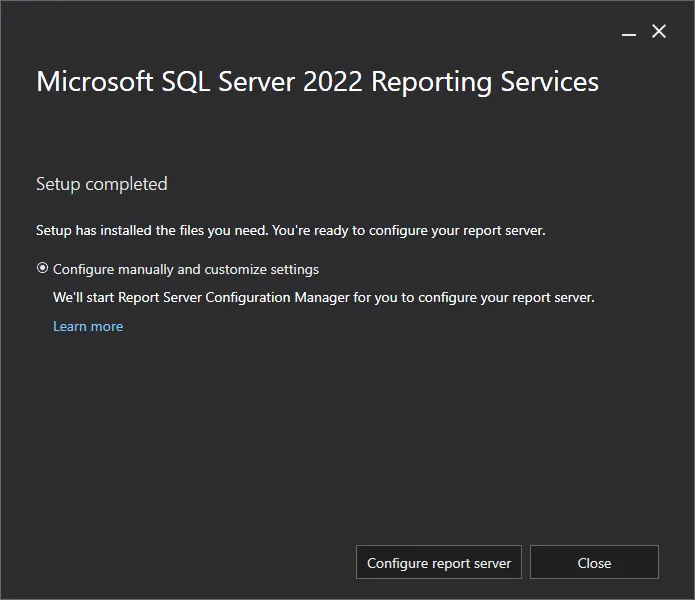
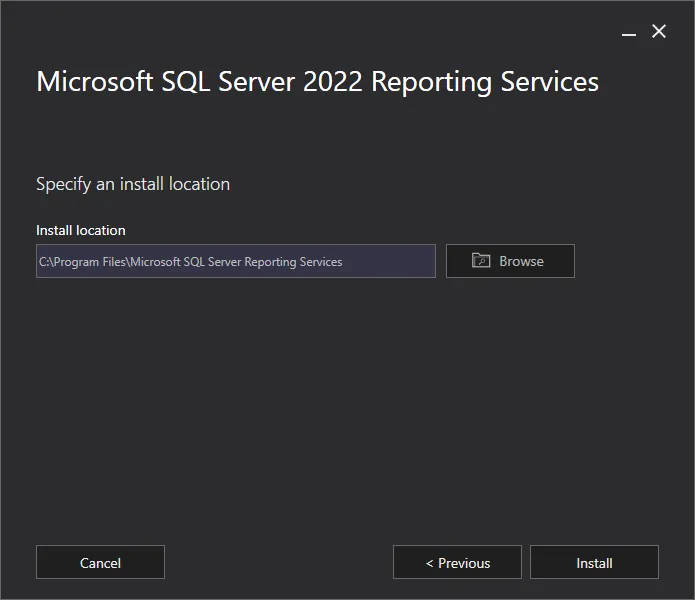
C:\Program Files\Microsoft SQL Server Reporting Services).
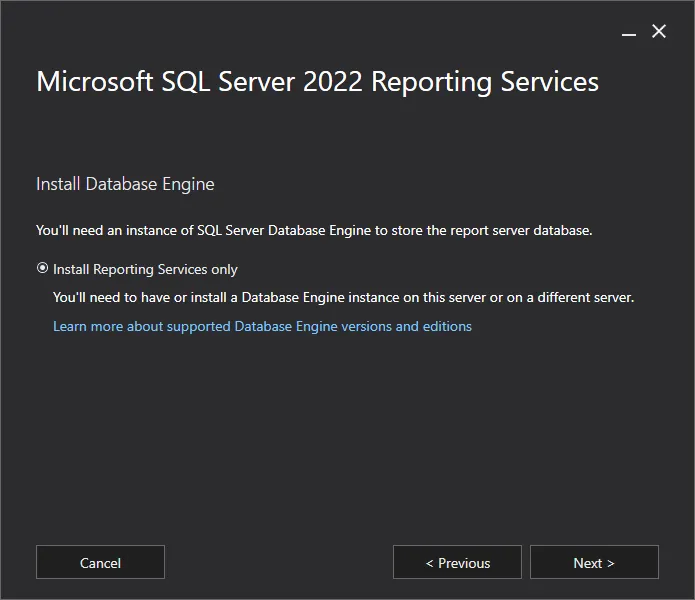
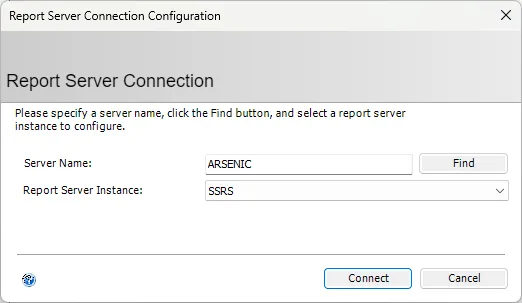
ARSENIC\SSRS section.
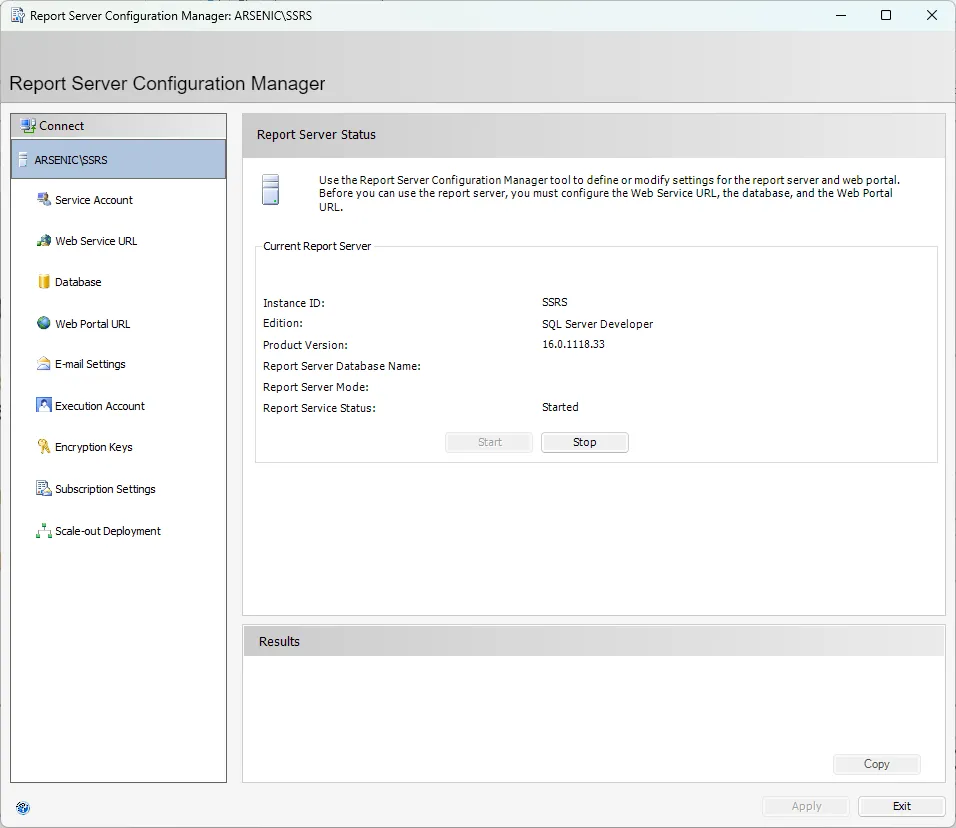
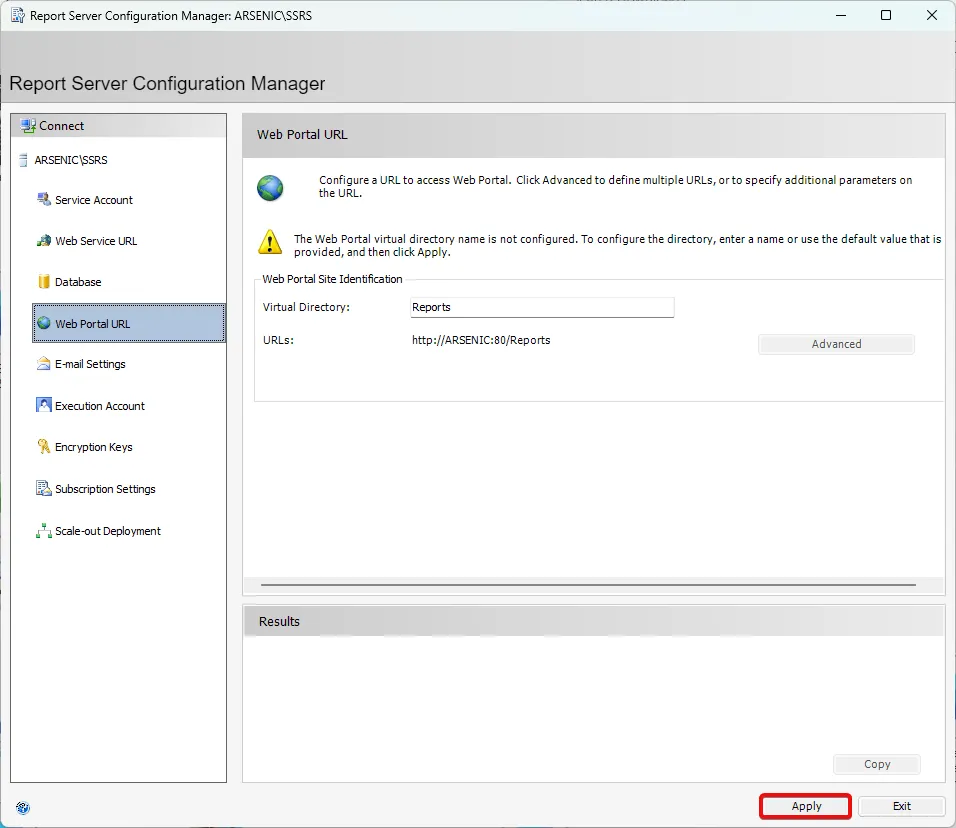
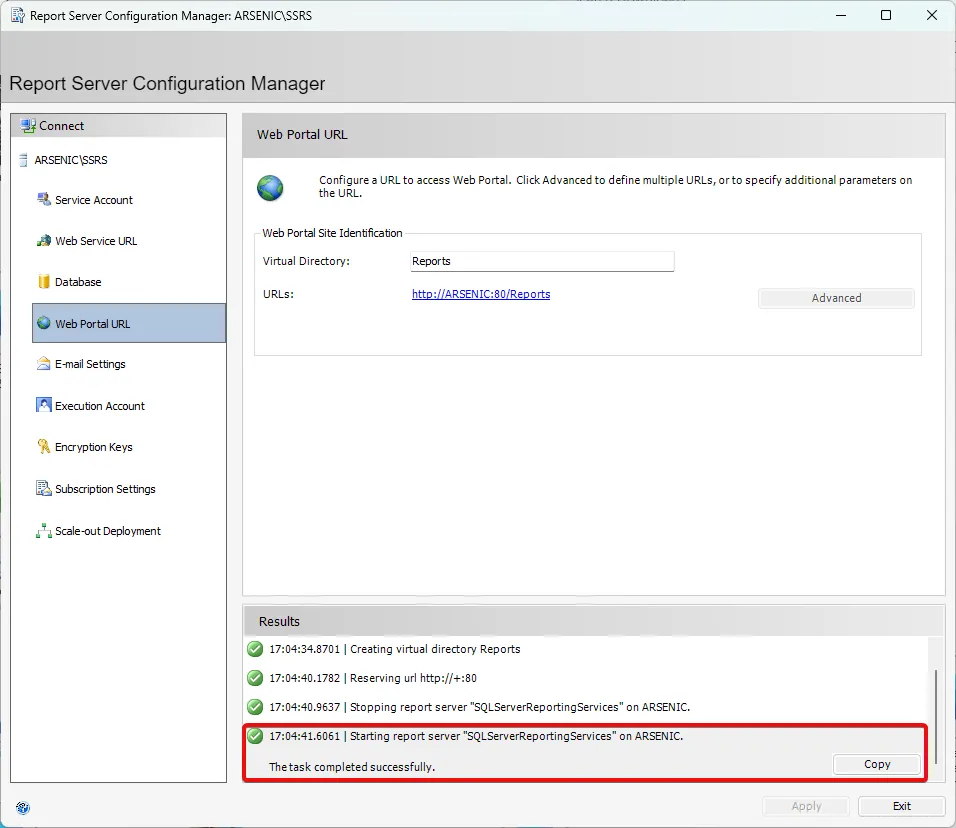
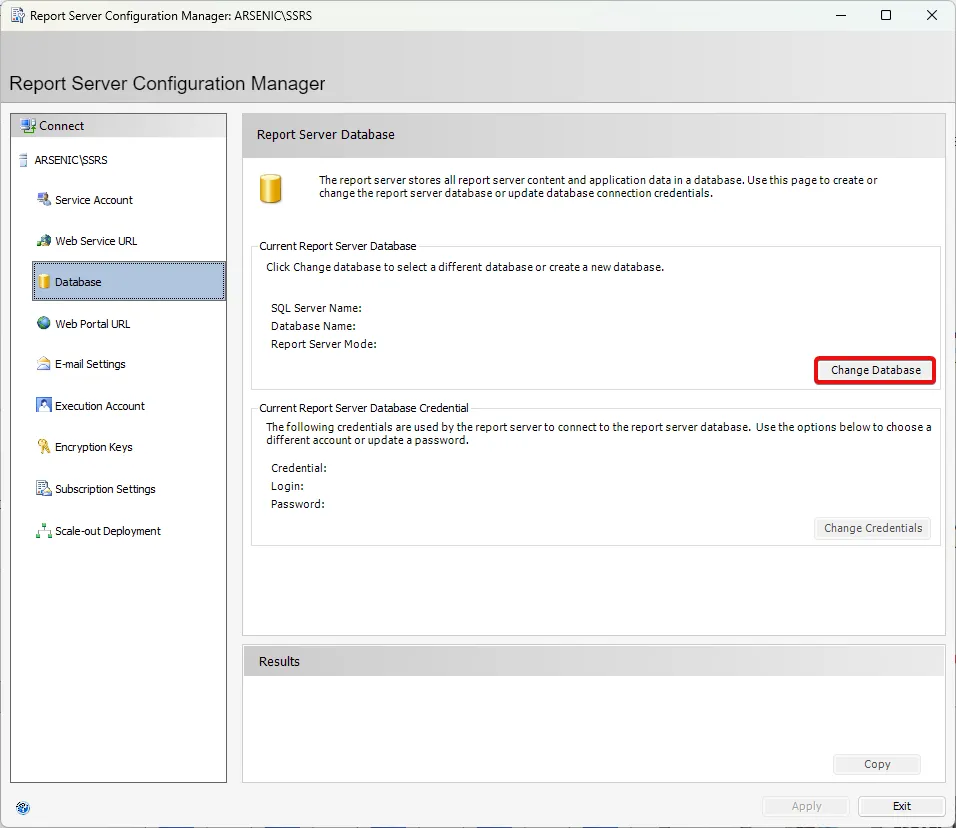
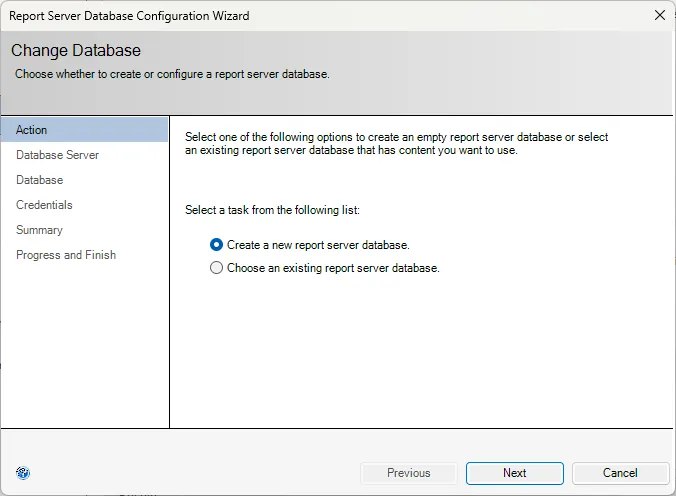
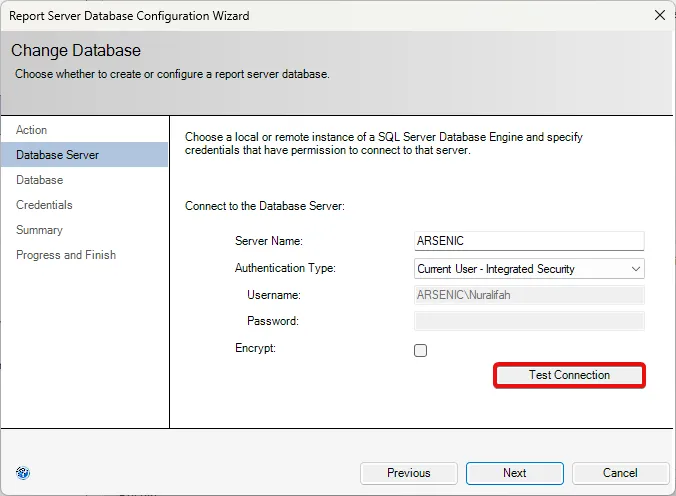
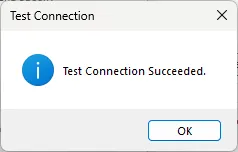
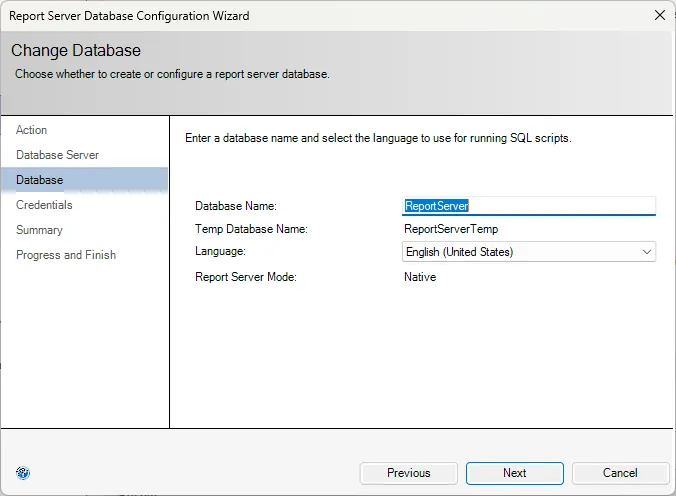
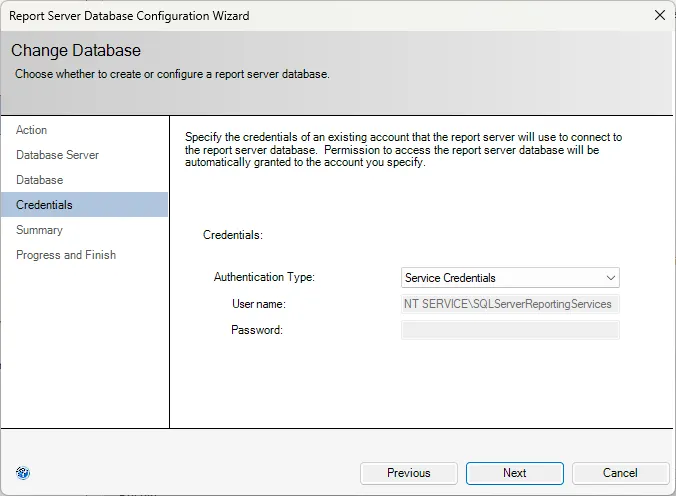
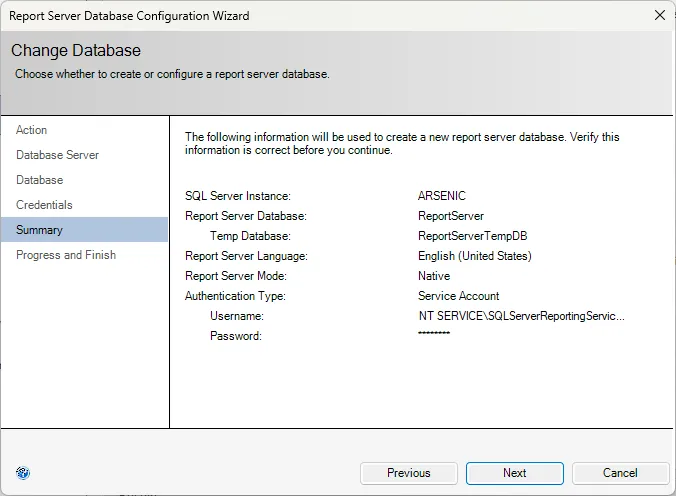
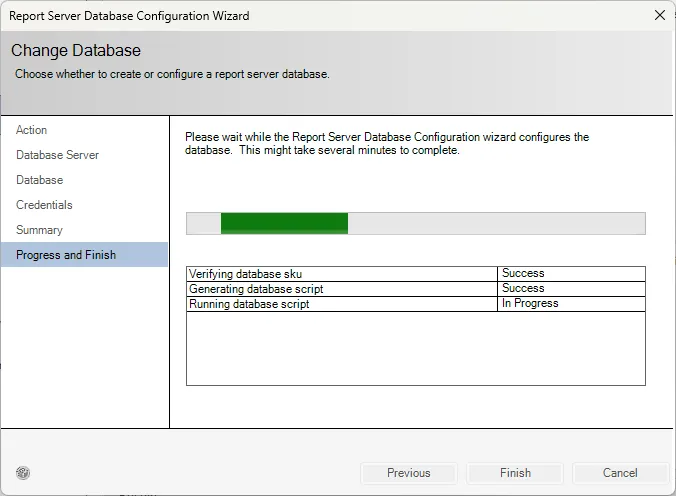
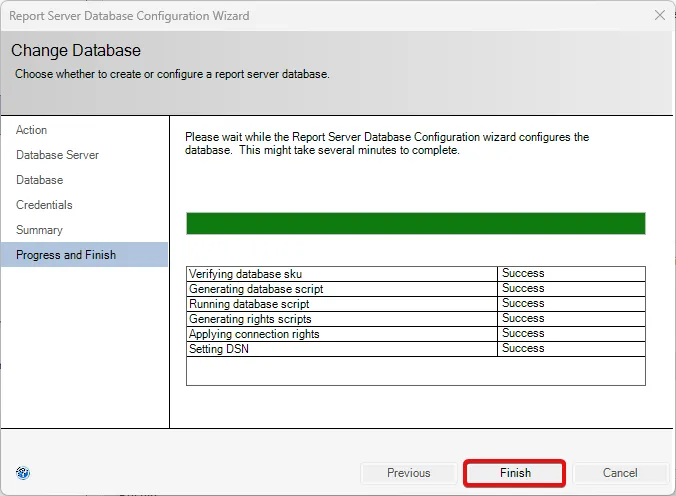
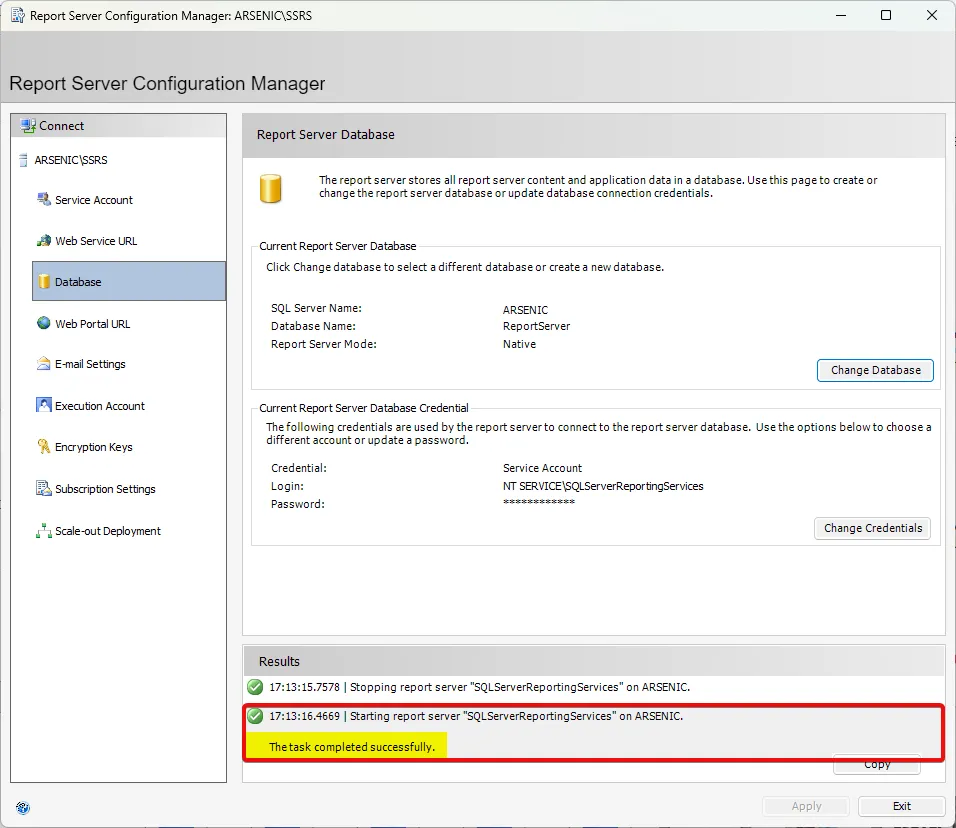
Configure the connection in Reporting Services Integration: Settings.
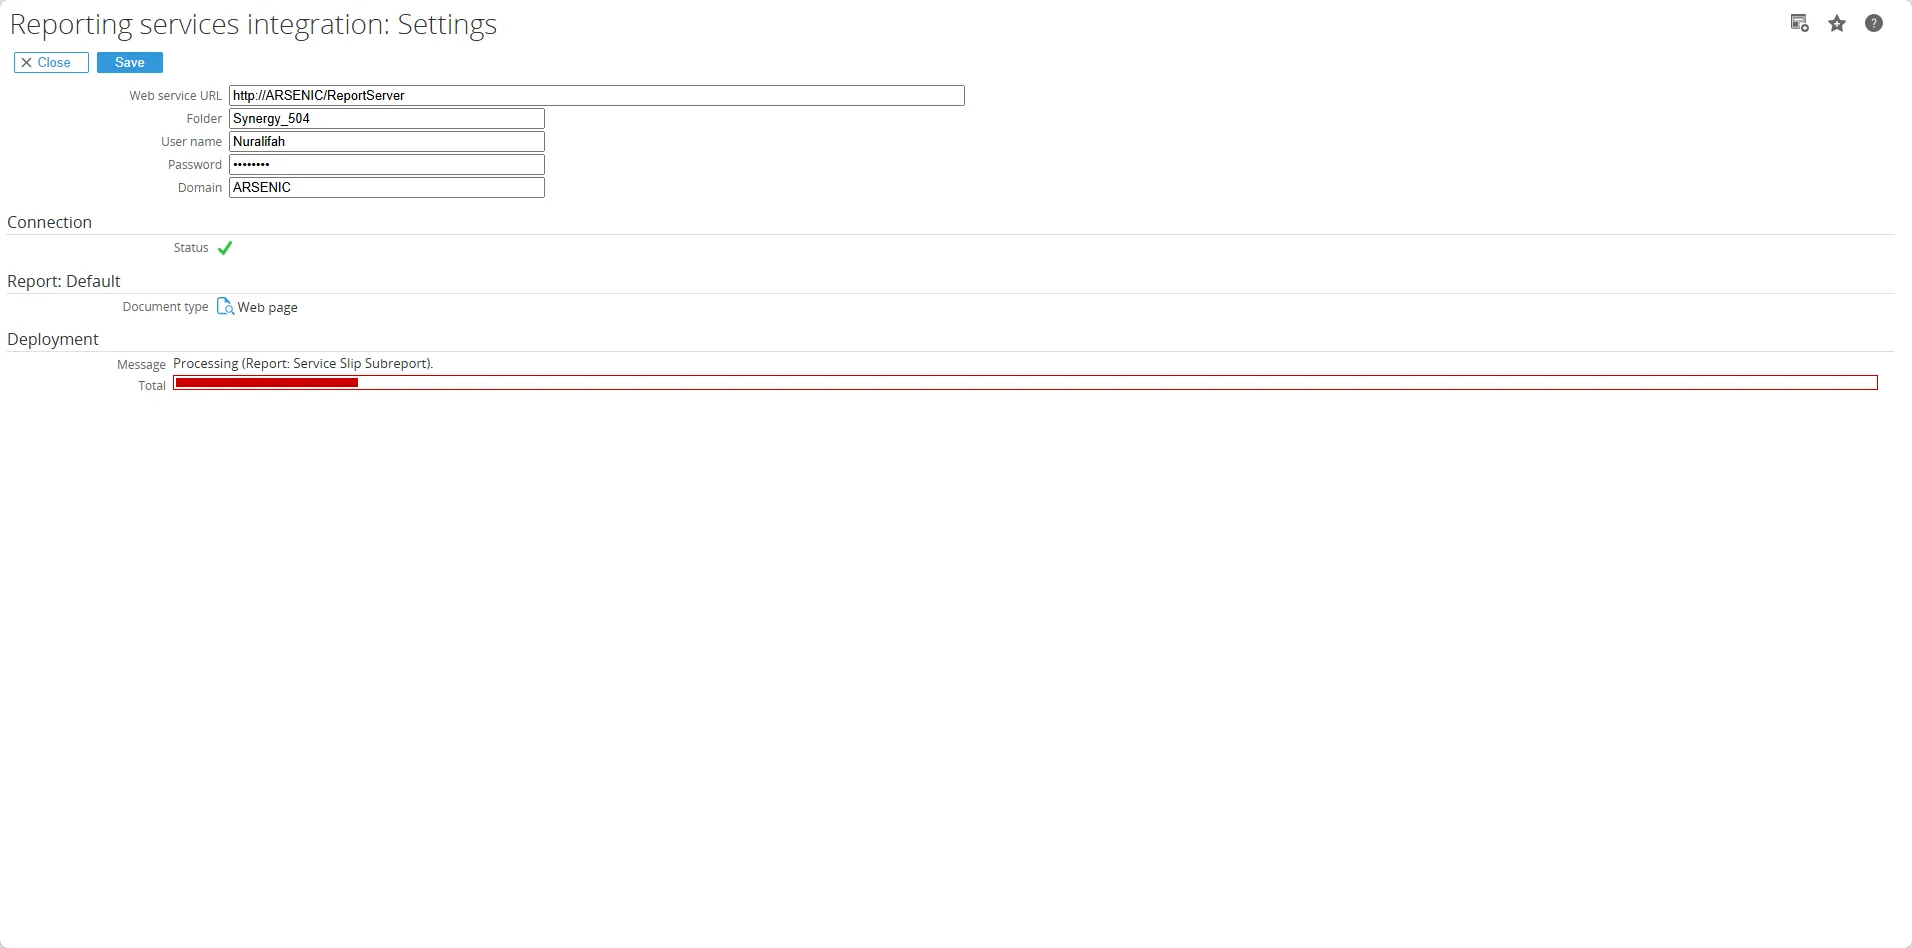
Section titled “Configure the connection in Reporting Services Integration: Settings.”- Now, back in Synergy, go to System > Reporting services integration > Settings.
- Enter and fill in all the connection fields, then click the Save button.
- Wait until the Deployment progress bar completes the Connection status must display a green tick.
Using Reports on Cards and Requests
Section titled “Using Reports on Cards and Requests”Next, try creating a new request:
- Go to the Fields section, add the Report section.
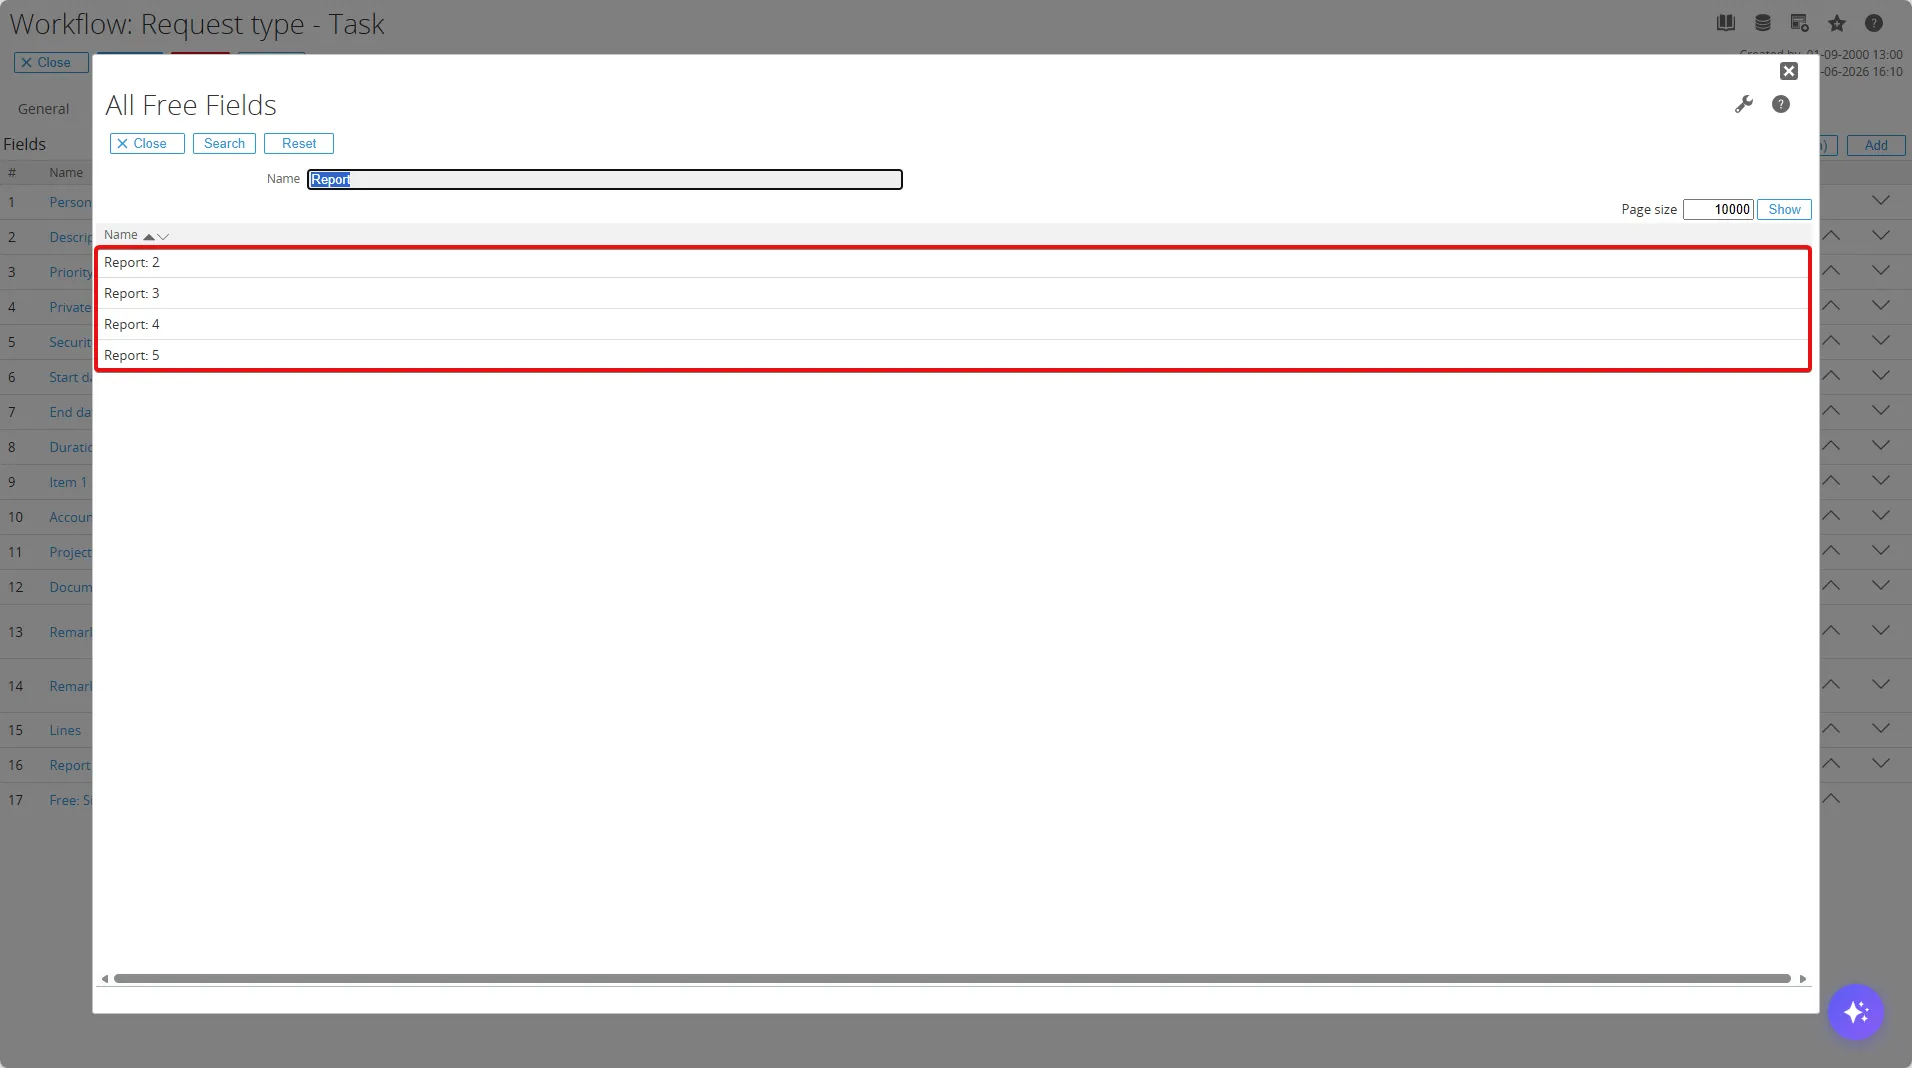
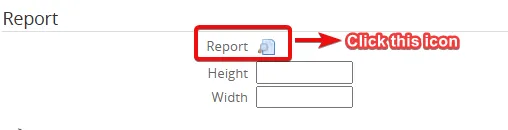
- Scroll down to the Report section, where you can rename the field and adjust the layout scale.
- Search for the Report name you want and click the Save button.
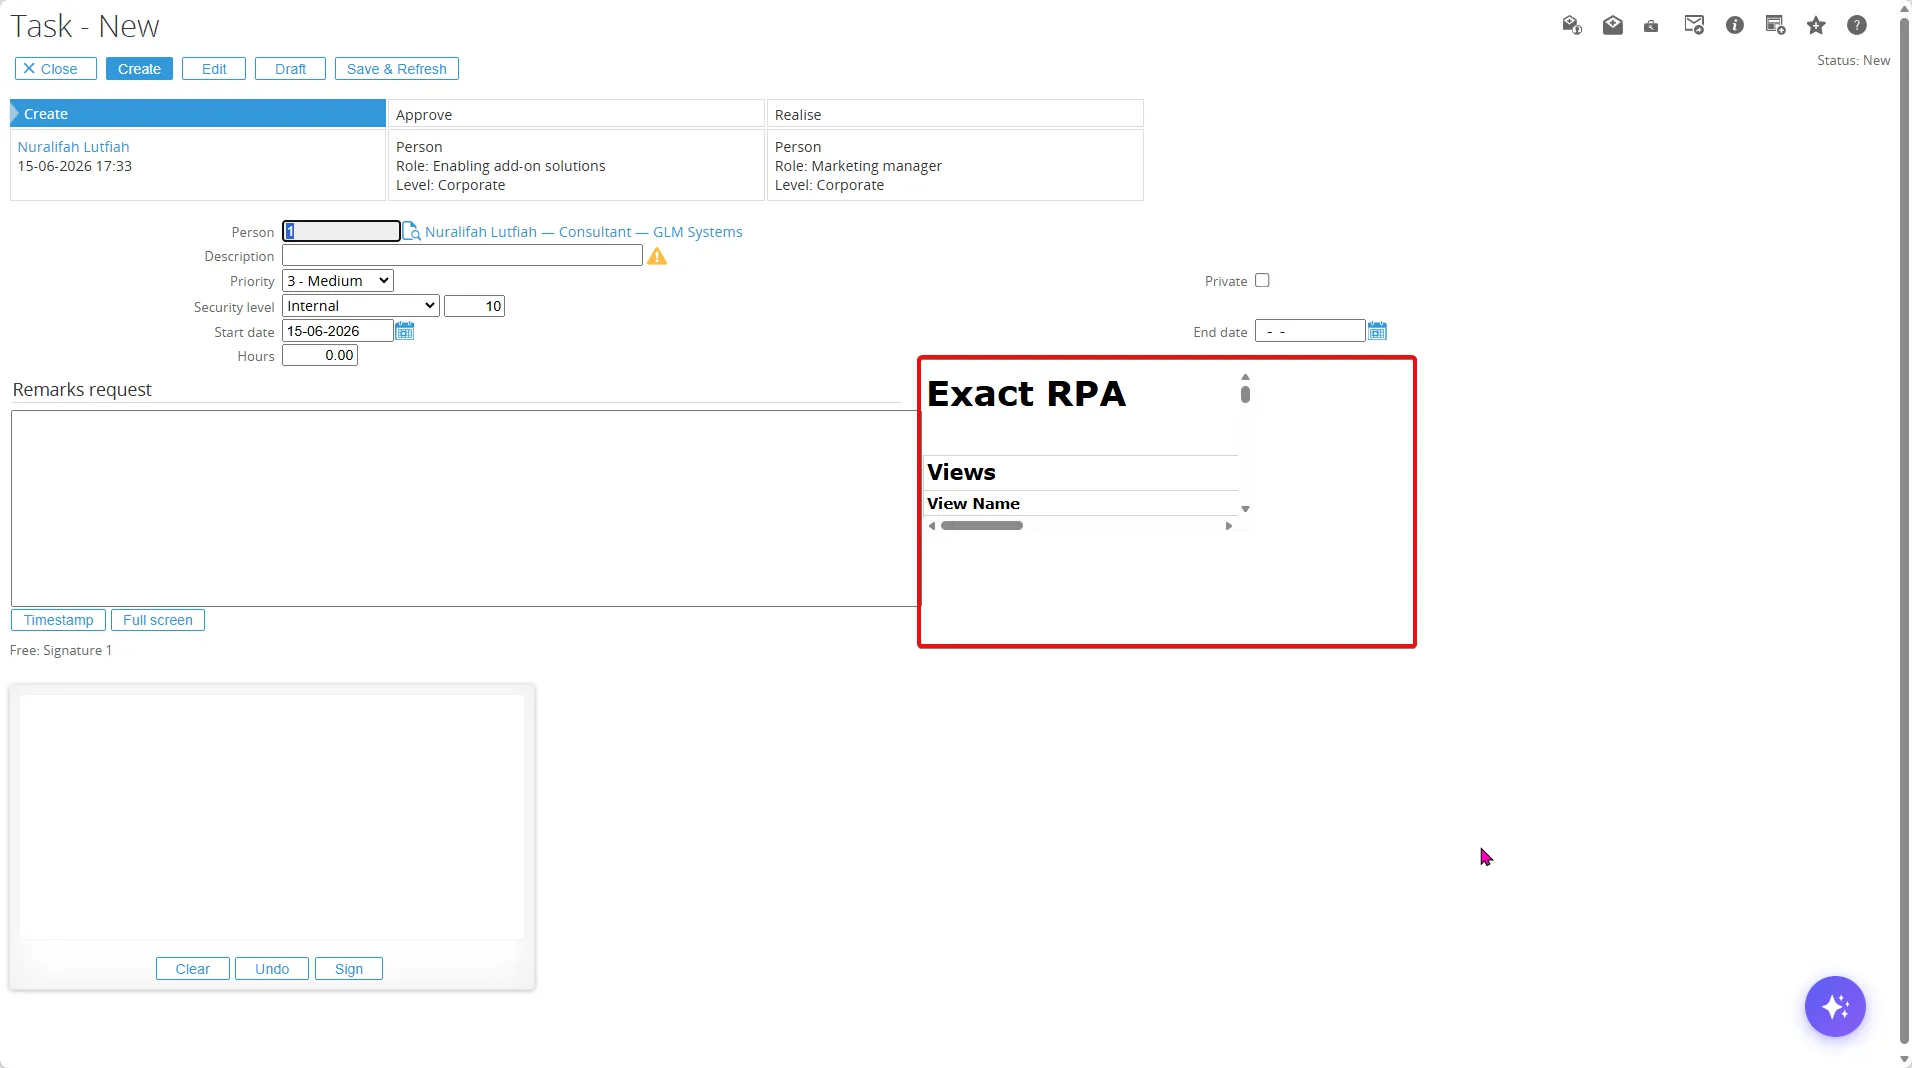
- Now you can see that the Report field has already appeared in the Task request.