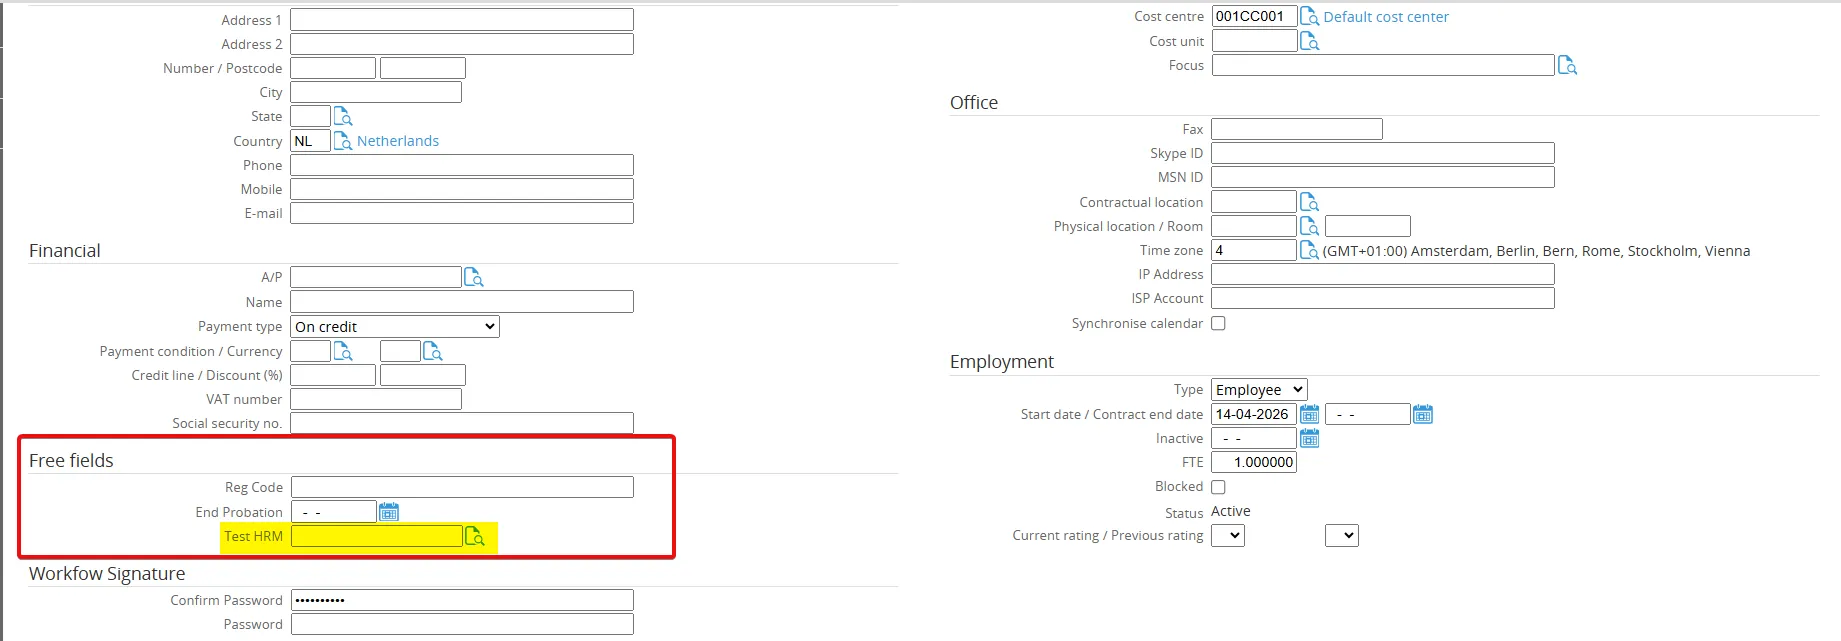
HRM Plus - Person Free Fields
Person free fields
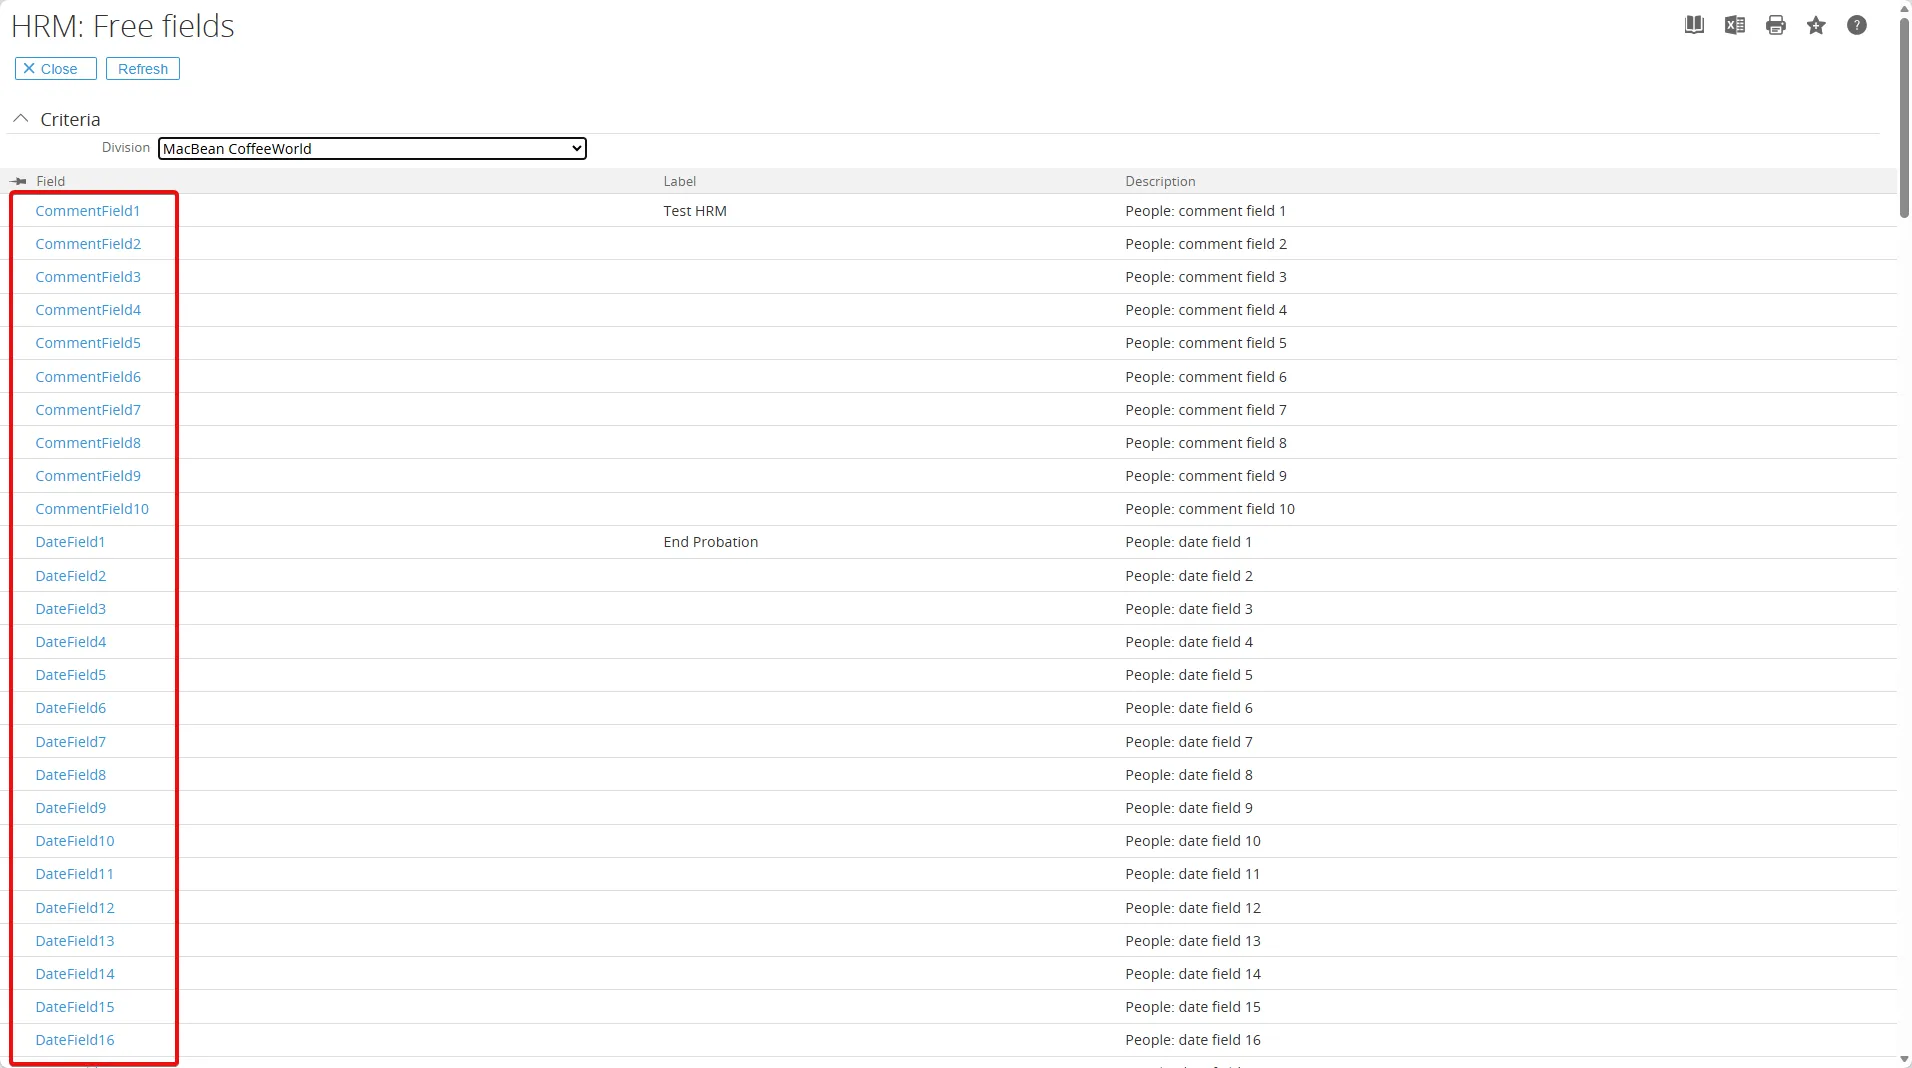
Section titled “Person free fields”- Go to HRM > Setup > General > Free fields
- Choose the Division first,for example: MacBean CoffeeWorld then click the Refresh button.

- Add the free fields you want to use for the person entity. You can add up to 10 free fields for each data type (string, date, and numeric).
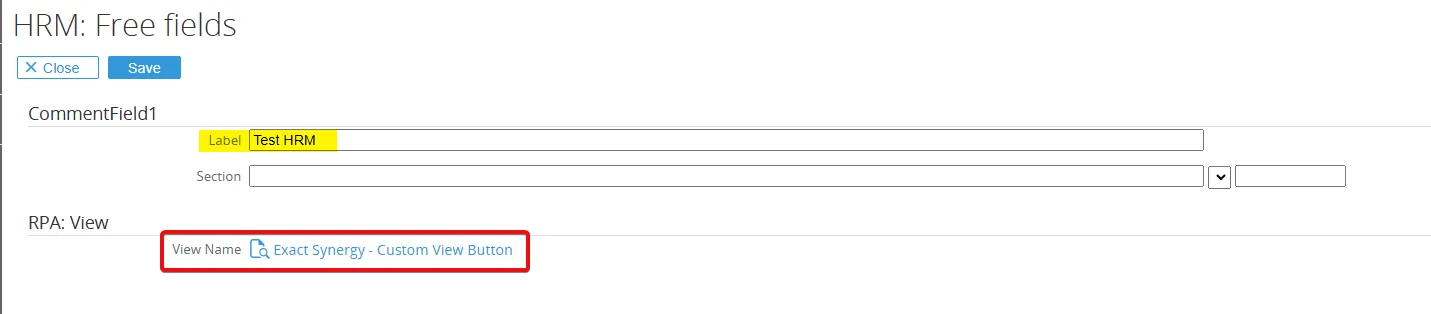
- Enter the label and the section where you want to use the free field, then click Save. In the RPA: View section, you can select and link the view from RPA View, then click Save again. The free field will then be available for use in the specified section.
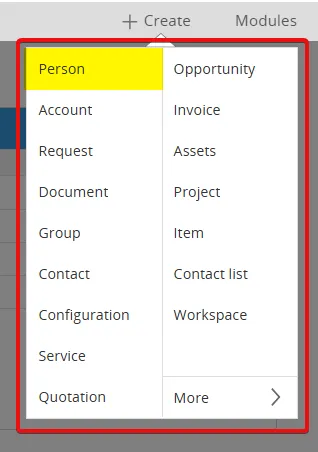
- Next, go to Create > Person
- Click the ALT+U – Customize button.

- Scroll down to the free fields section, you will find the free fields you created in the setup. Tick the new free fields you added earlier.
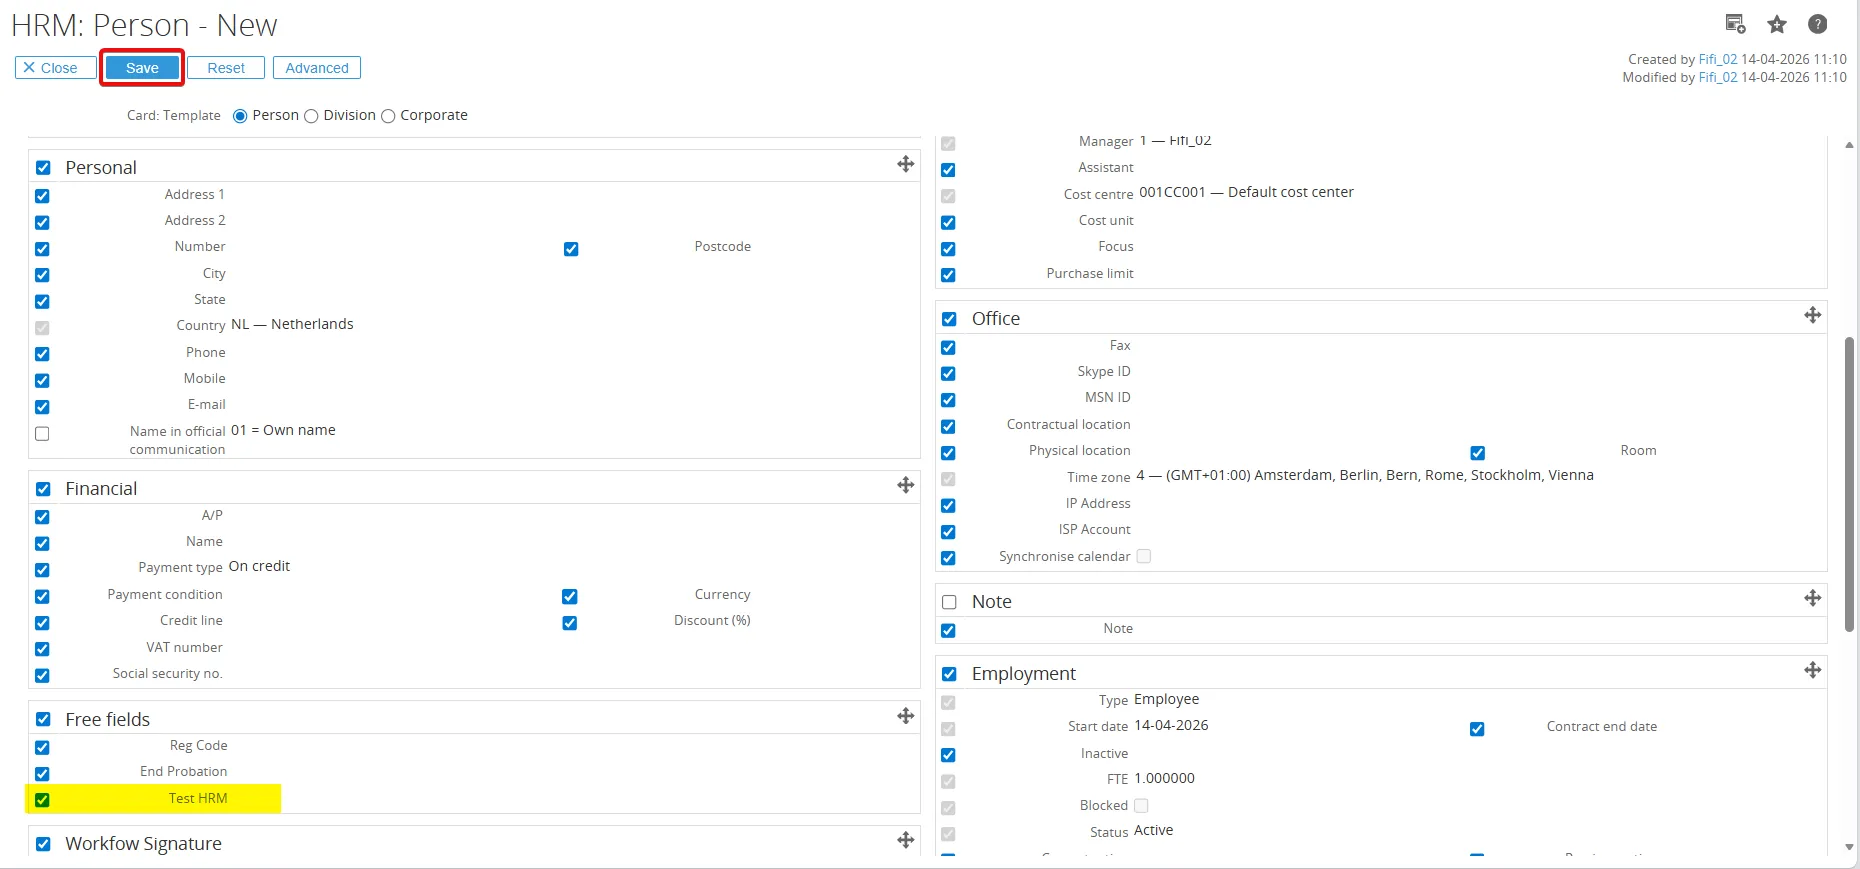
- After that, you can see the free fields on the person form and fill in the information, which will link to the RPA view you selected in the setup, and you can use this information in the workflow process.