CRM Plus - Contacts Free Fields
-
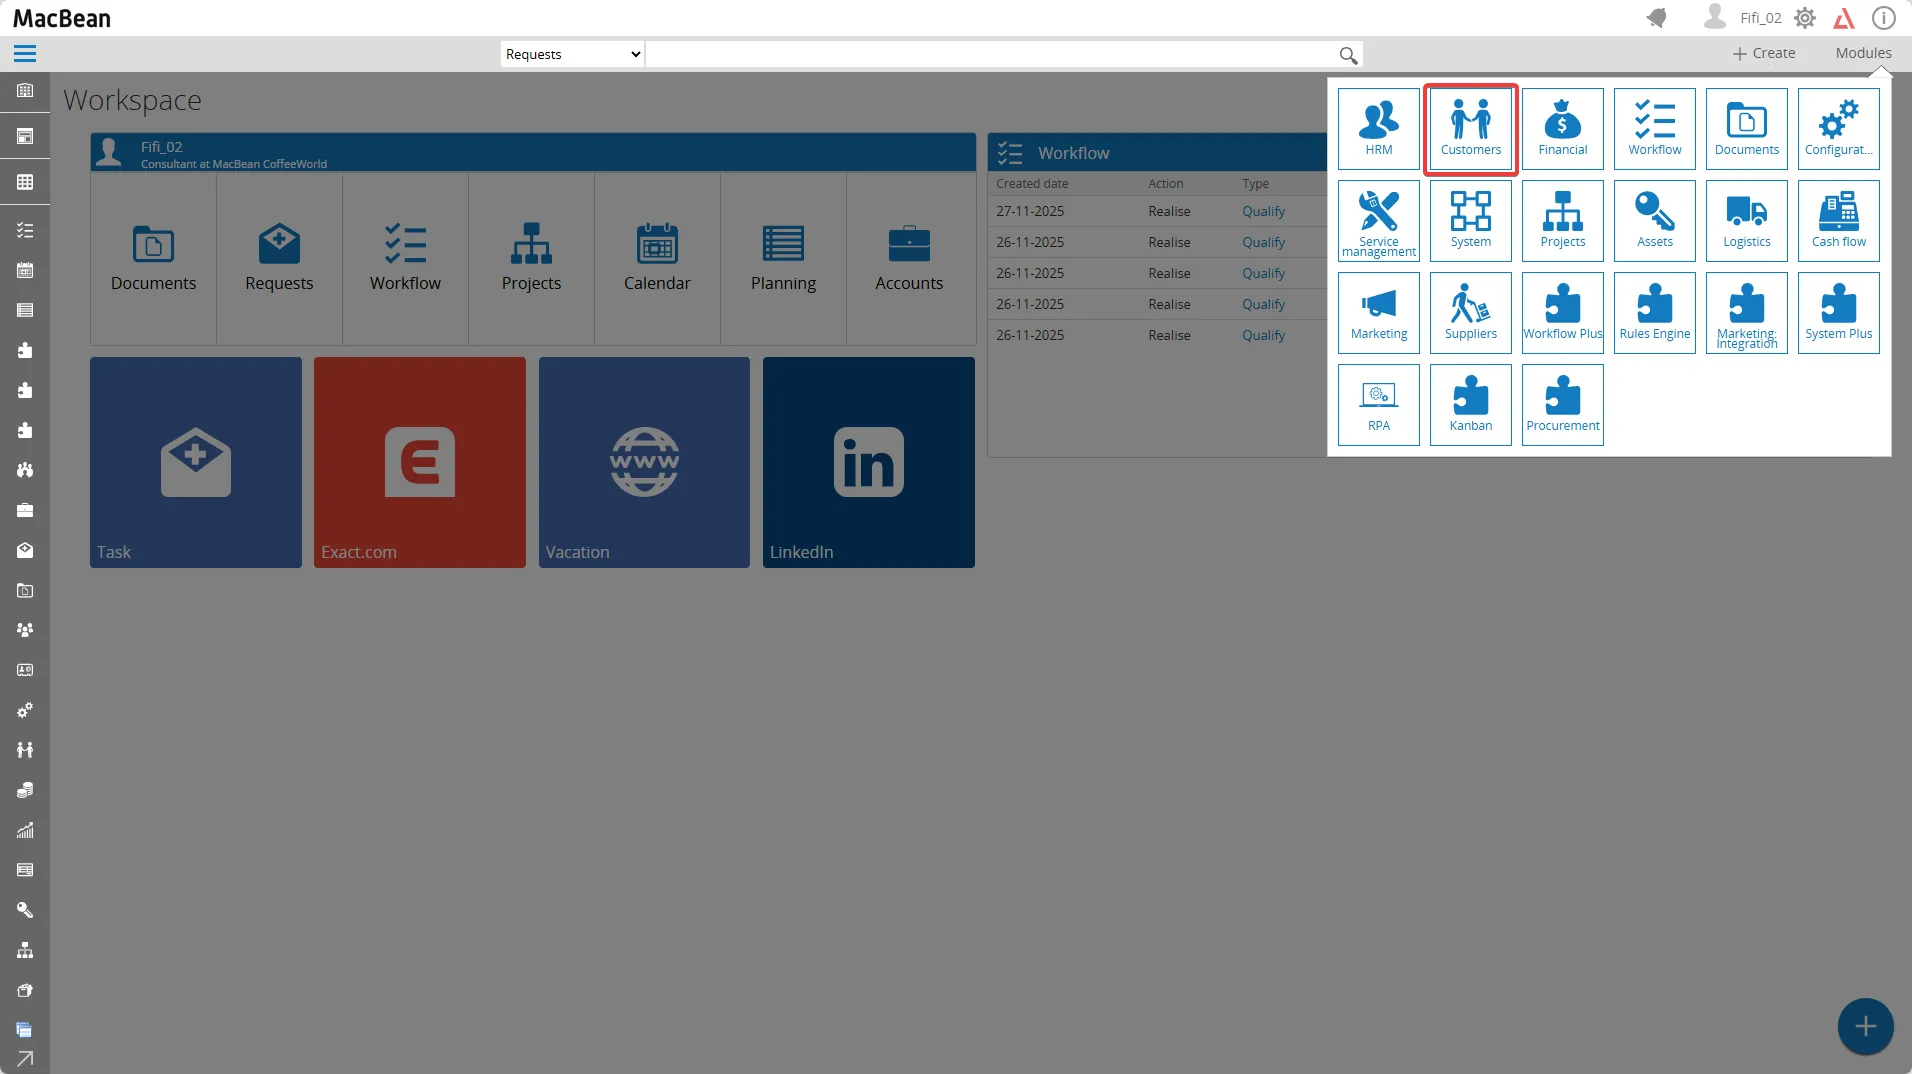
Go to Modules > Customers
-
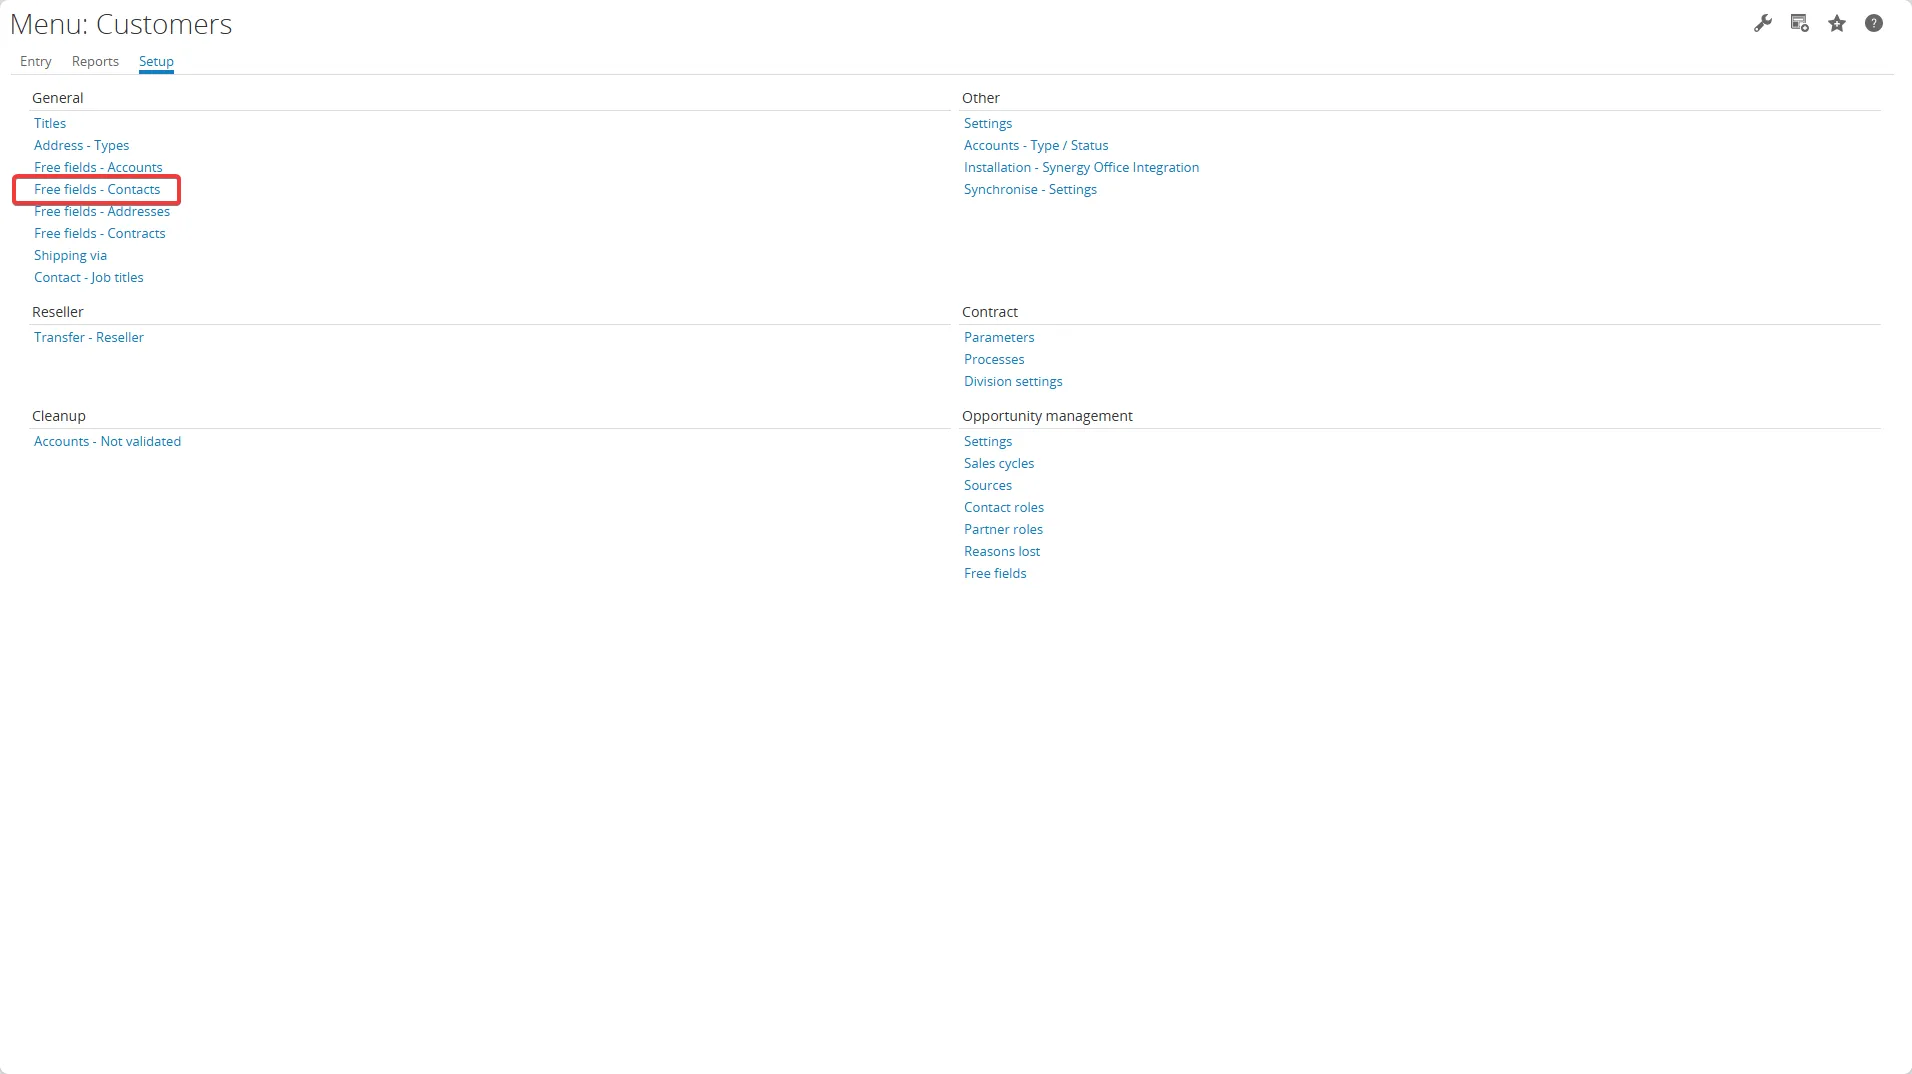
Setup > Free fields - Contacts
-
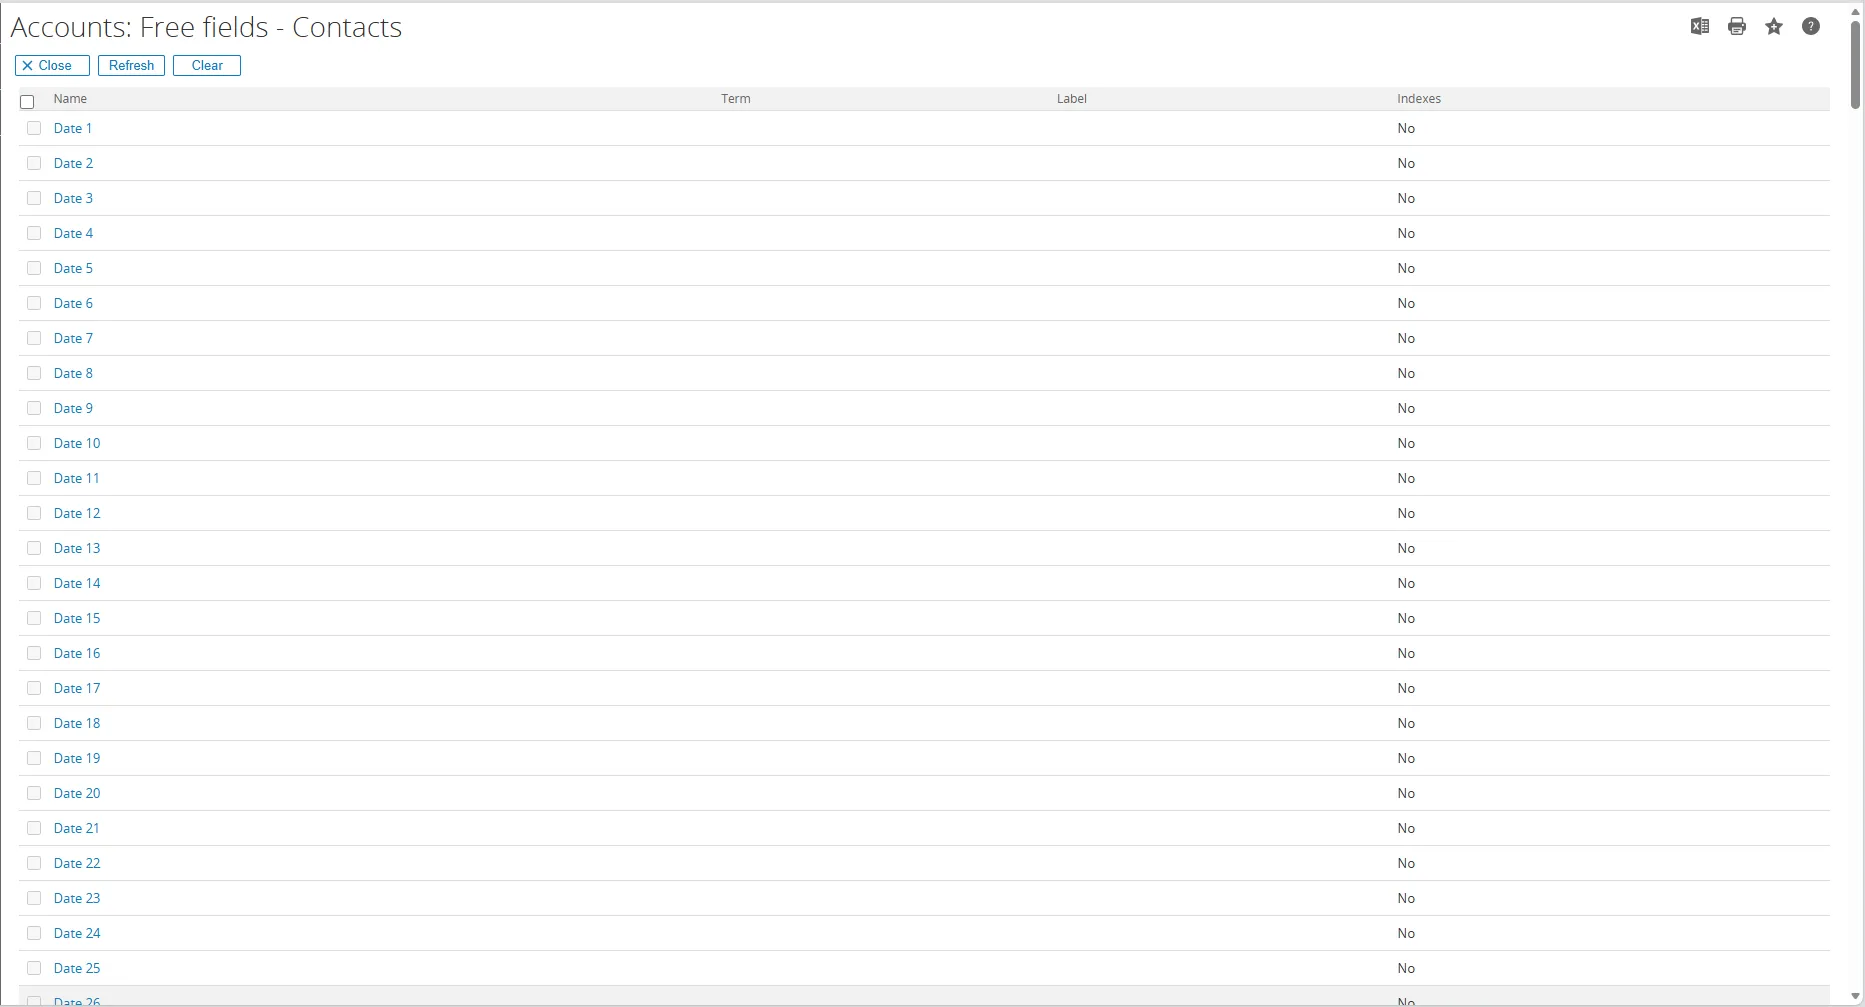
You can customise the free fields based on this field types:
- Date: for fields that store dates
- Amount: for fields that store numeric values with amounts
- Comment: for fields that store comments or longer text
- Text: for fields that store general text
- Yes/No: for fields that store yes or no (boolean values)
- GUID: for fields that store a globally unique identifier
- Number: for fields that store numeric values
-
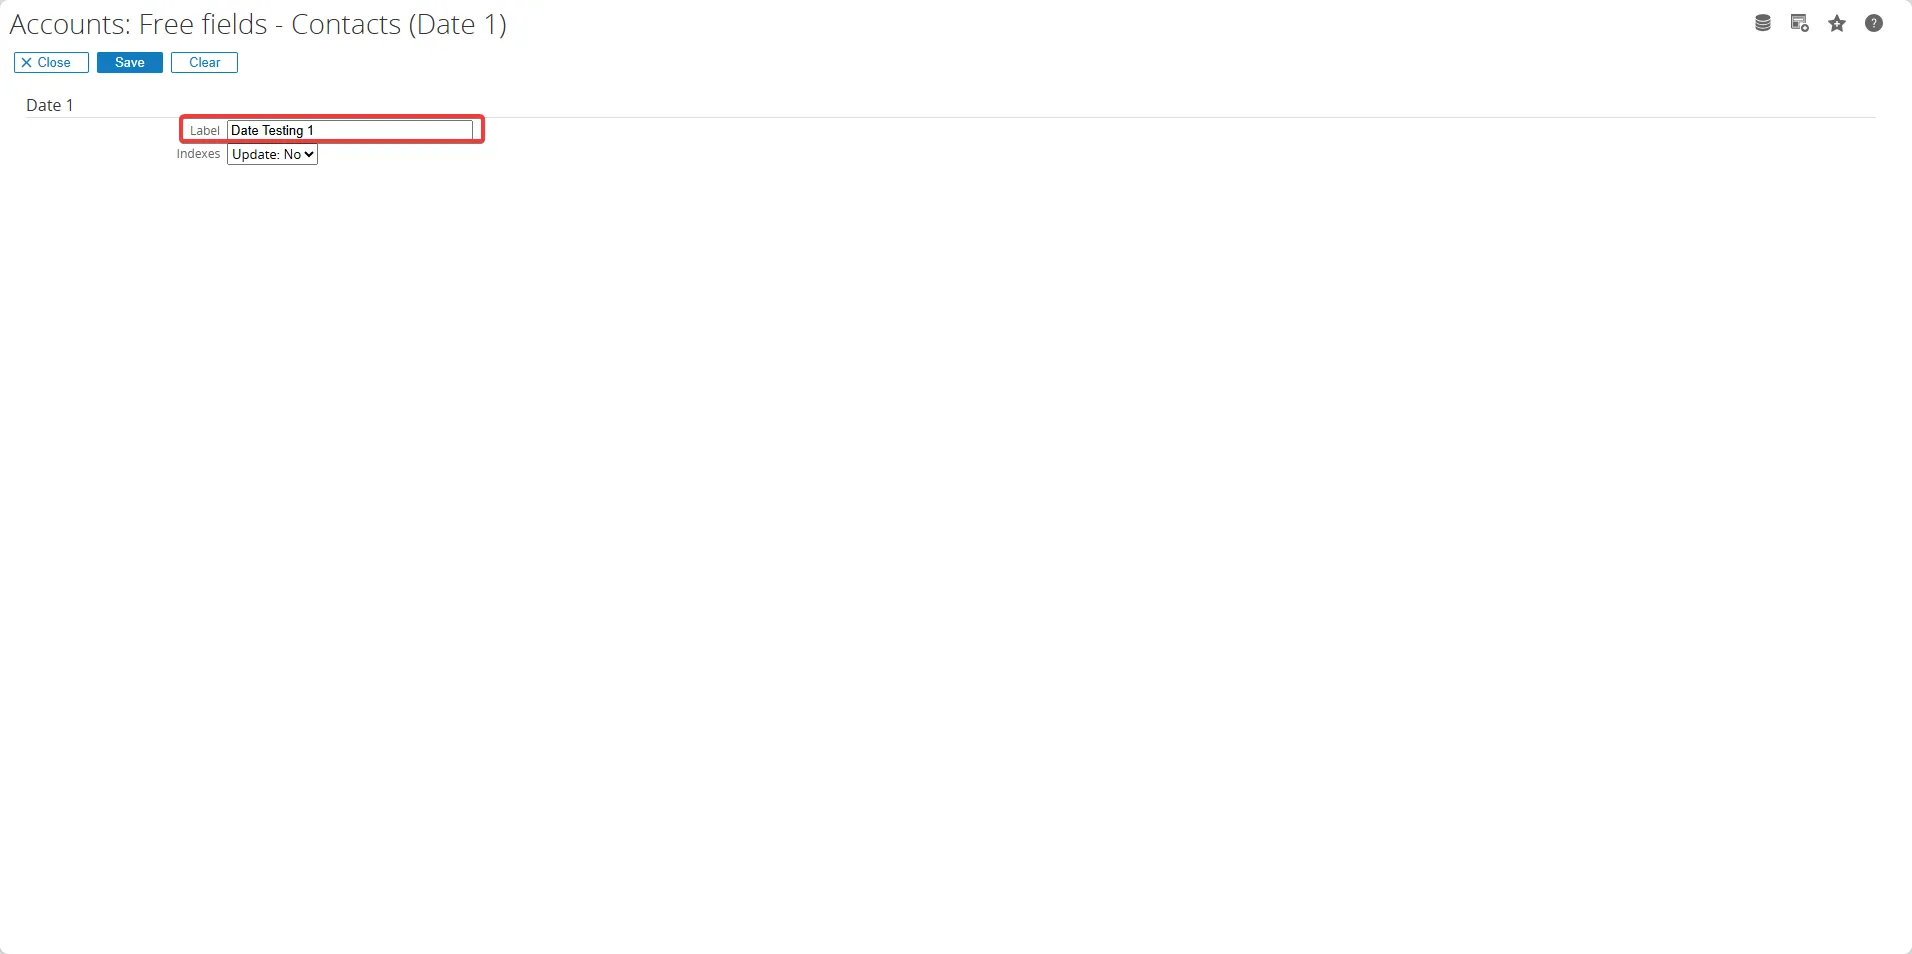
In this section, I want to add a Date - type free field. Just click the Date 1 label
-
You can also rename the label of the free field. For example, rename the label to Date Testing 1
-
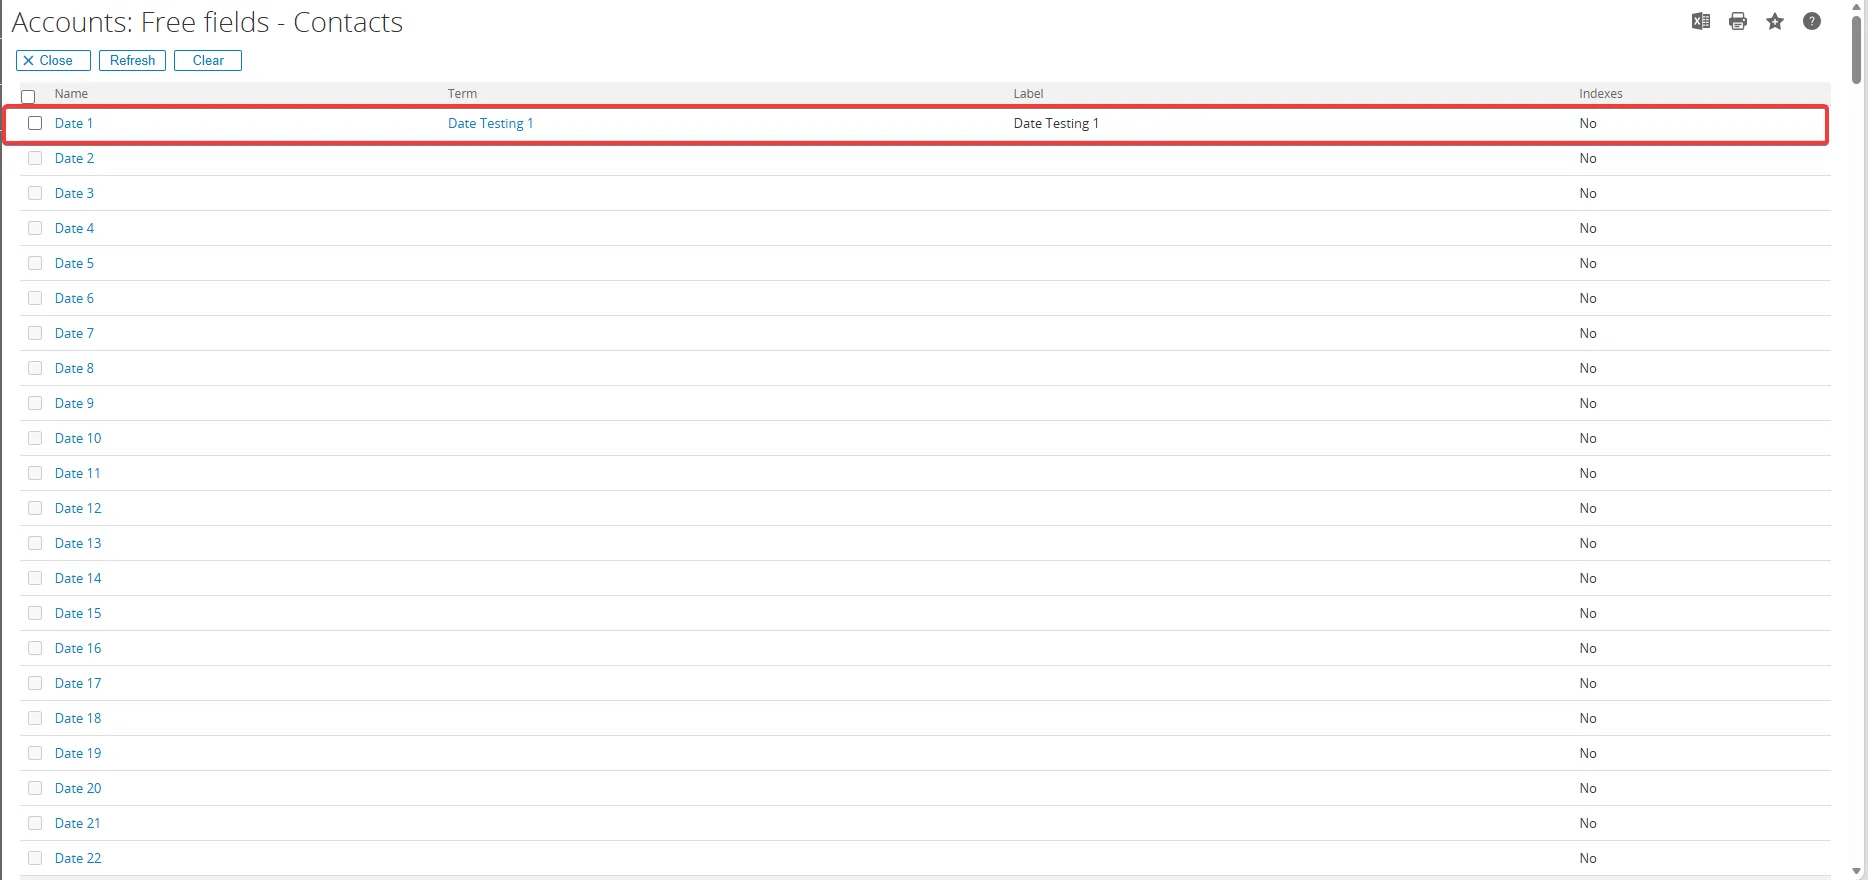
Repeat these steps for every additional free field you want to add
-
On the GUID free fields section, you can choose the additional settings for the Reference, Selection, and View Name sections:
1. Reference Section
You can choose the reference data that you want to link with the free fields based on :
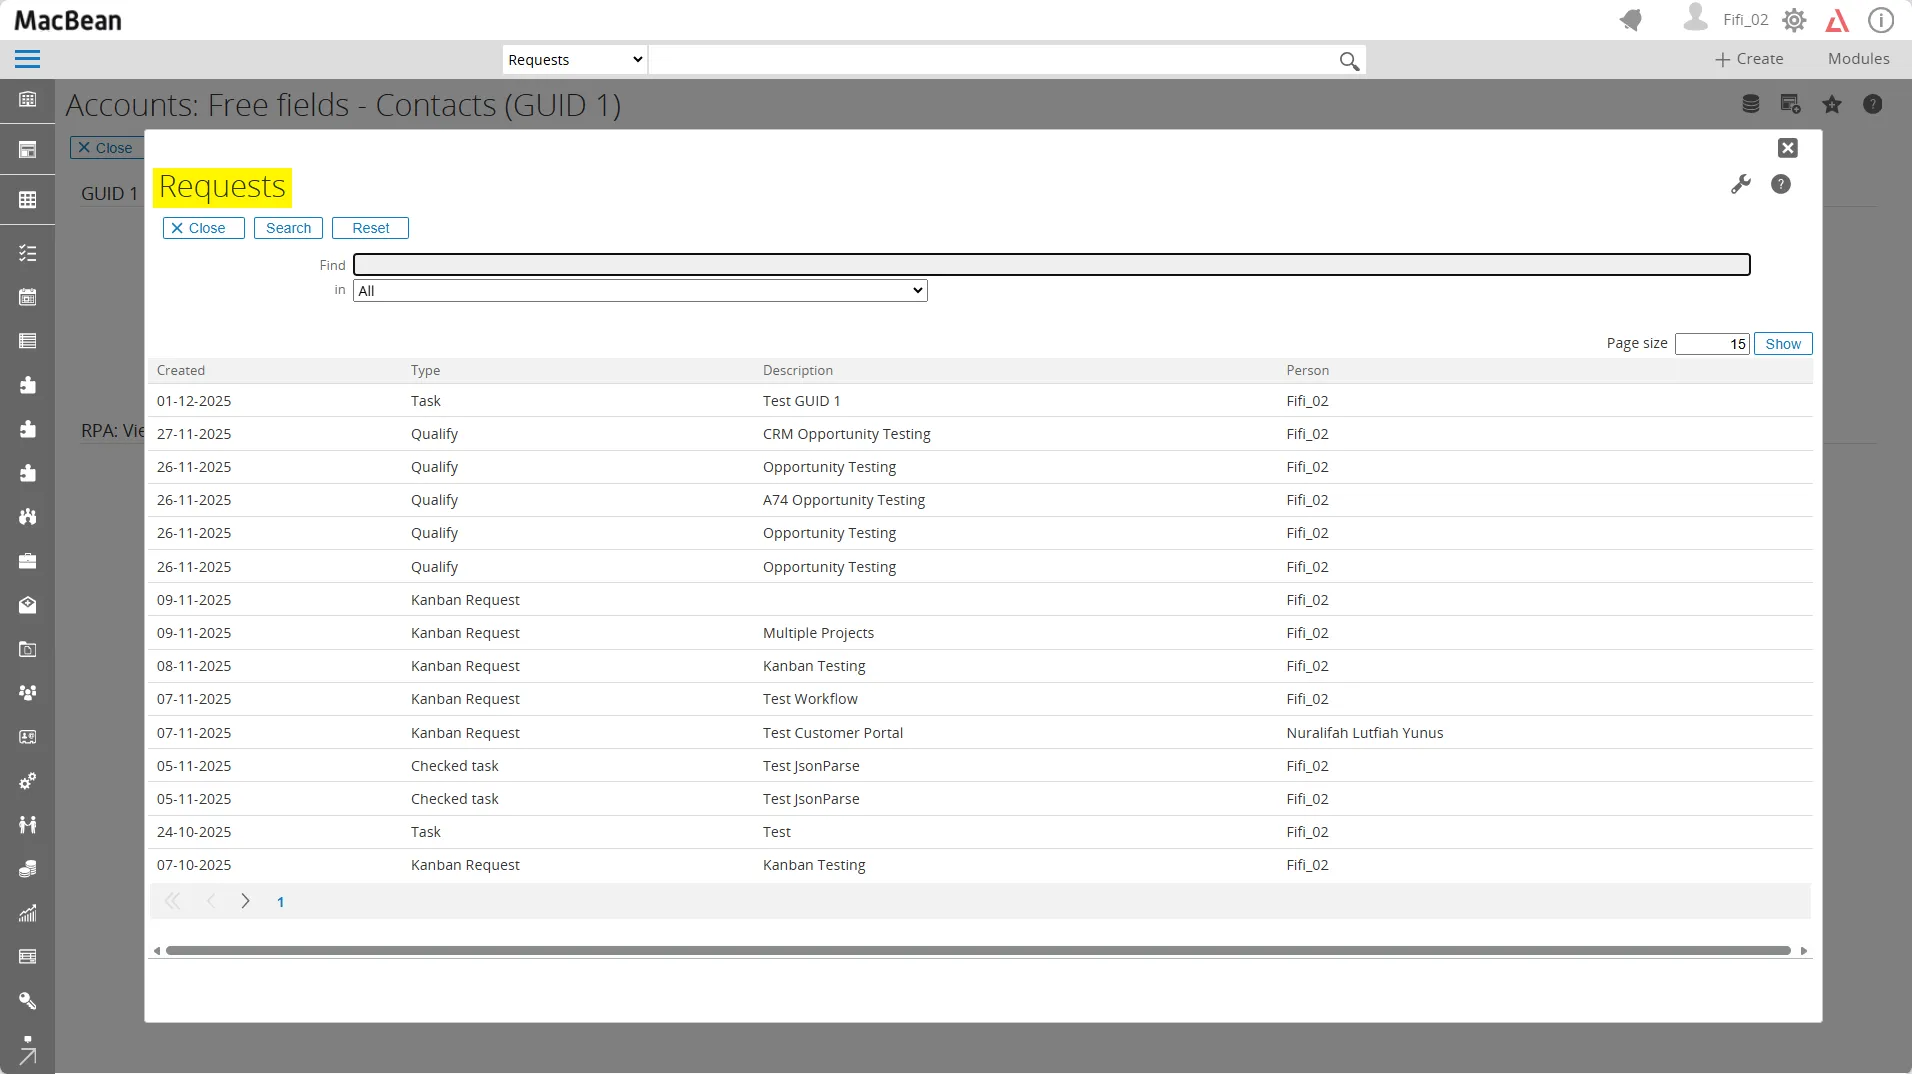
- Requests : will give you the list of existing requests
Choose the reference data based on Requests and click the Show button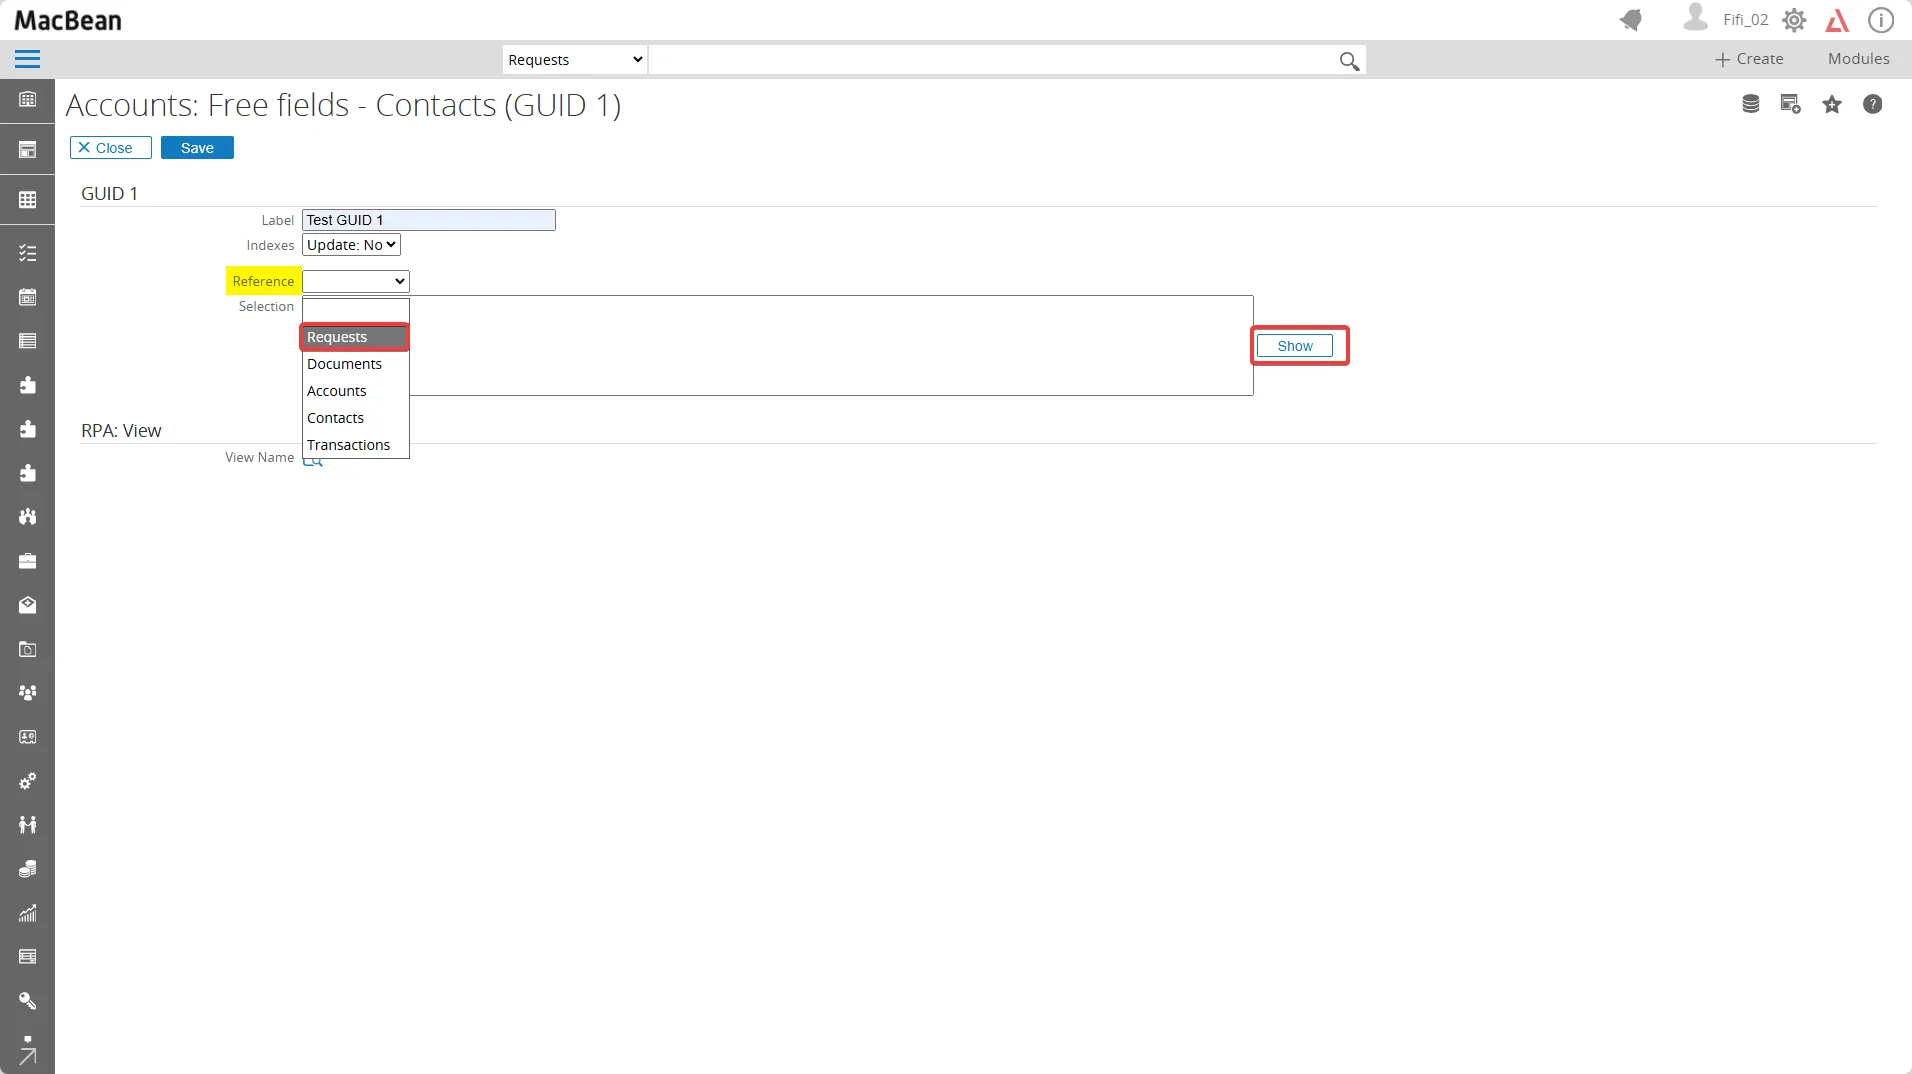
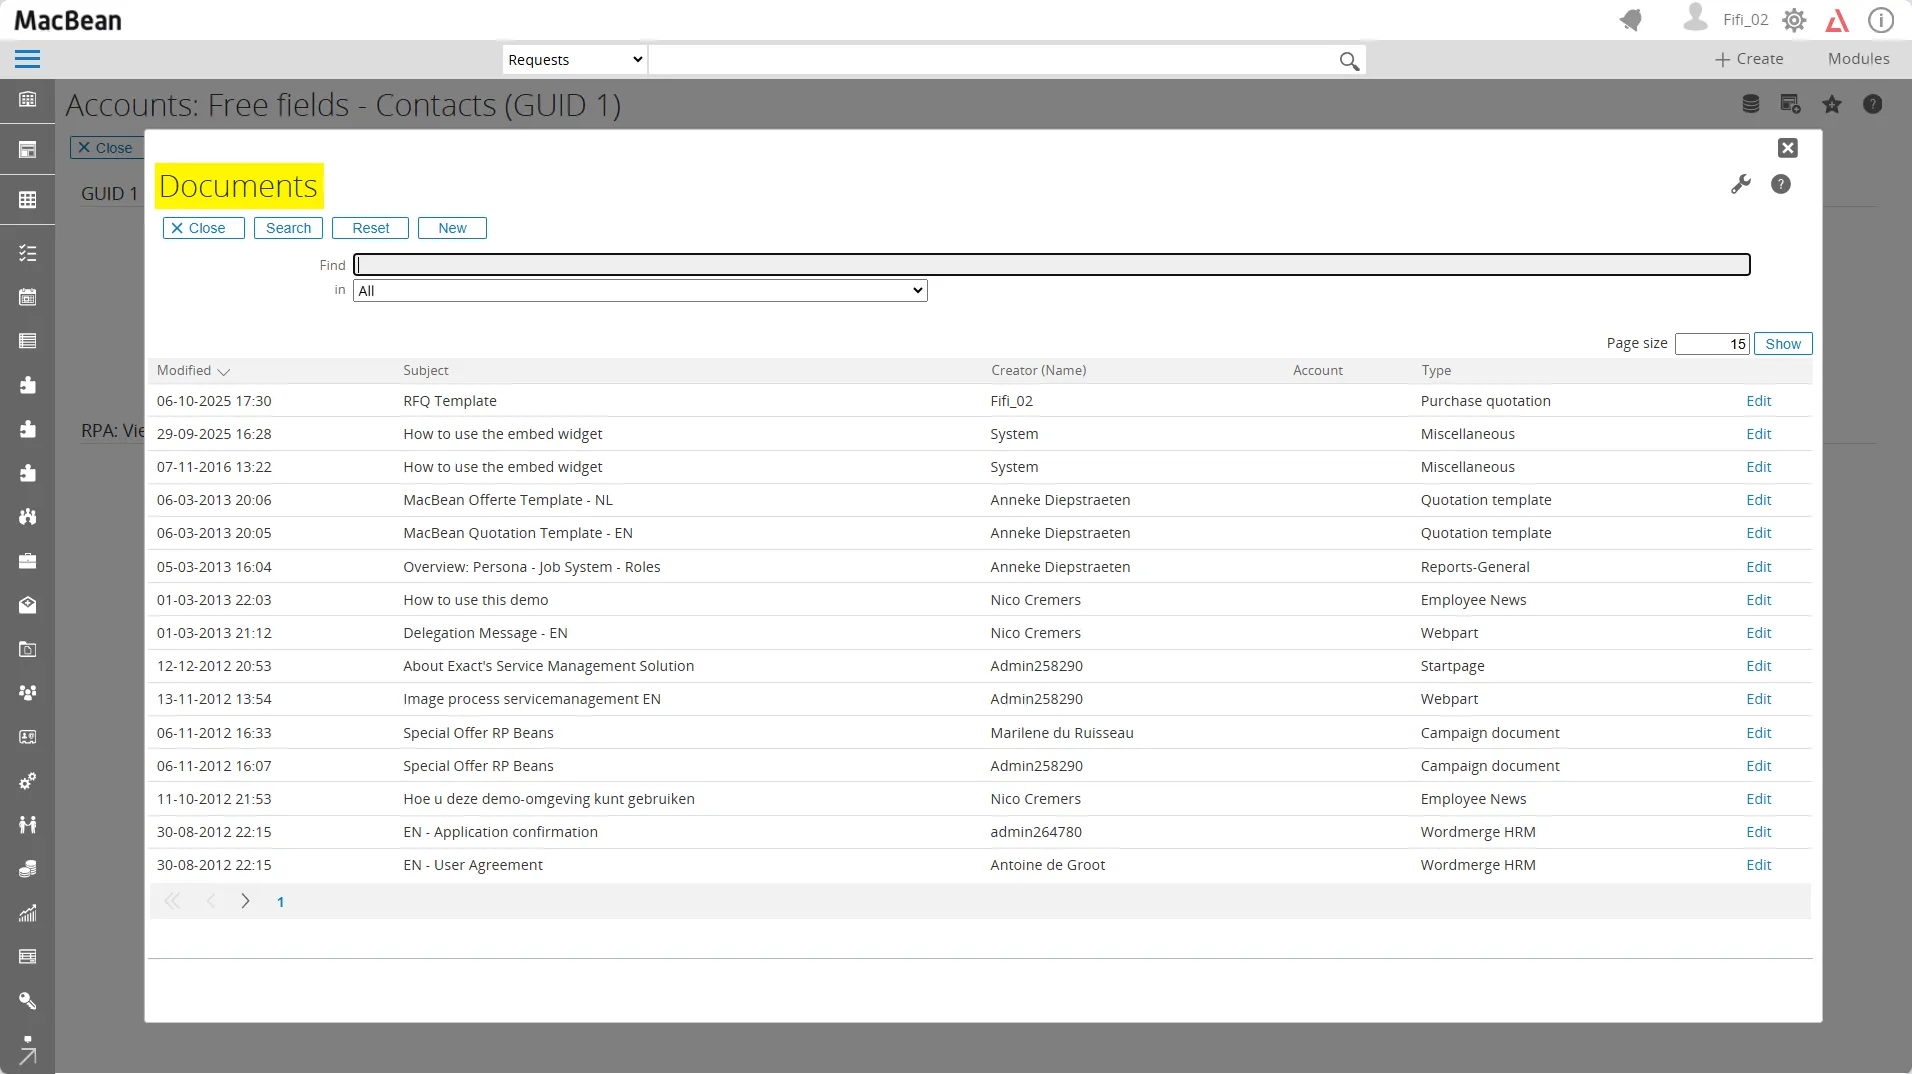
- Documents : will give you the list of existing documents
Choose the reference data based on Documents and click the Show button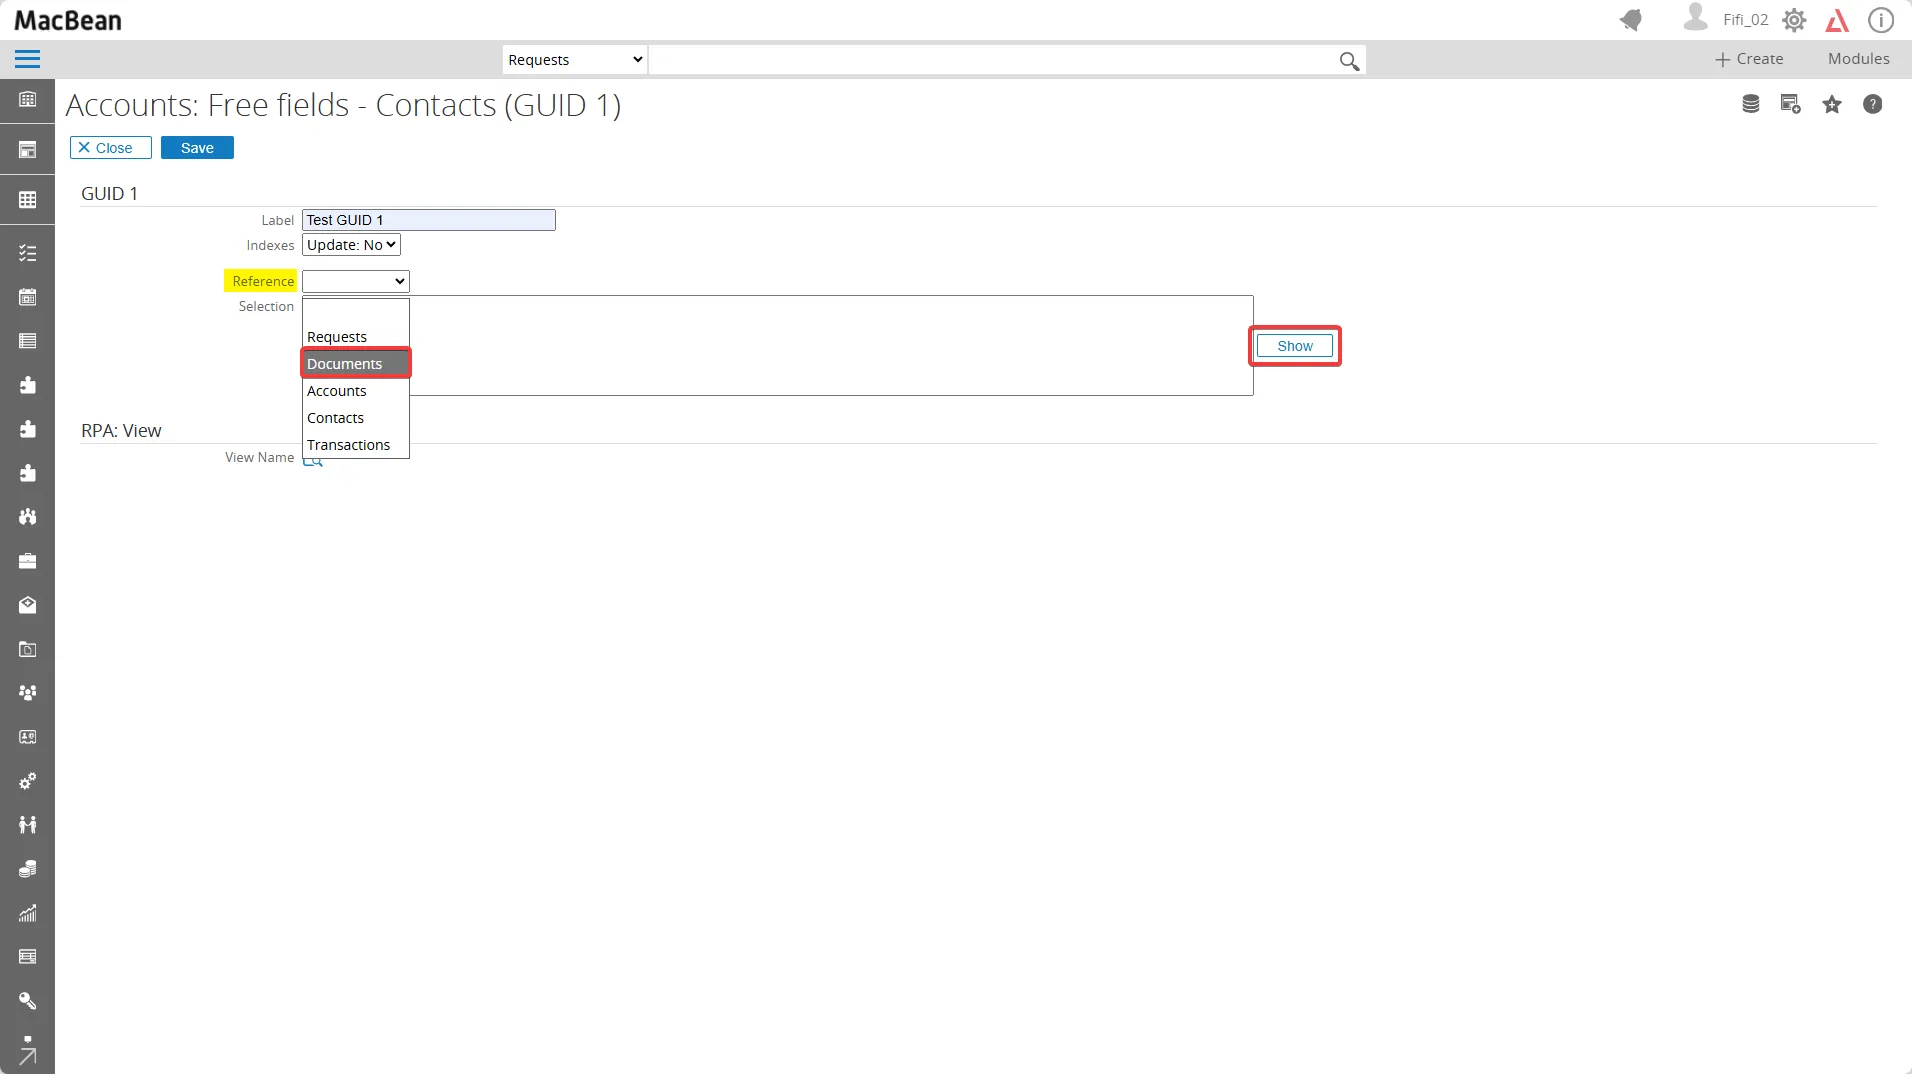
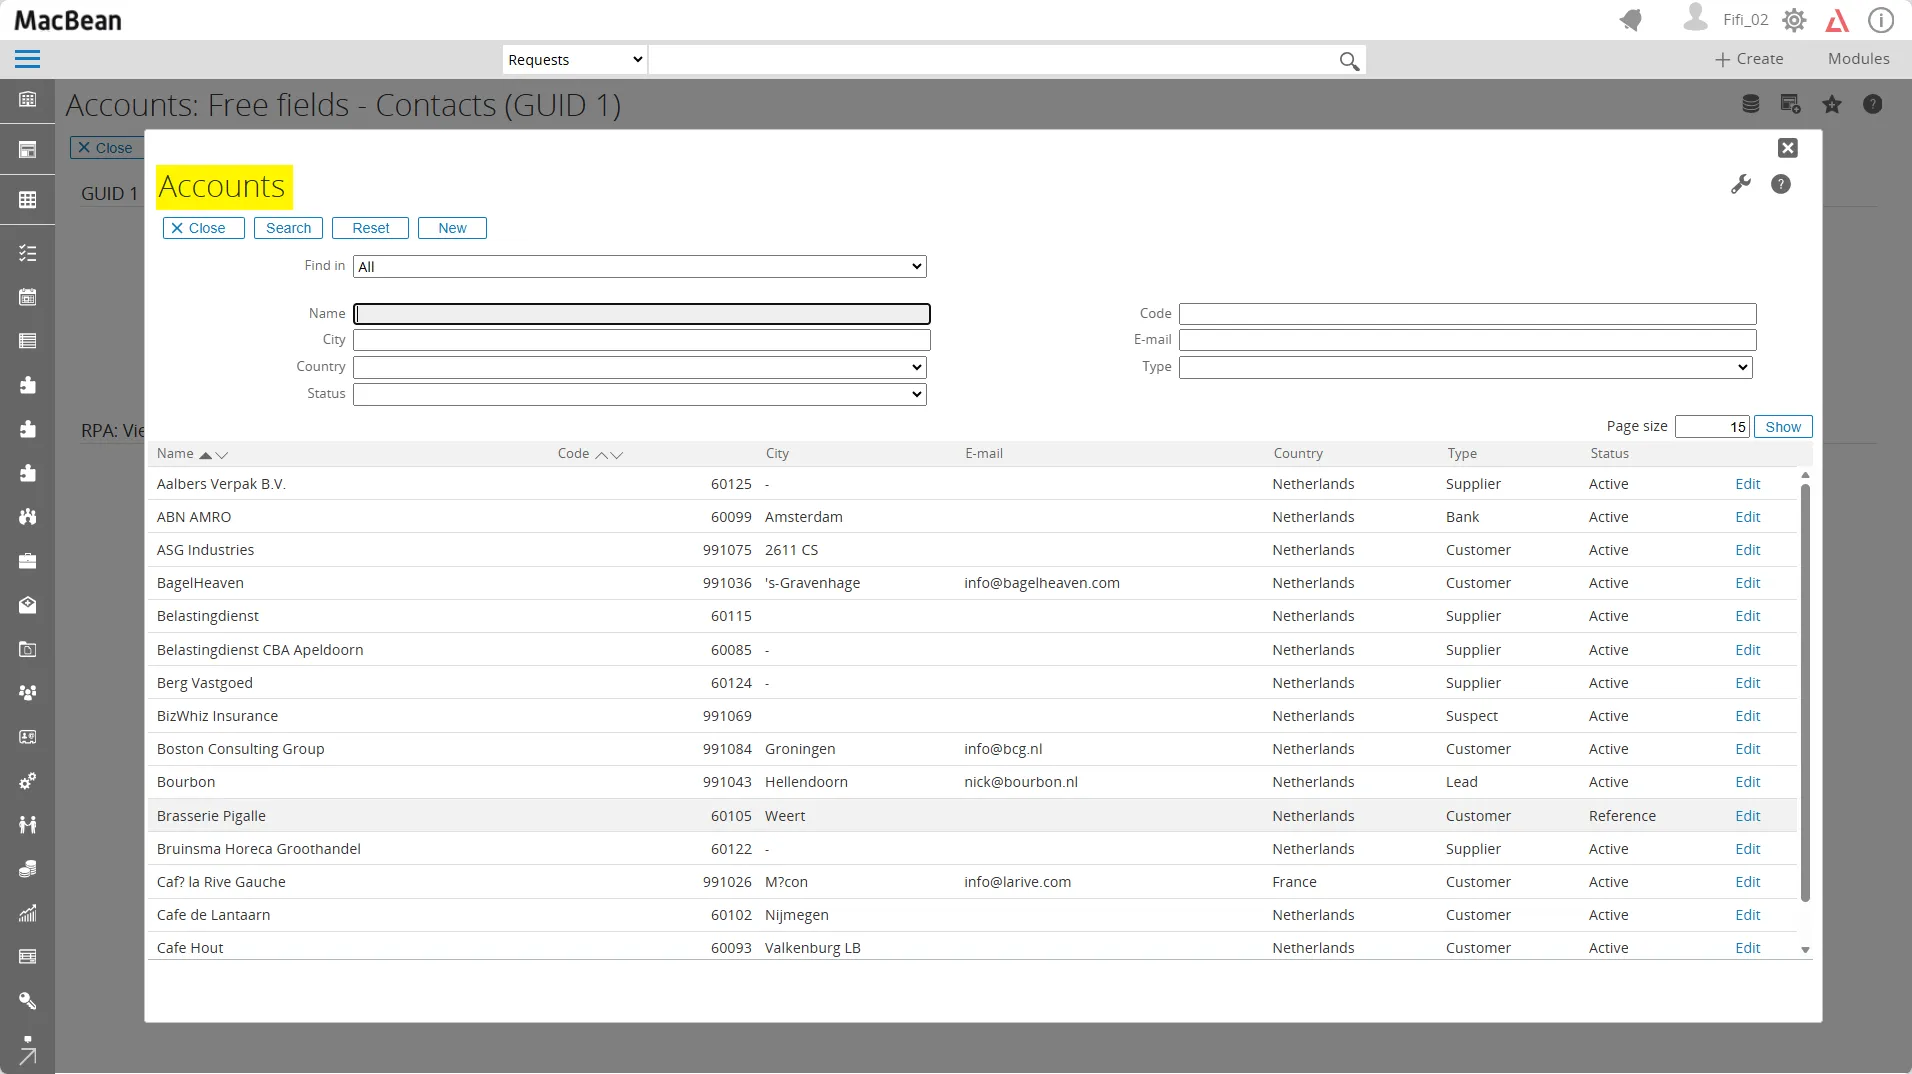
- Accounts : will give you the list of existing accounts
Choose the reference data based on Accounts and click the Show button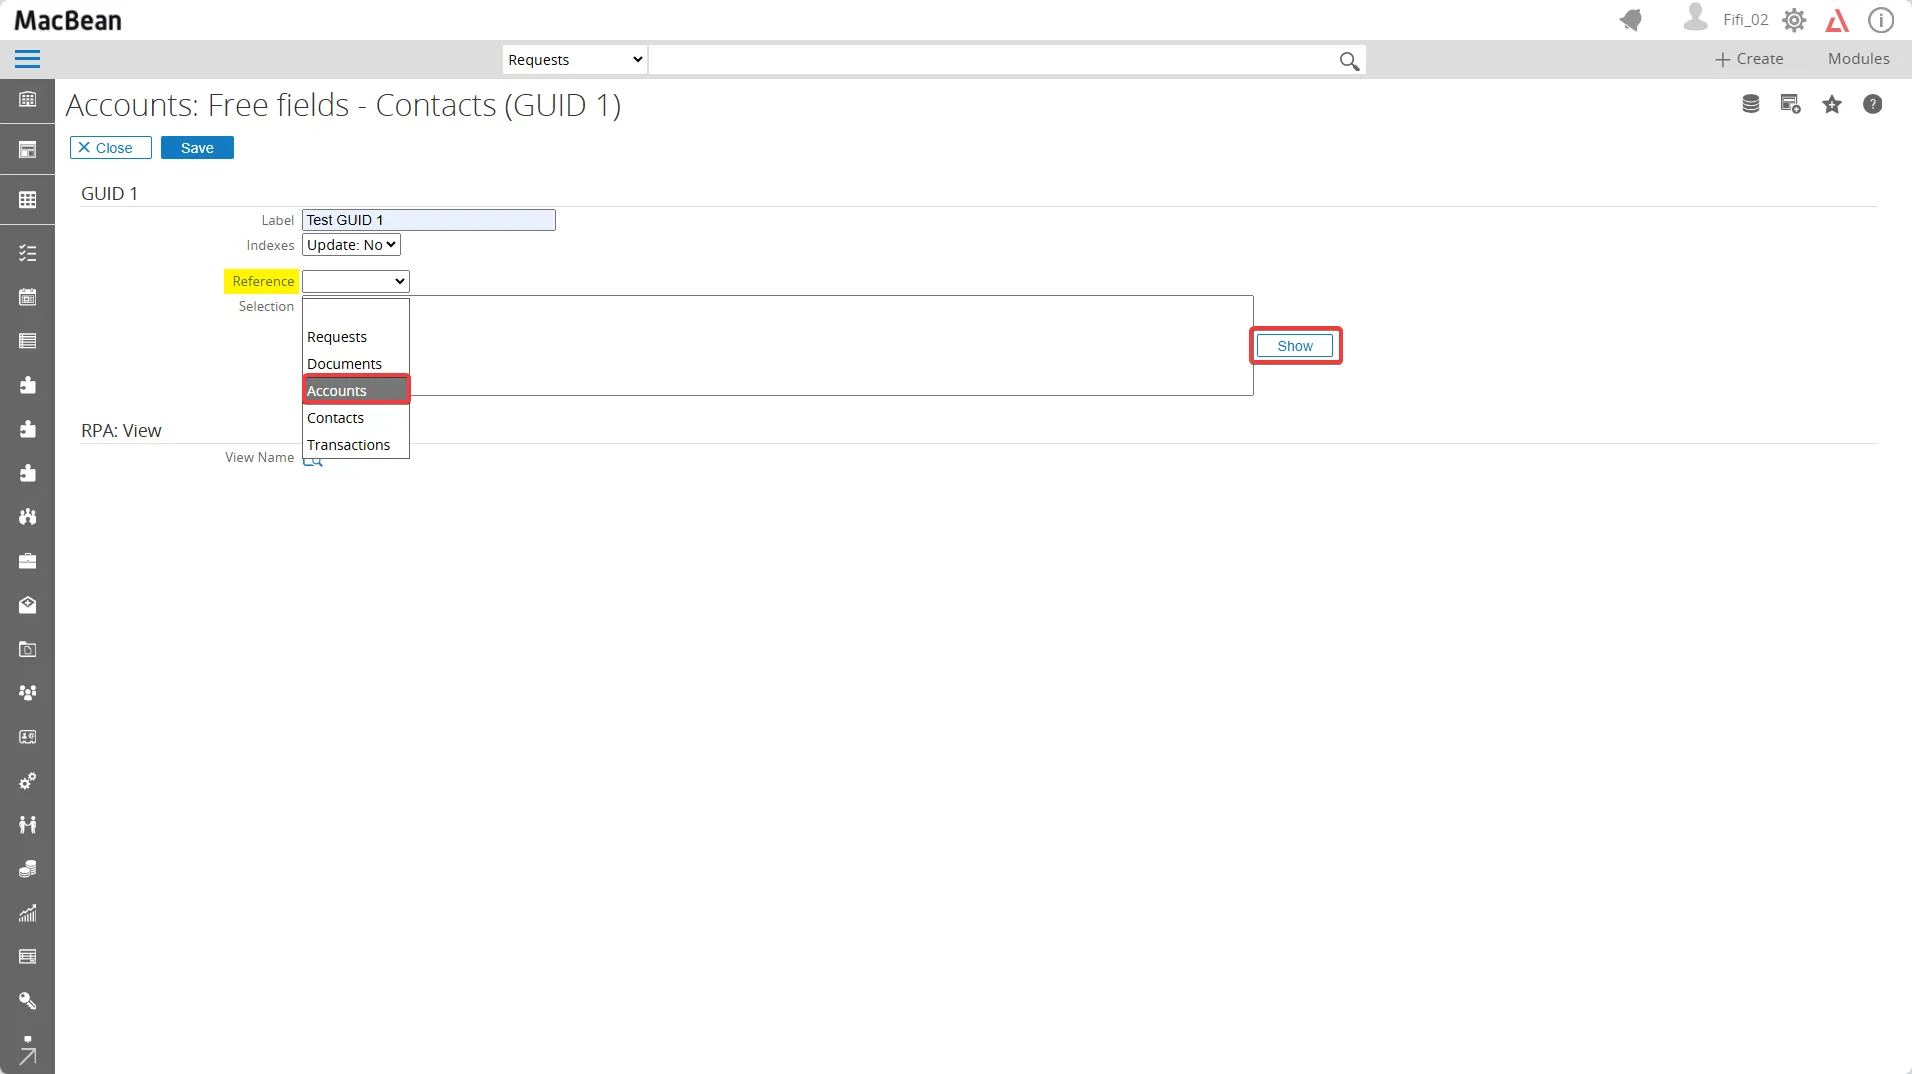
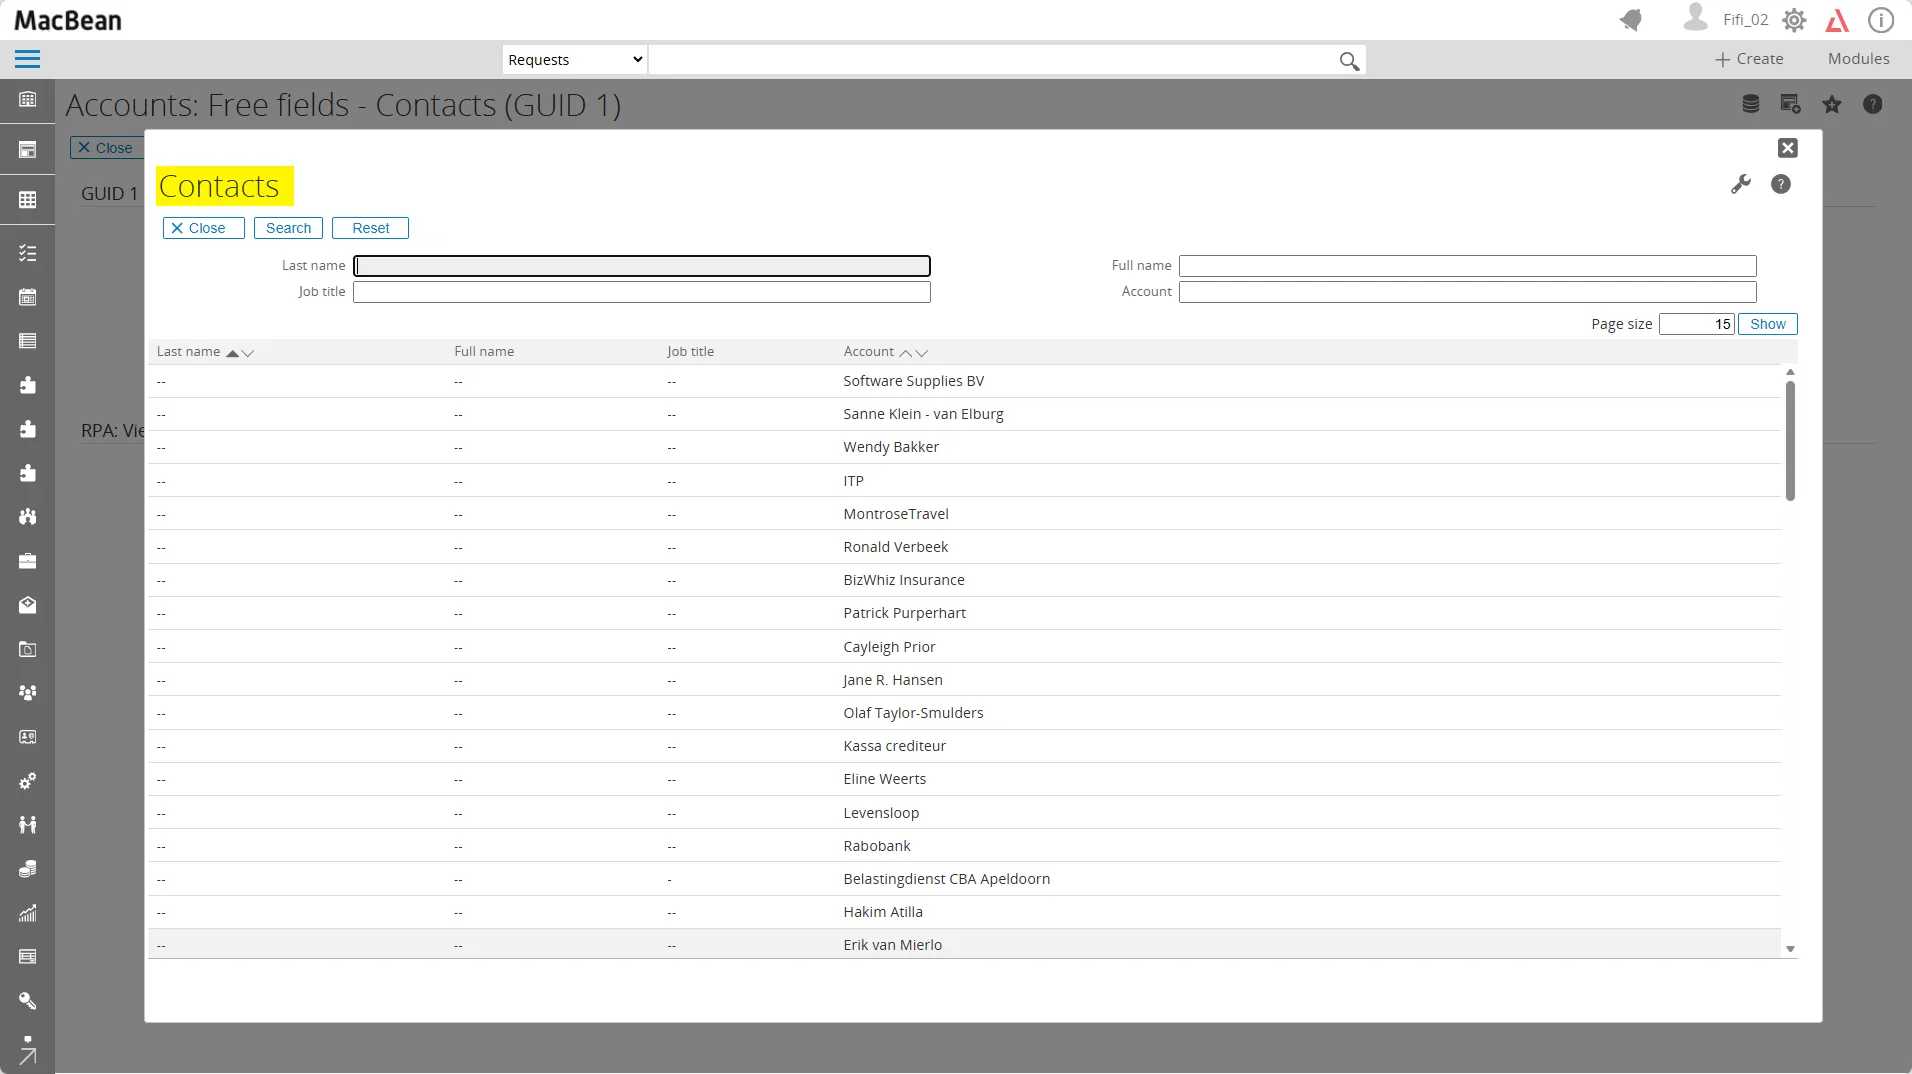
- Contacts : will give you the list of existing contacts
Choose the reference data based on Contacts and click the Show button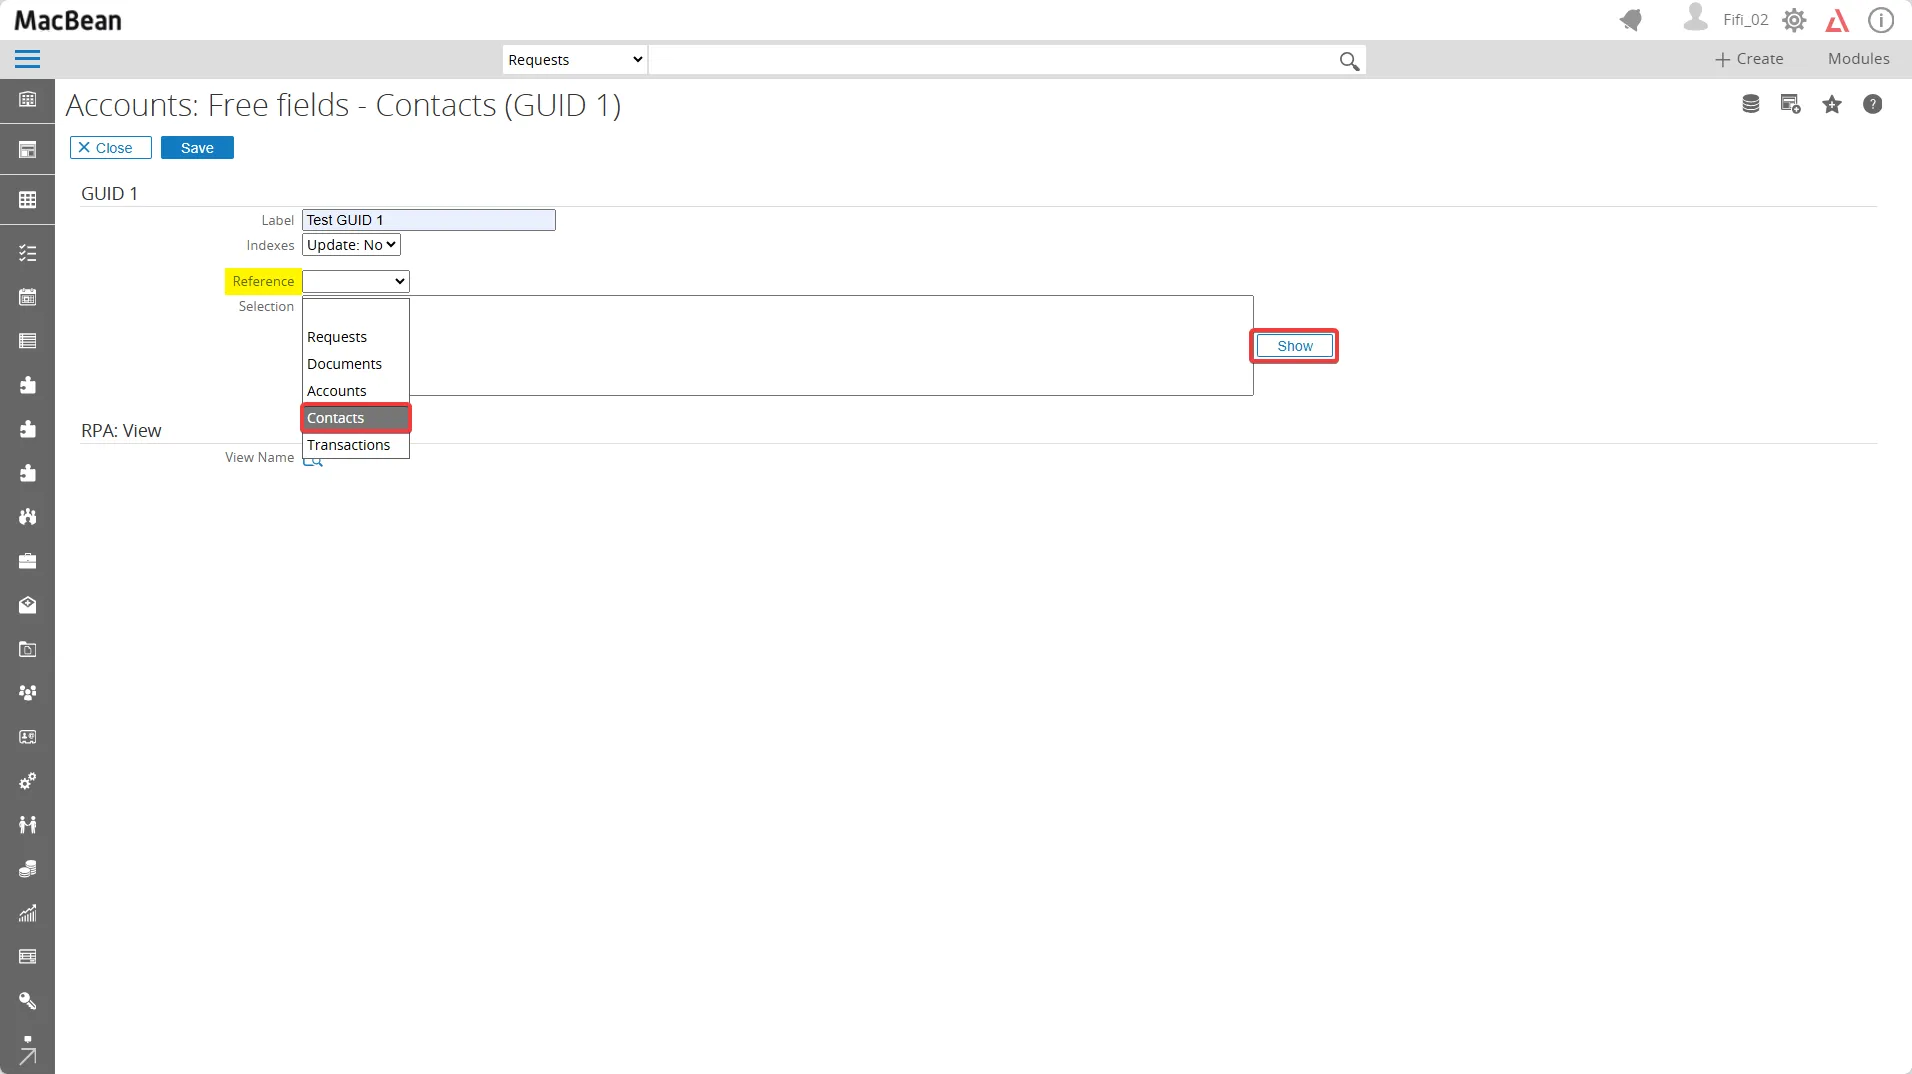
- Translations : will give you the list of existing translations
Choose the reference data based on Translations and click the Show button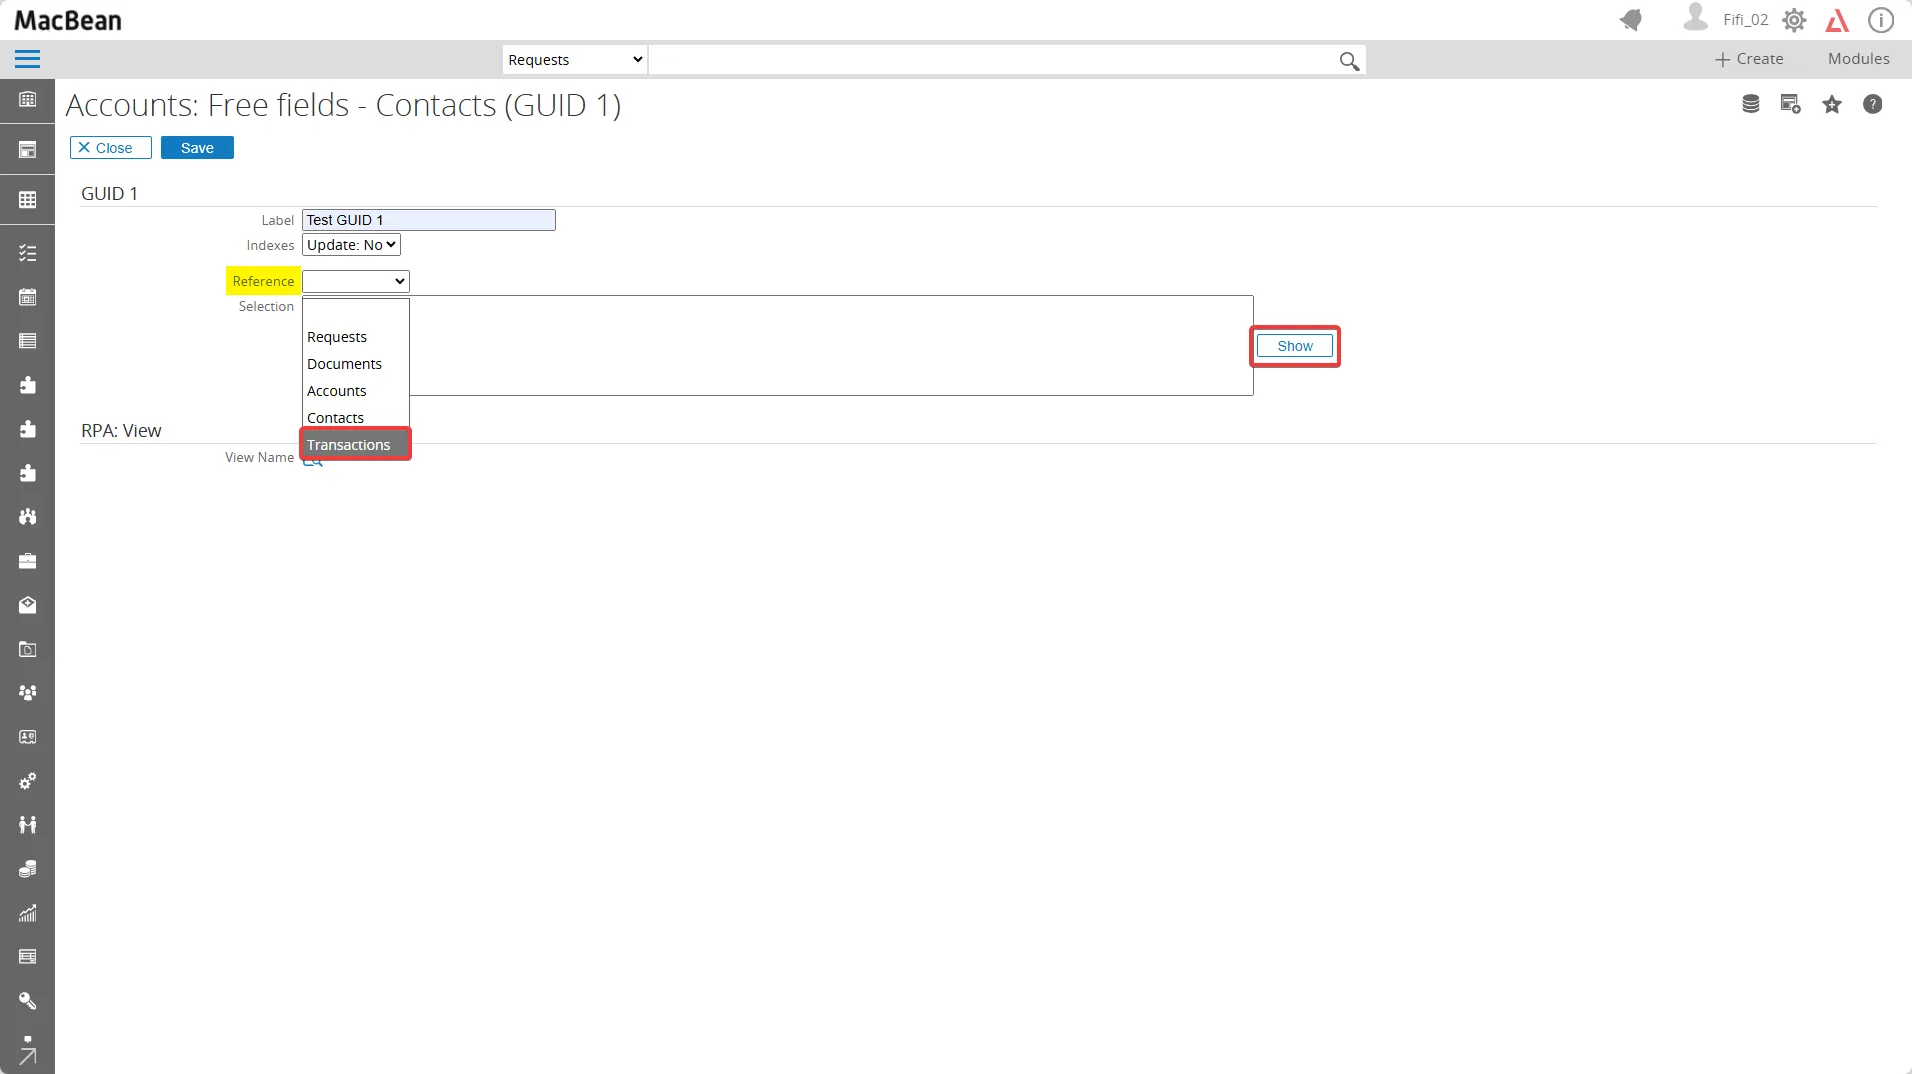
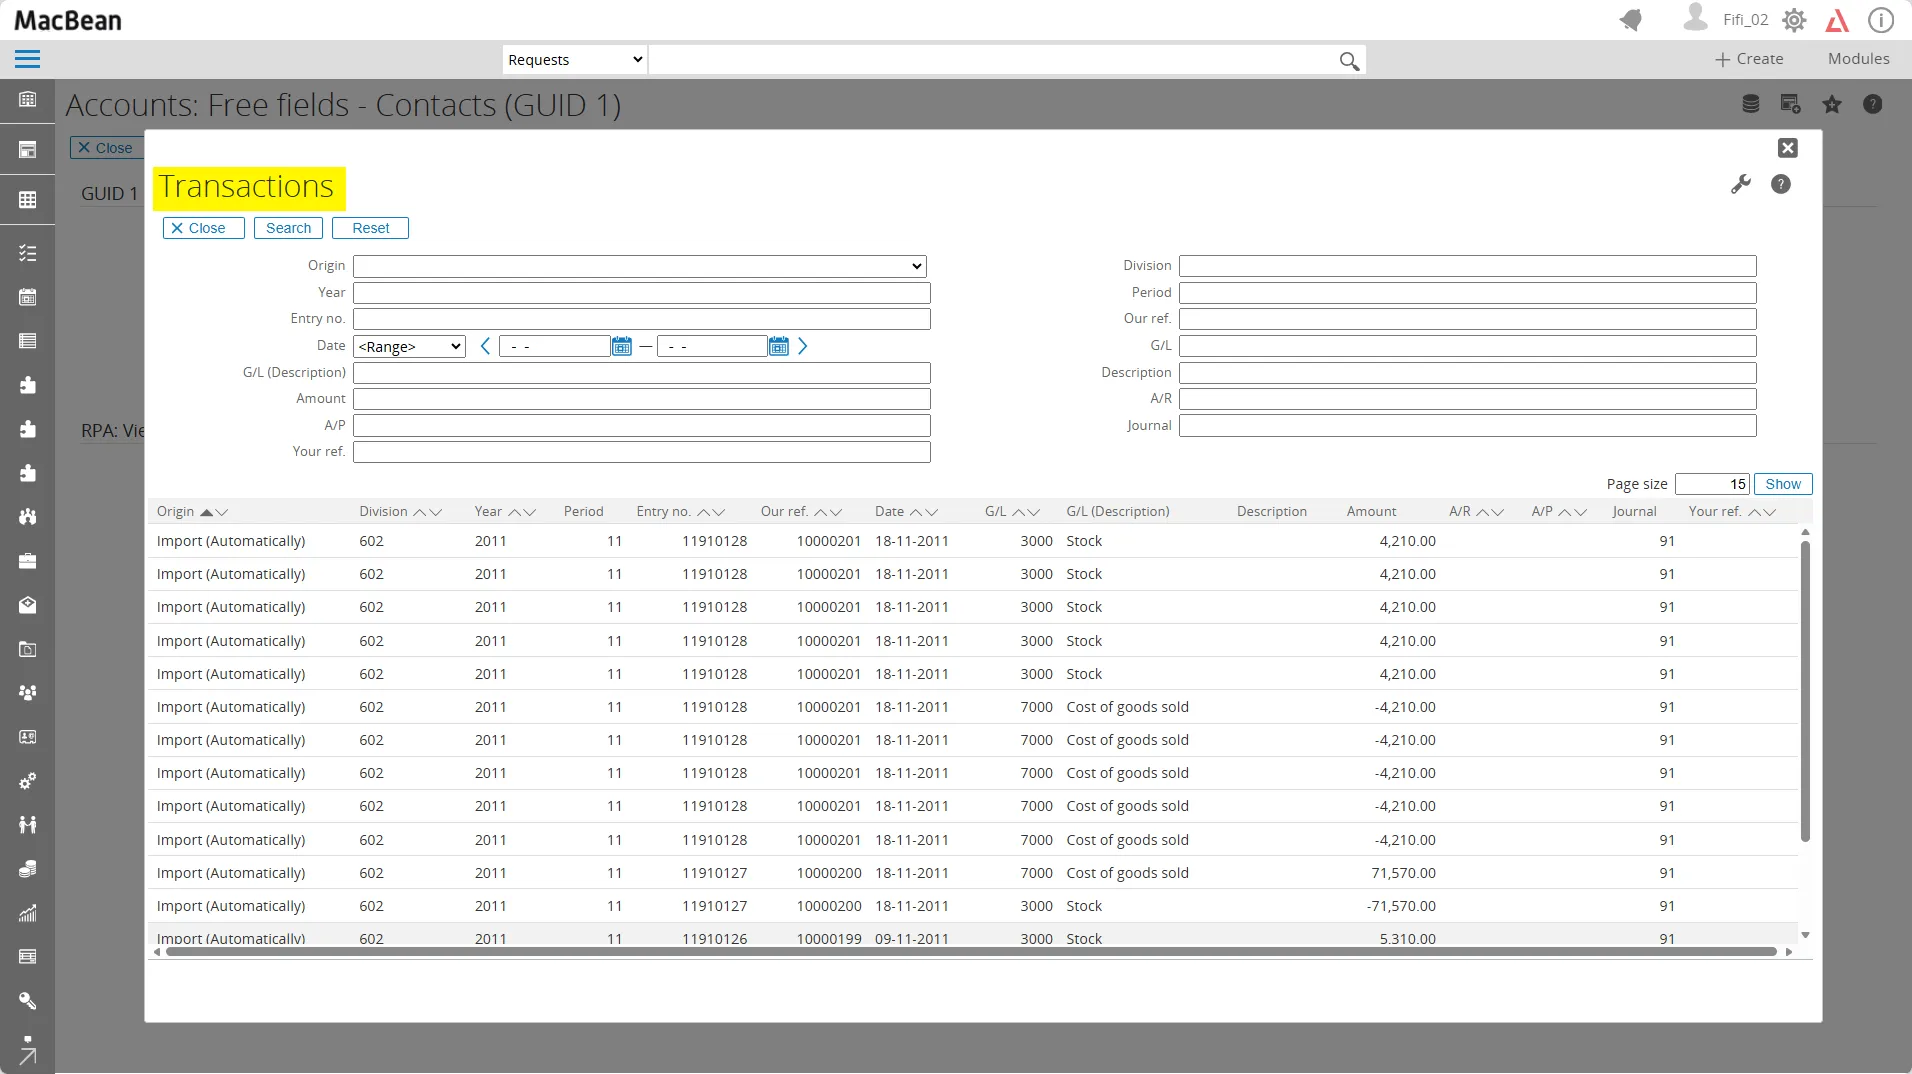
2. Selection Section
You can insert the spesific query to filter the reference data :
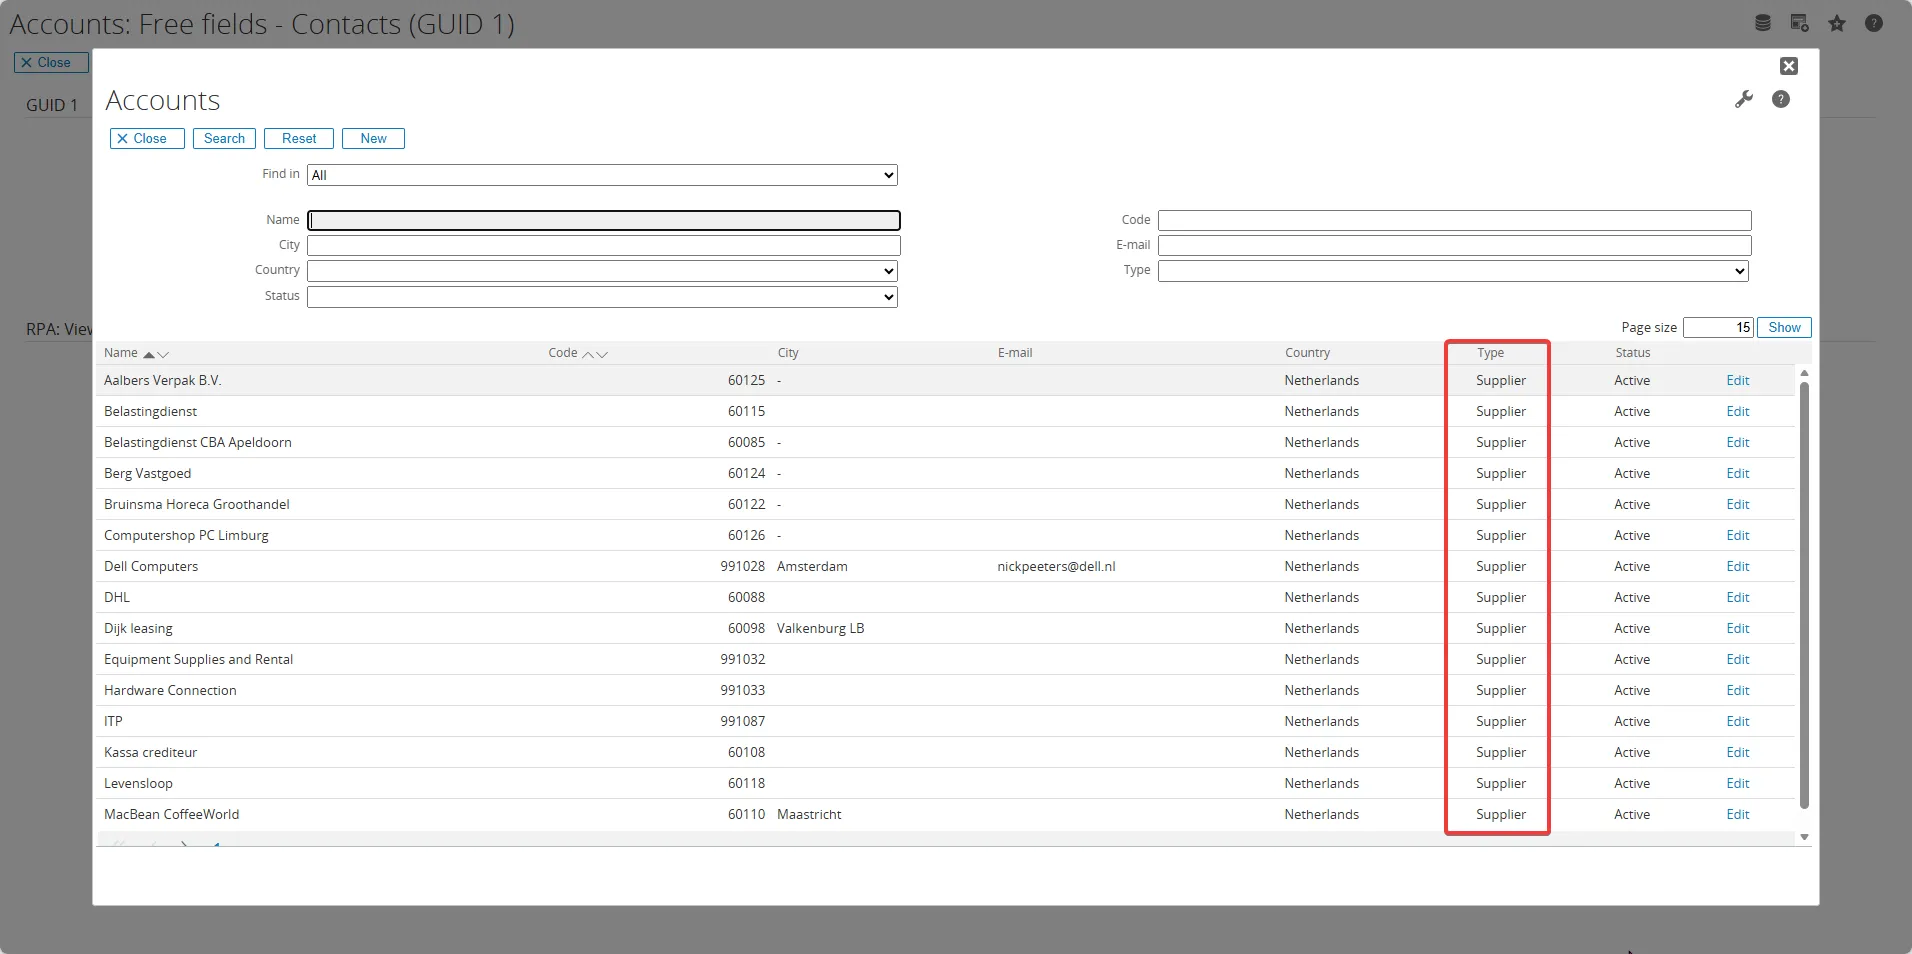
- For example, in the Reference section, choose Accounts, and in Selection enter cmp_type=‘S’, which will filter the reference data to show only Suppliers
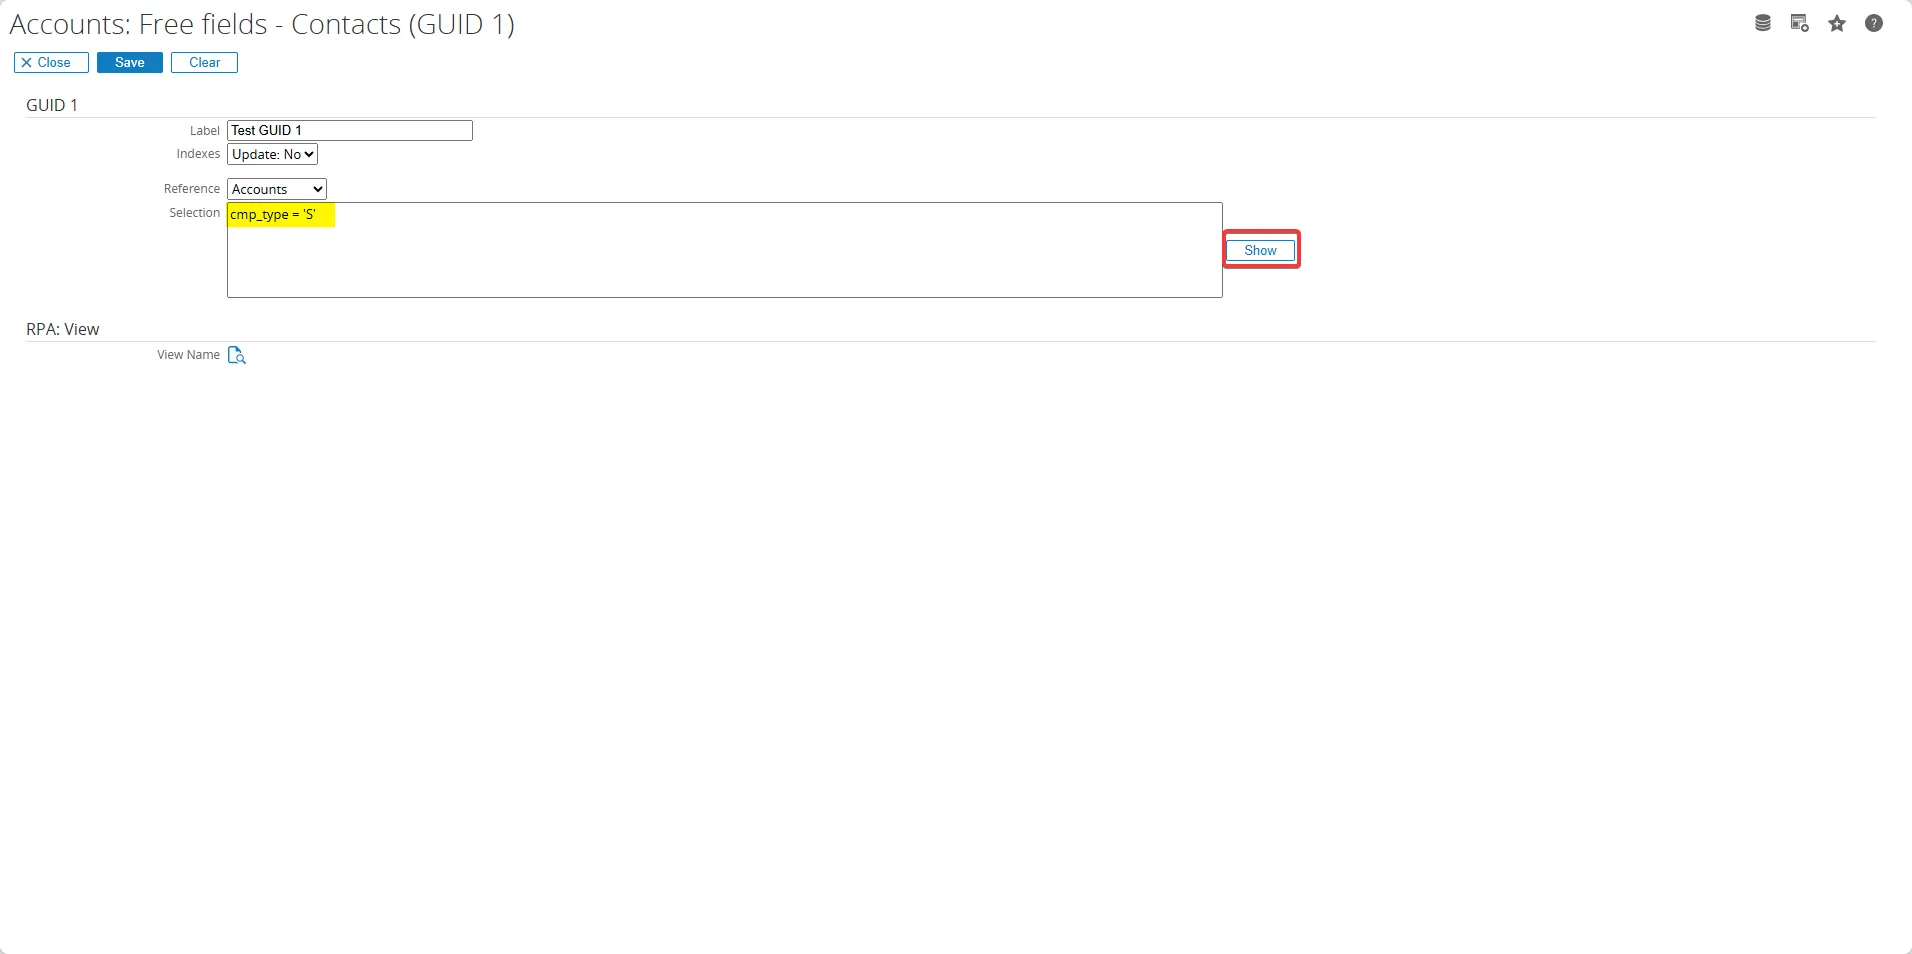
- After click the Show button, it will give you the list of available Accounts that are matching with the selection criteria
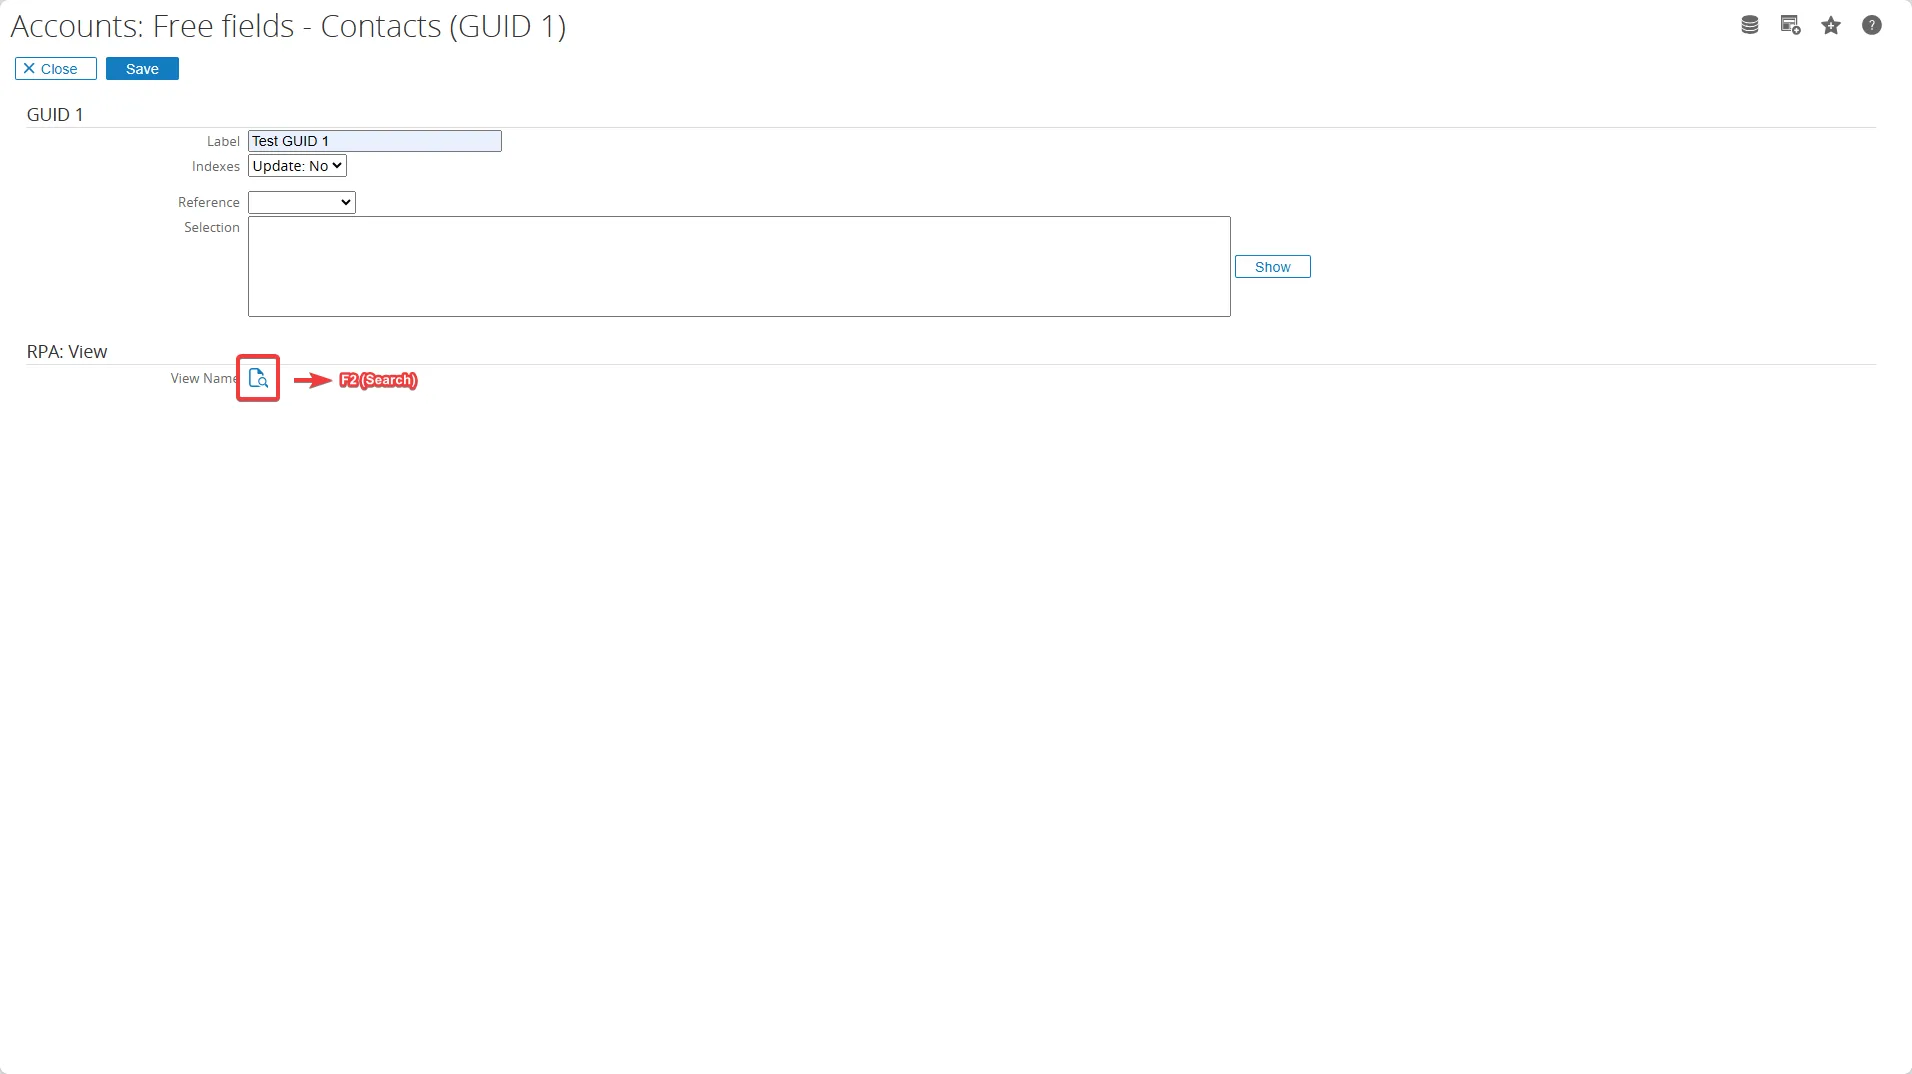
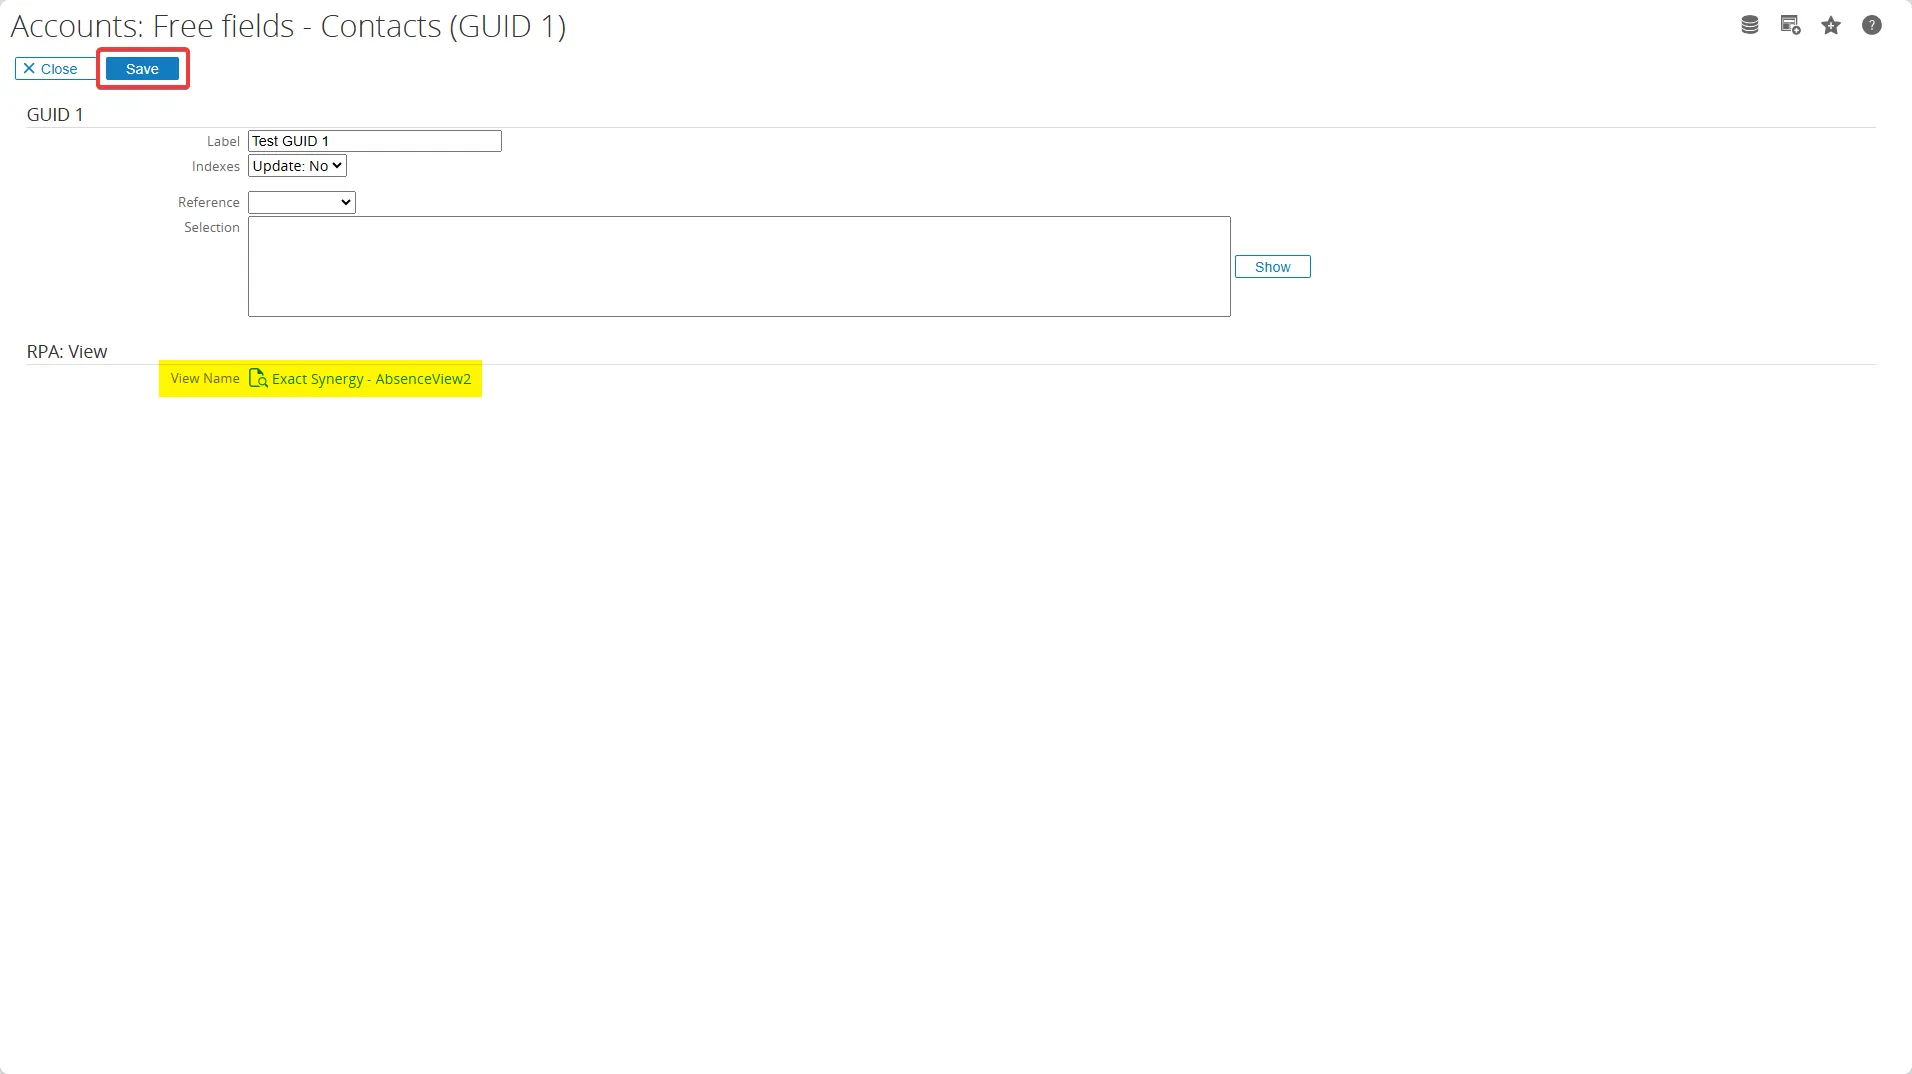
3. View Name Section
You can reference the view RPA that you have created earlier in the Setup > Views section
-
Click the F2 (Search) icon to open the existing view RPA
-
Choose the Name of RPA view that you want to add
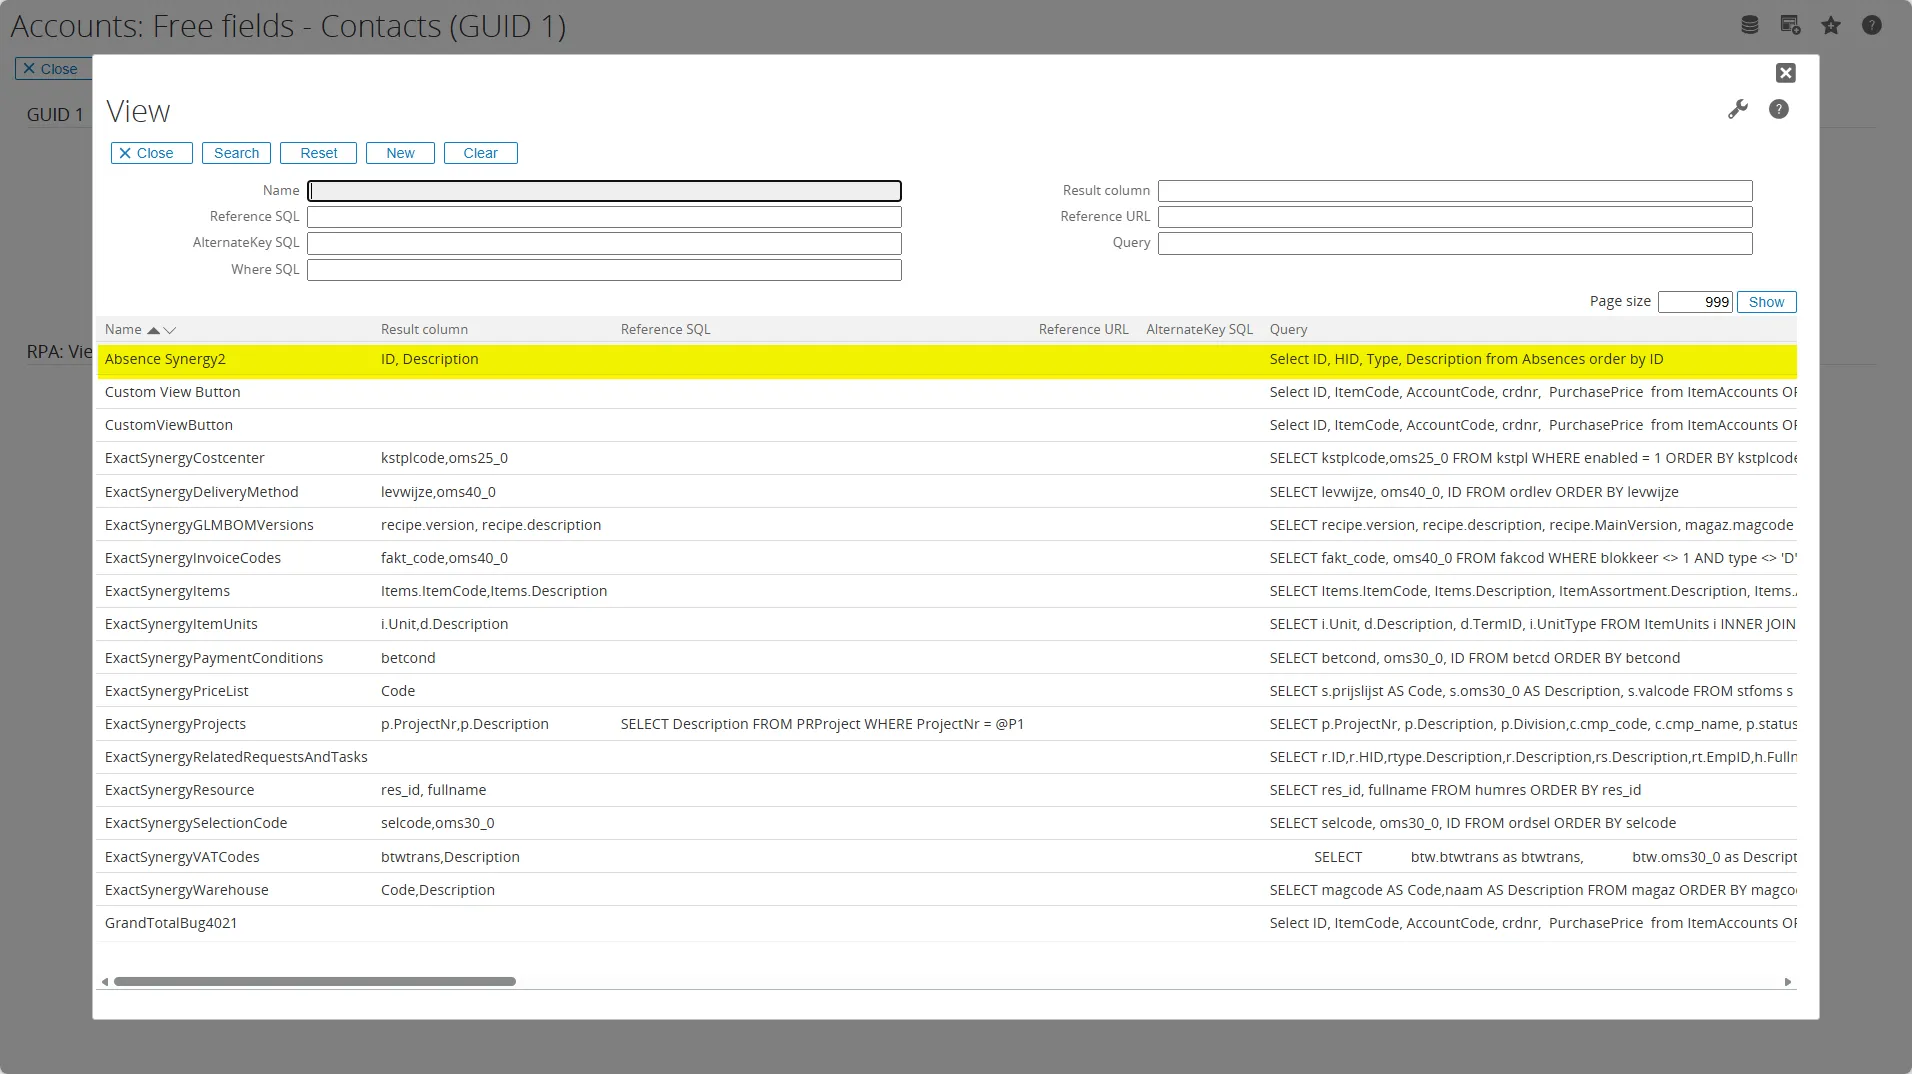
-
Now the additional free fields are linked to the RPA view, then click the Save button
-
After adding the new free fields, go back to Modules > Customers
-
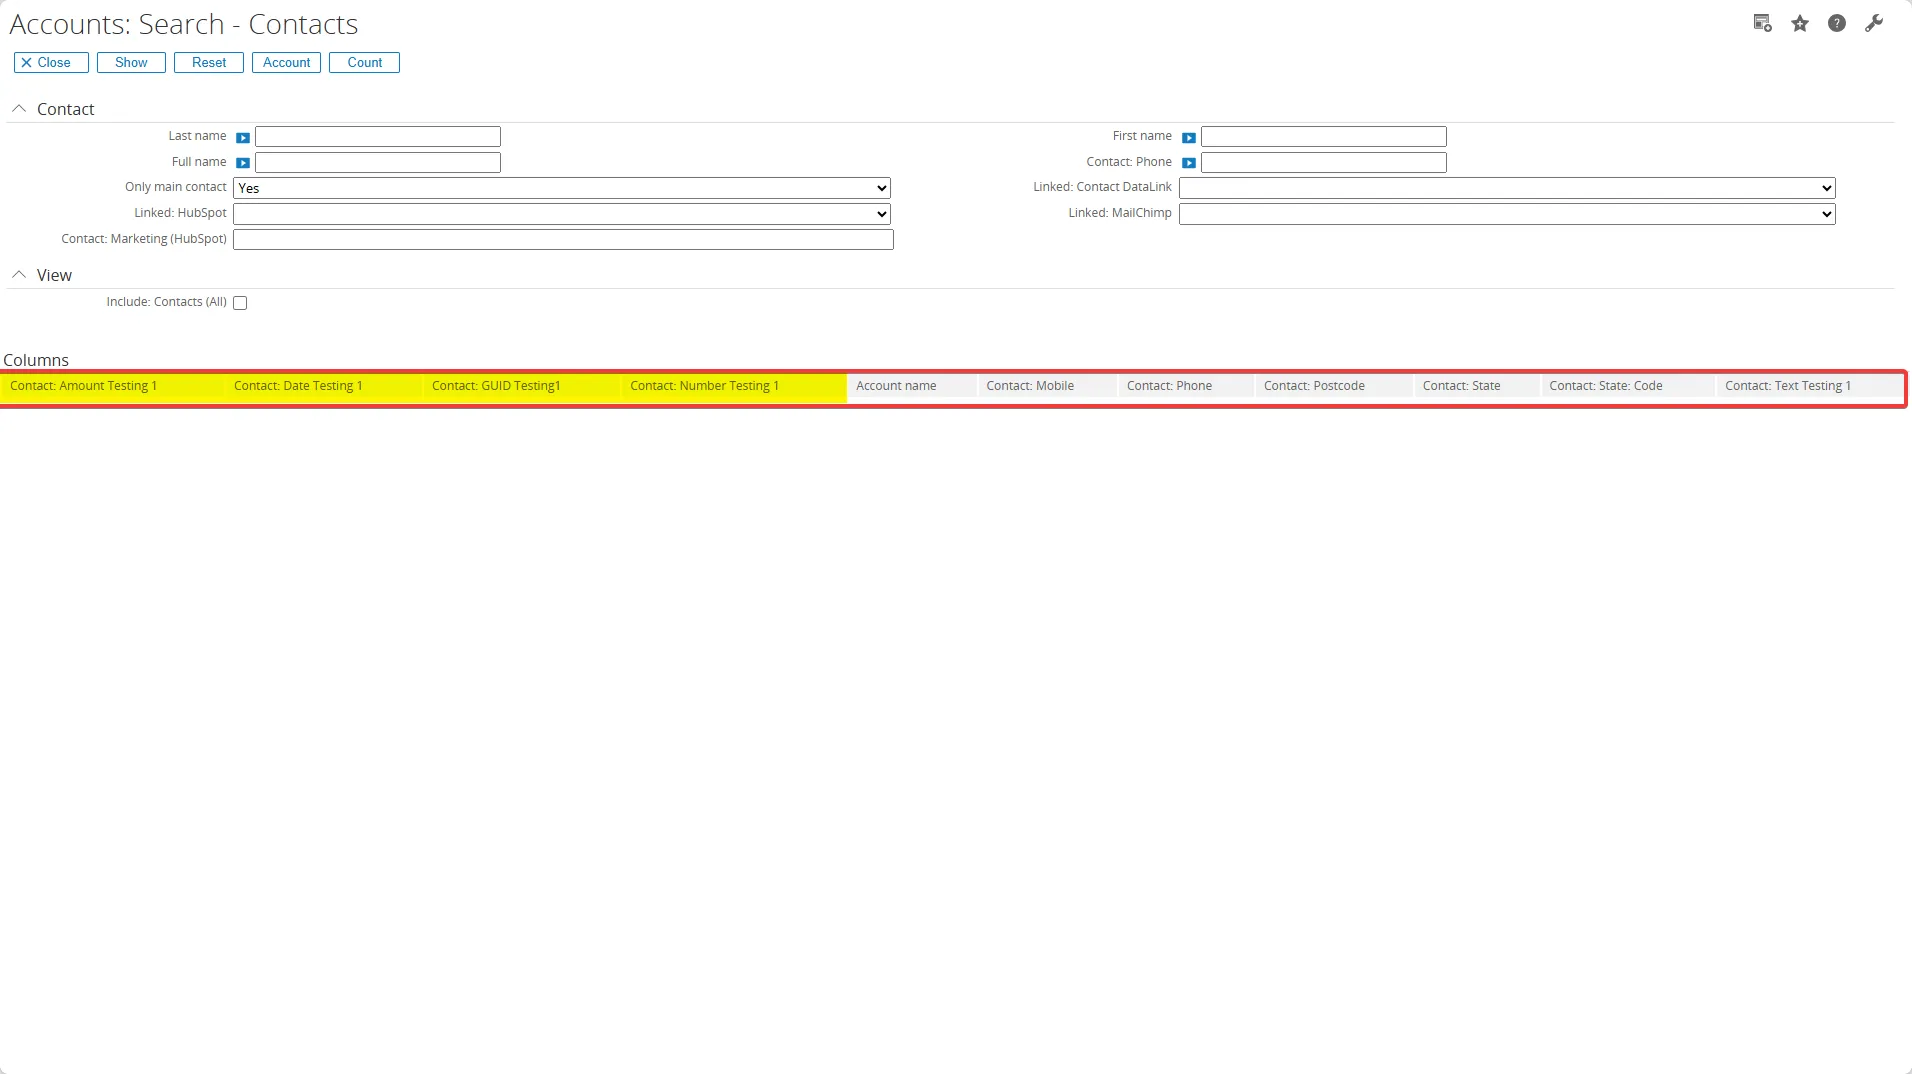
Go to Reports > Contacts > Search
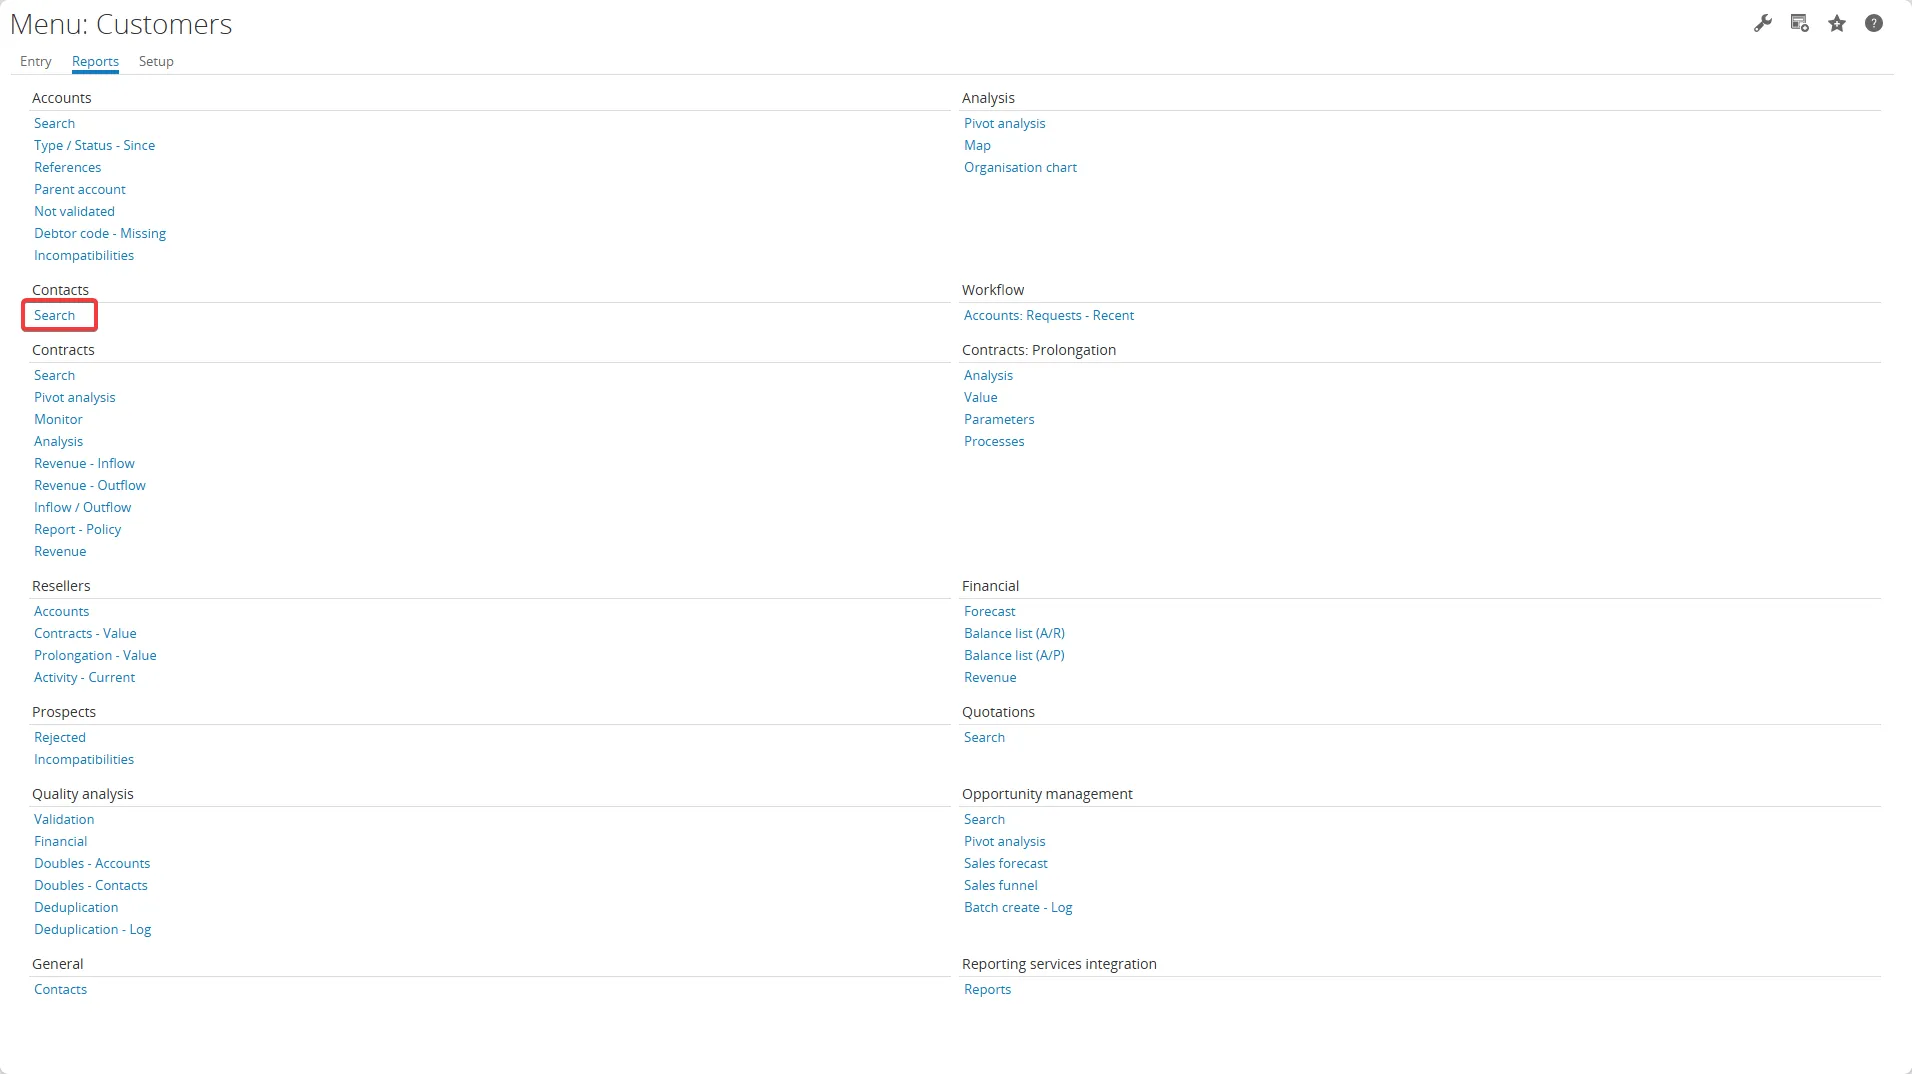
-
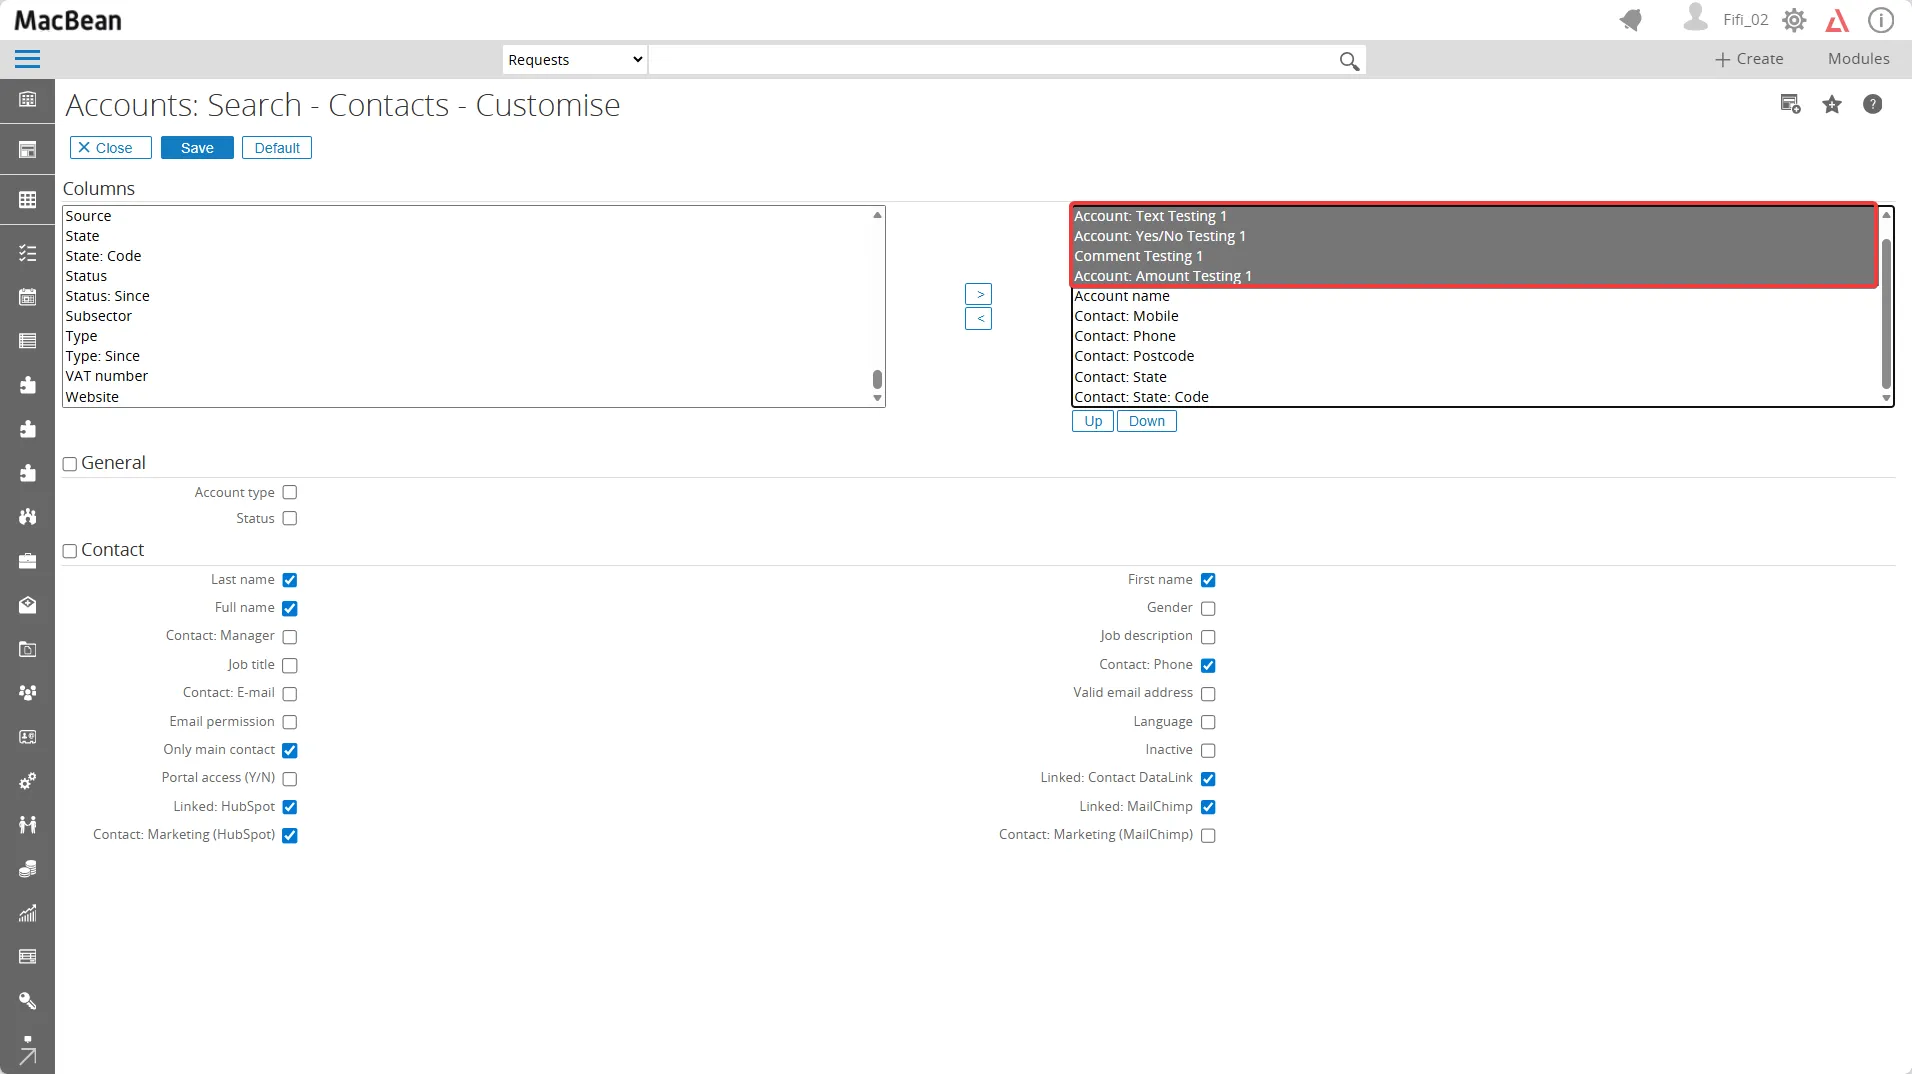
The free fields section didn’t appear yet, you can display the additional free fields, by click the ALT U - Customise icon
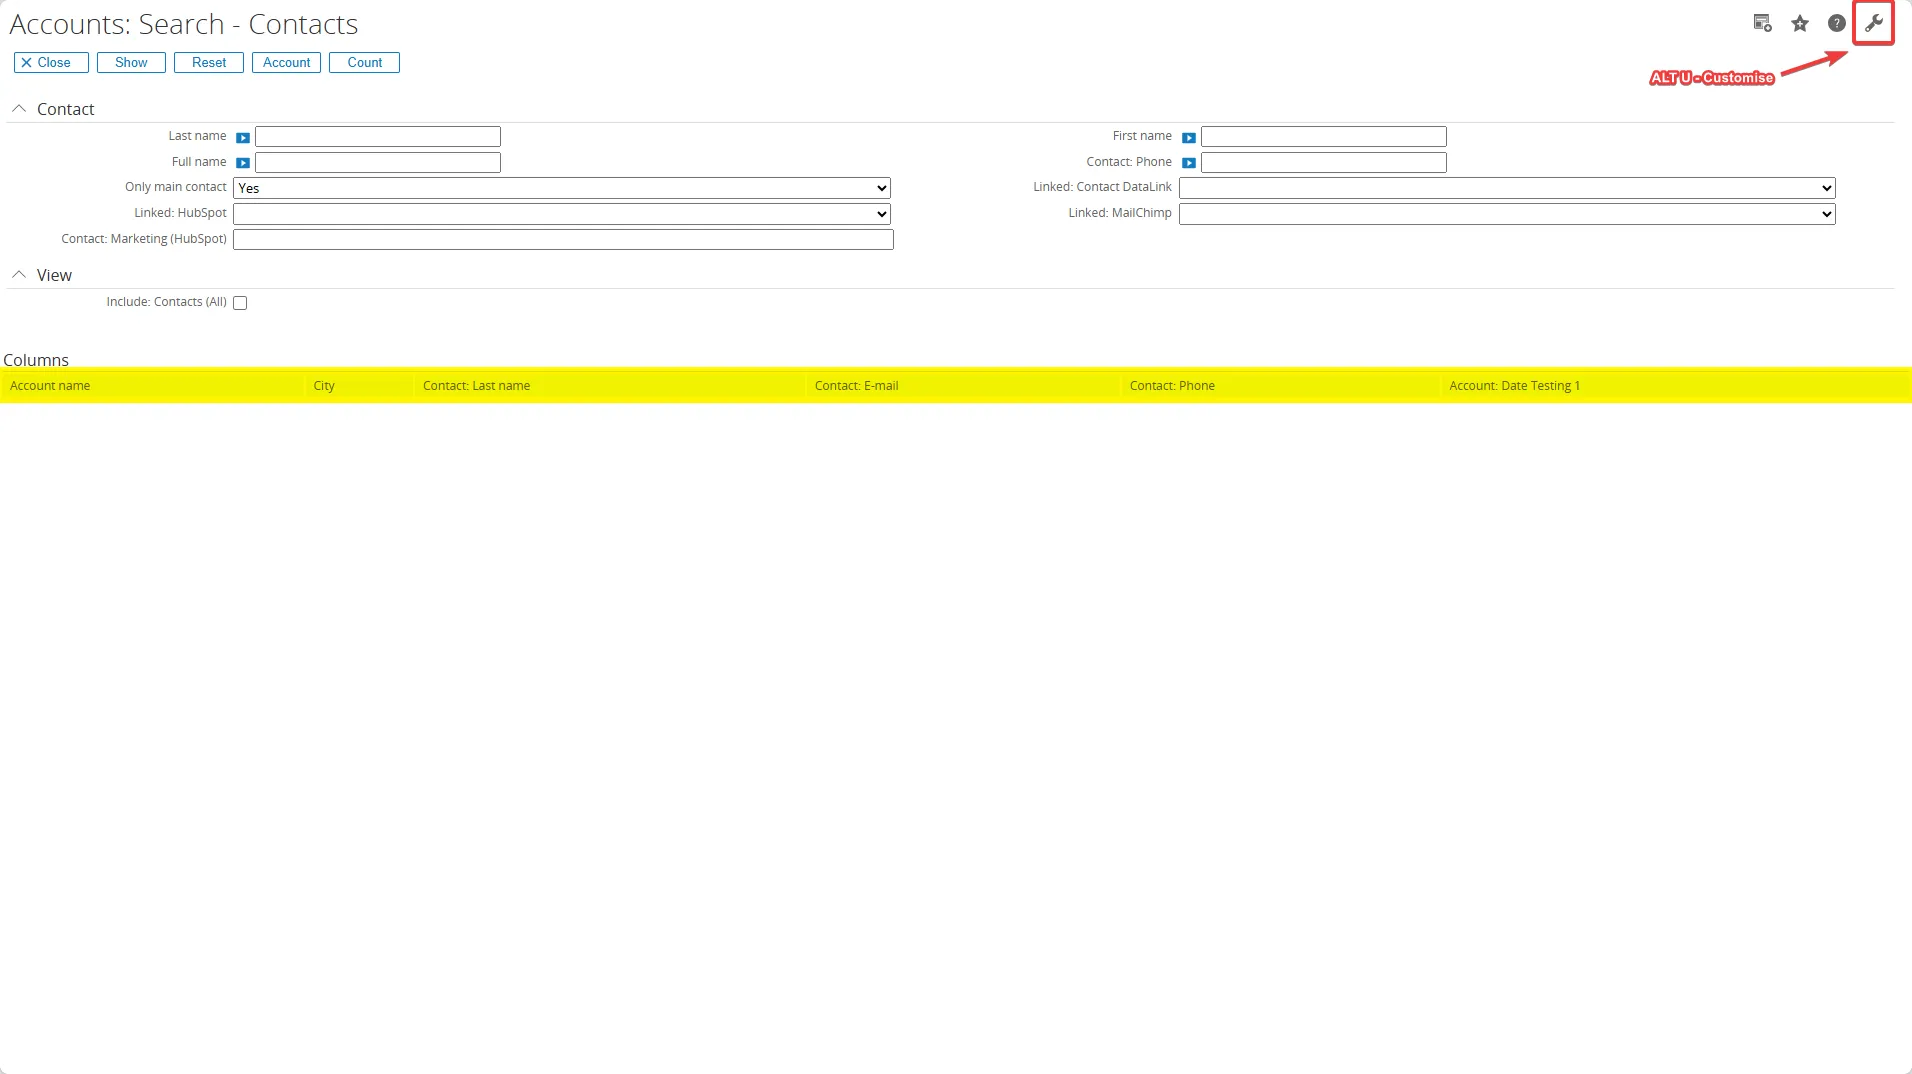
-
You can adjust which fields are displayed in the Columns section by moving fields to the right or left, based on the free fields you created earlier

-
You can also move to up or down to adjust the position by clicking the Up or Down icons
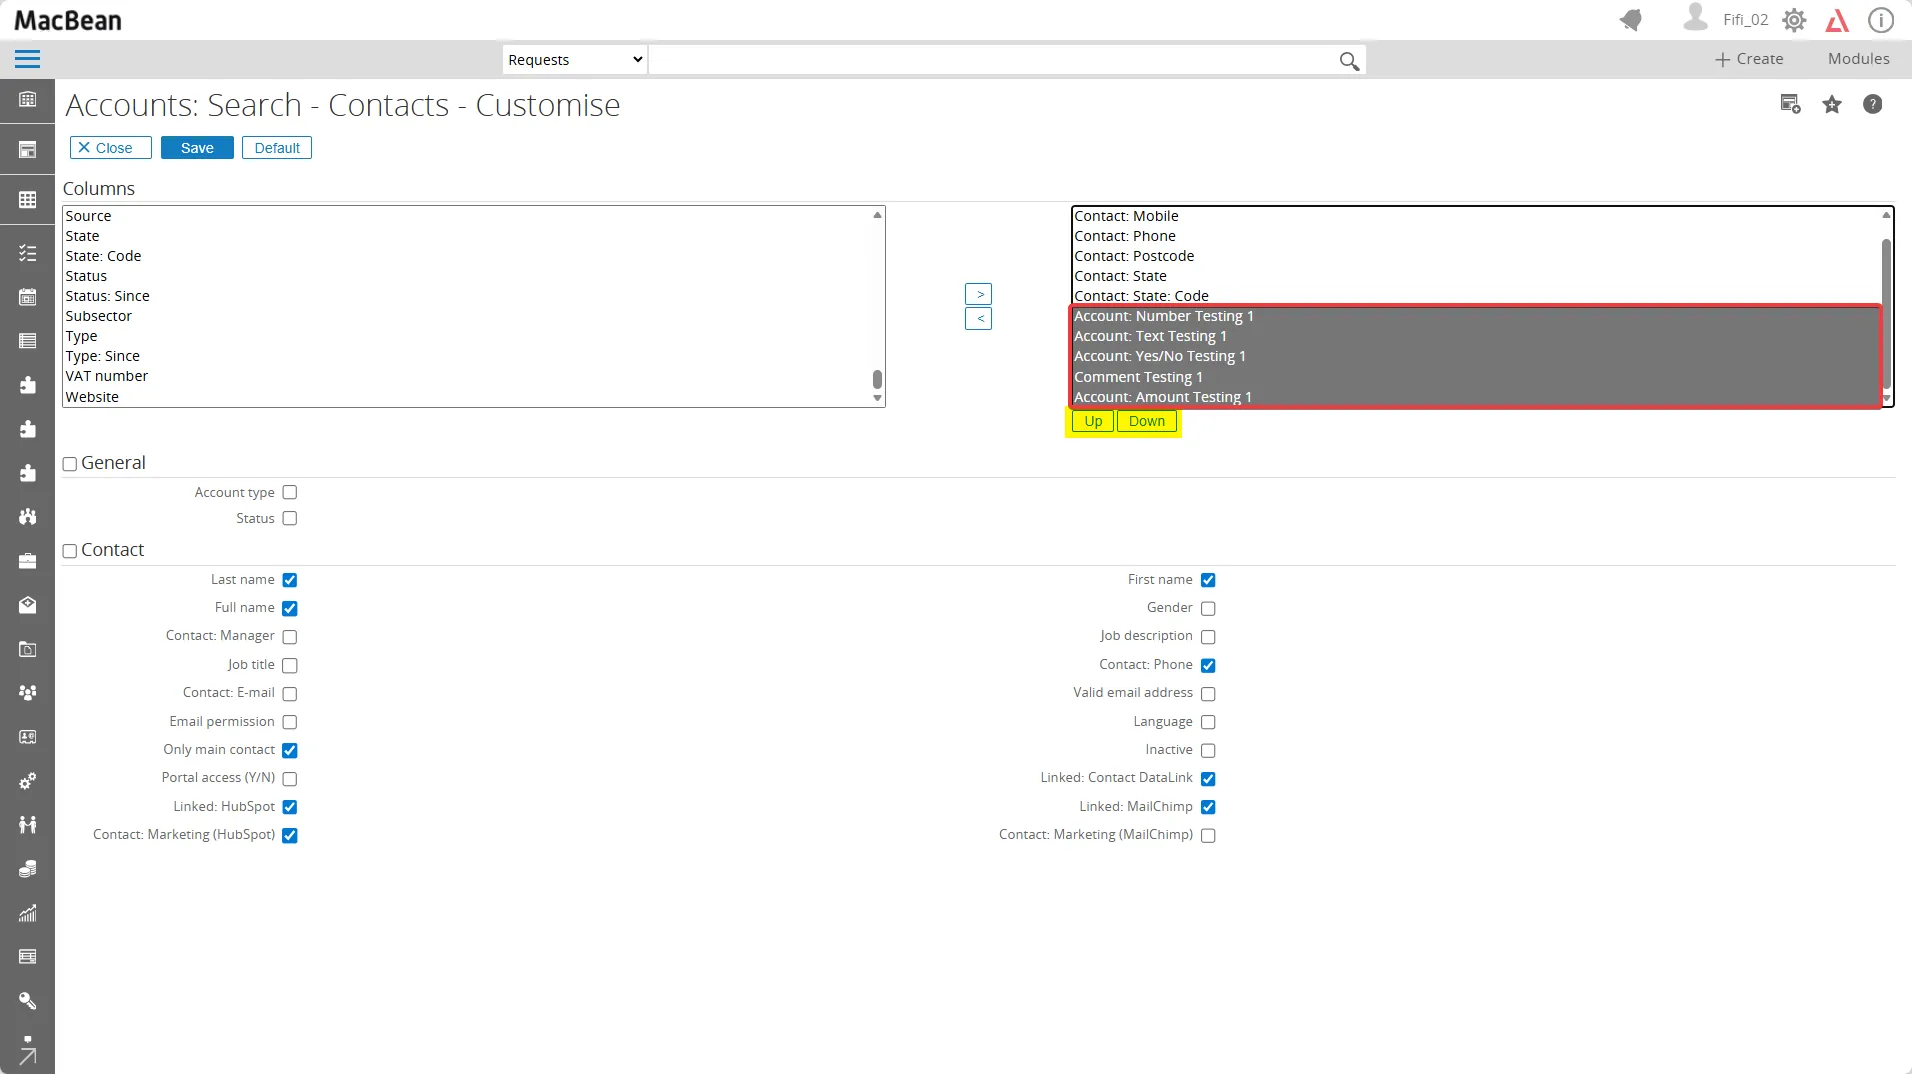
-
The additional free fields are now moved to the right side and the top position, then click the Save button
-
Now all your additional free fields are displayed in the Columns section